Inside The Build:
A Complete Project Walkthrough

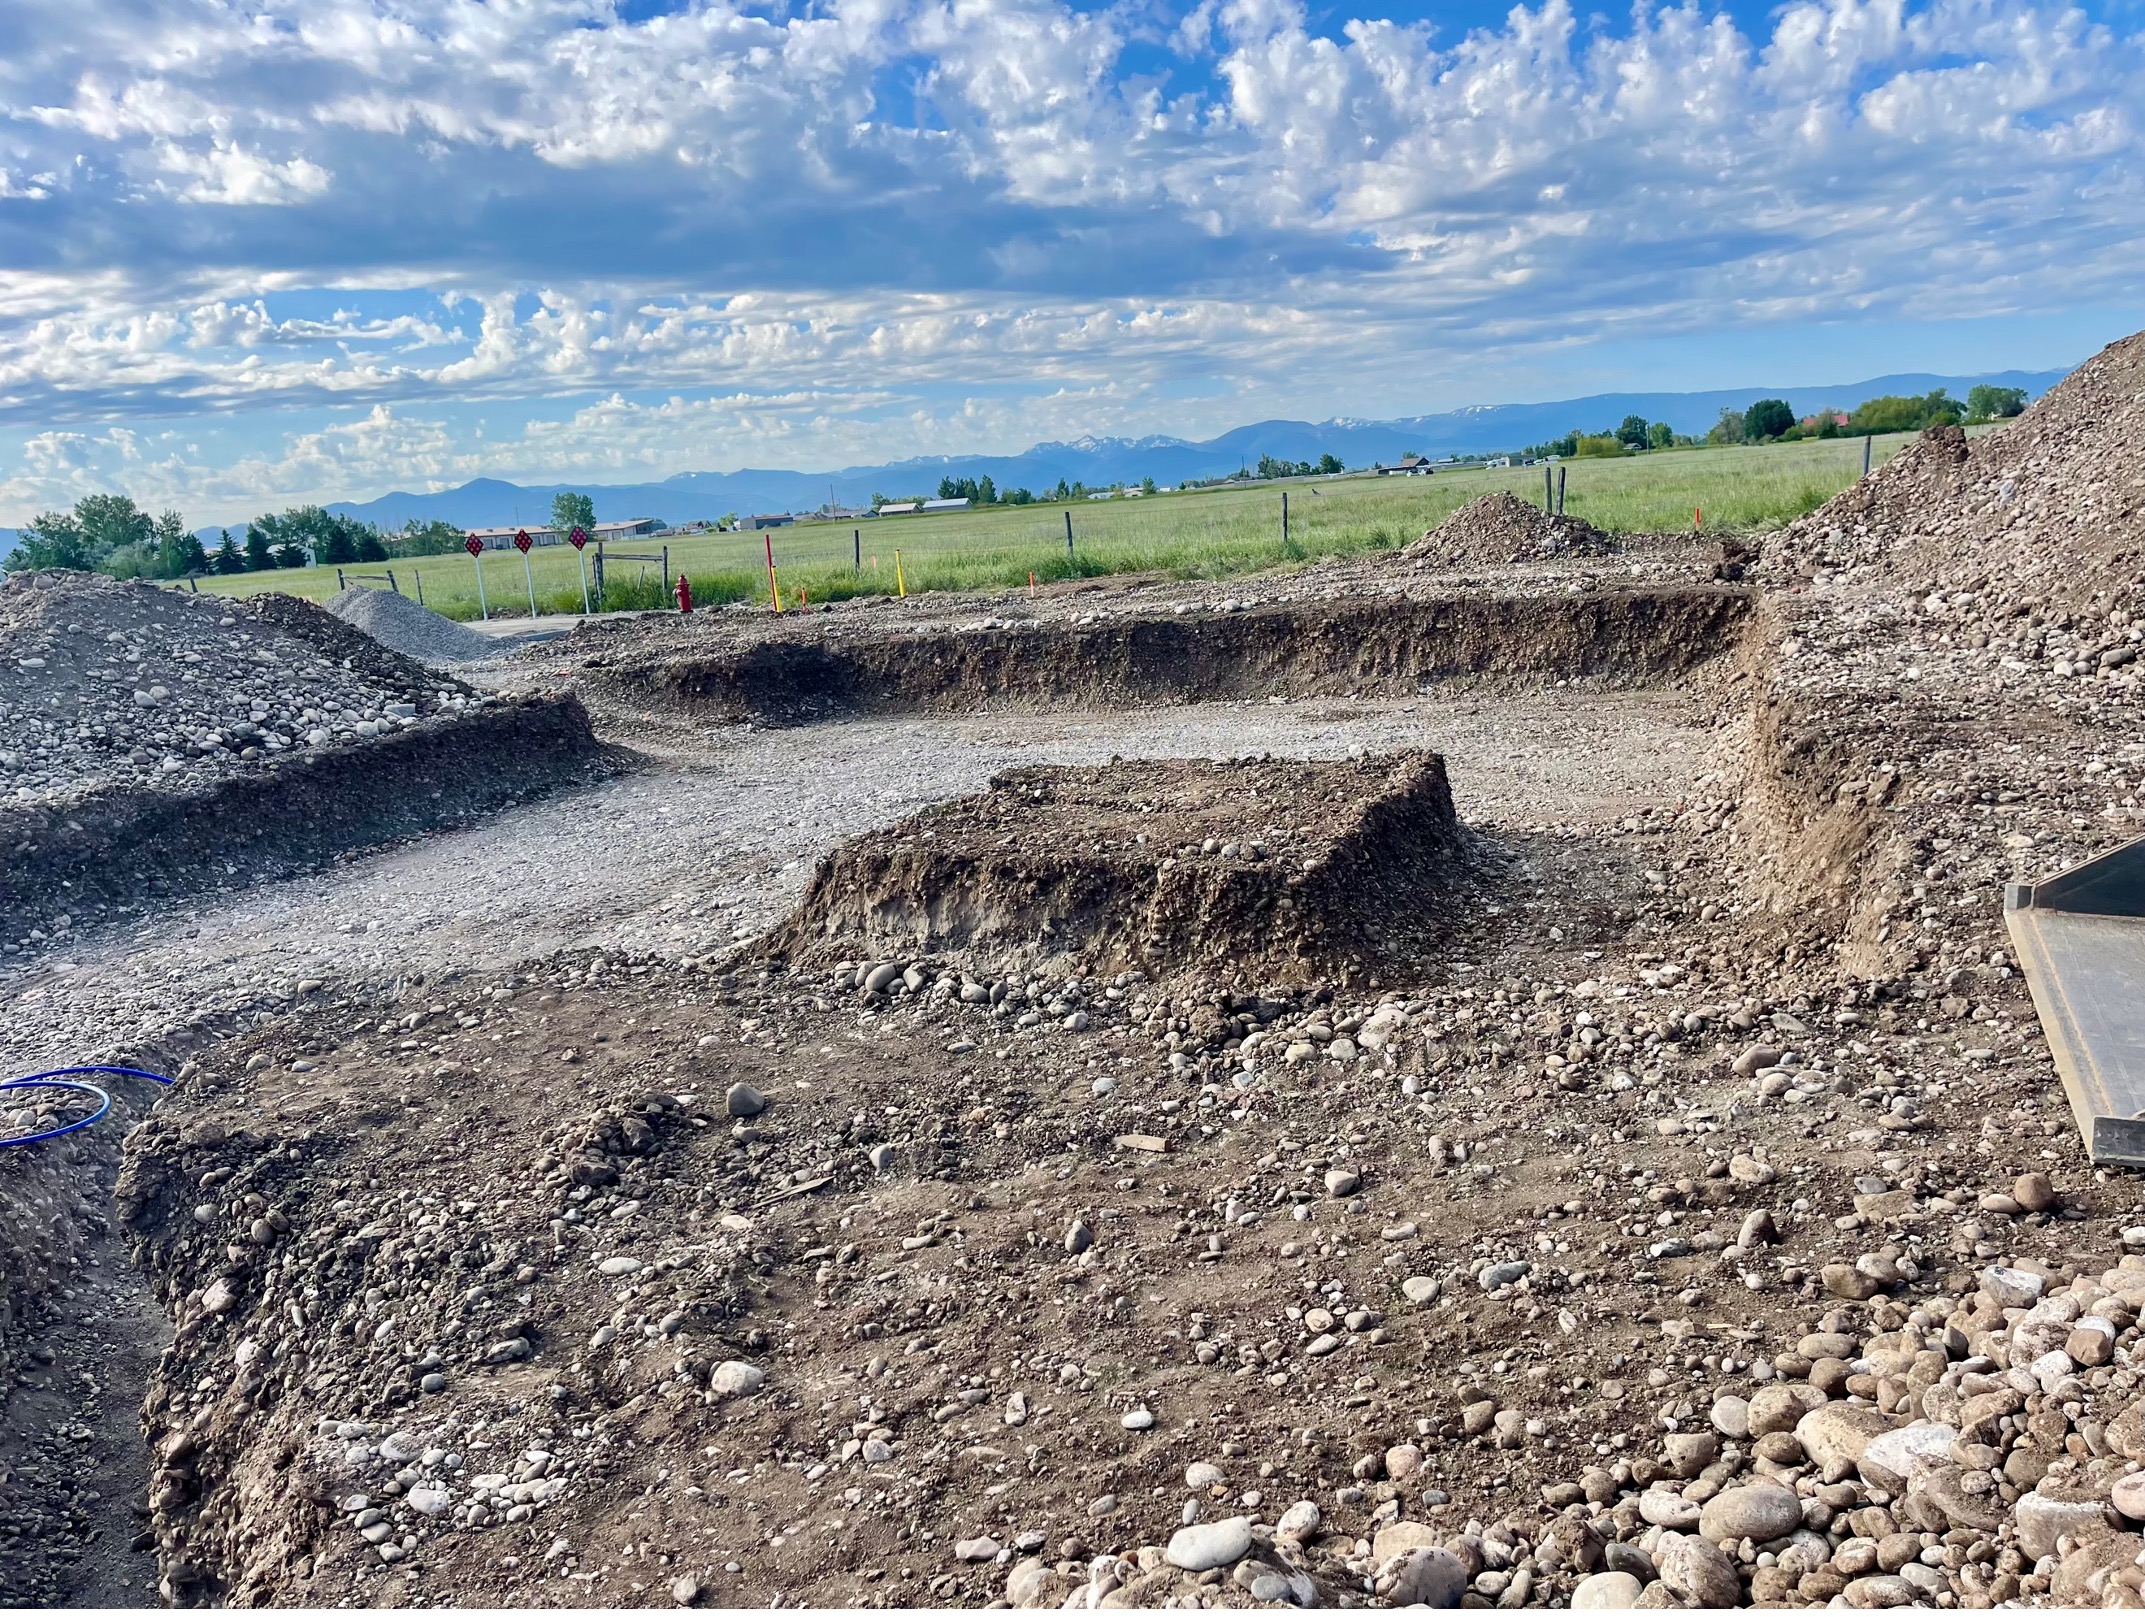
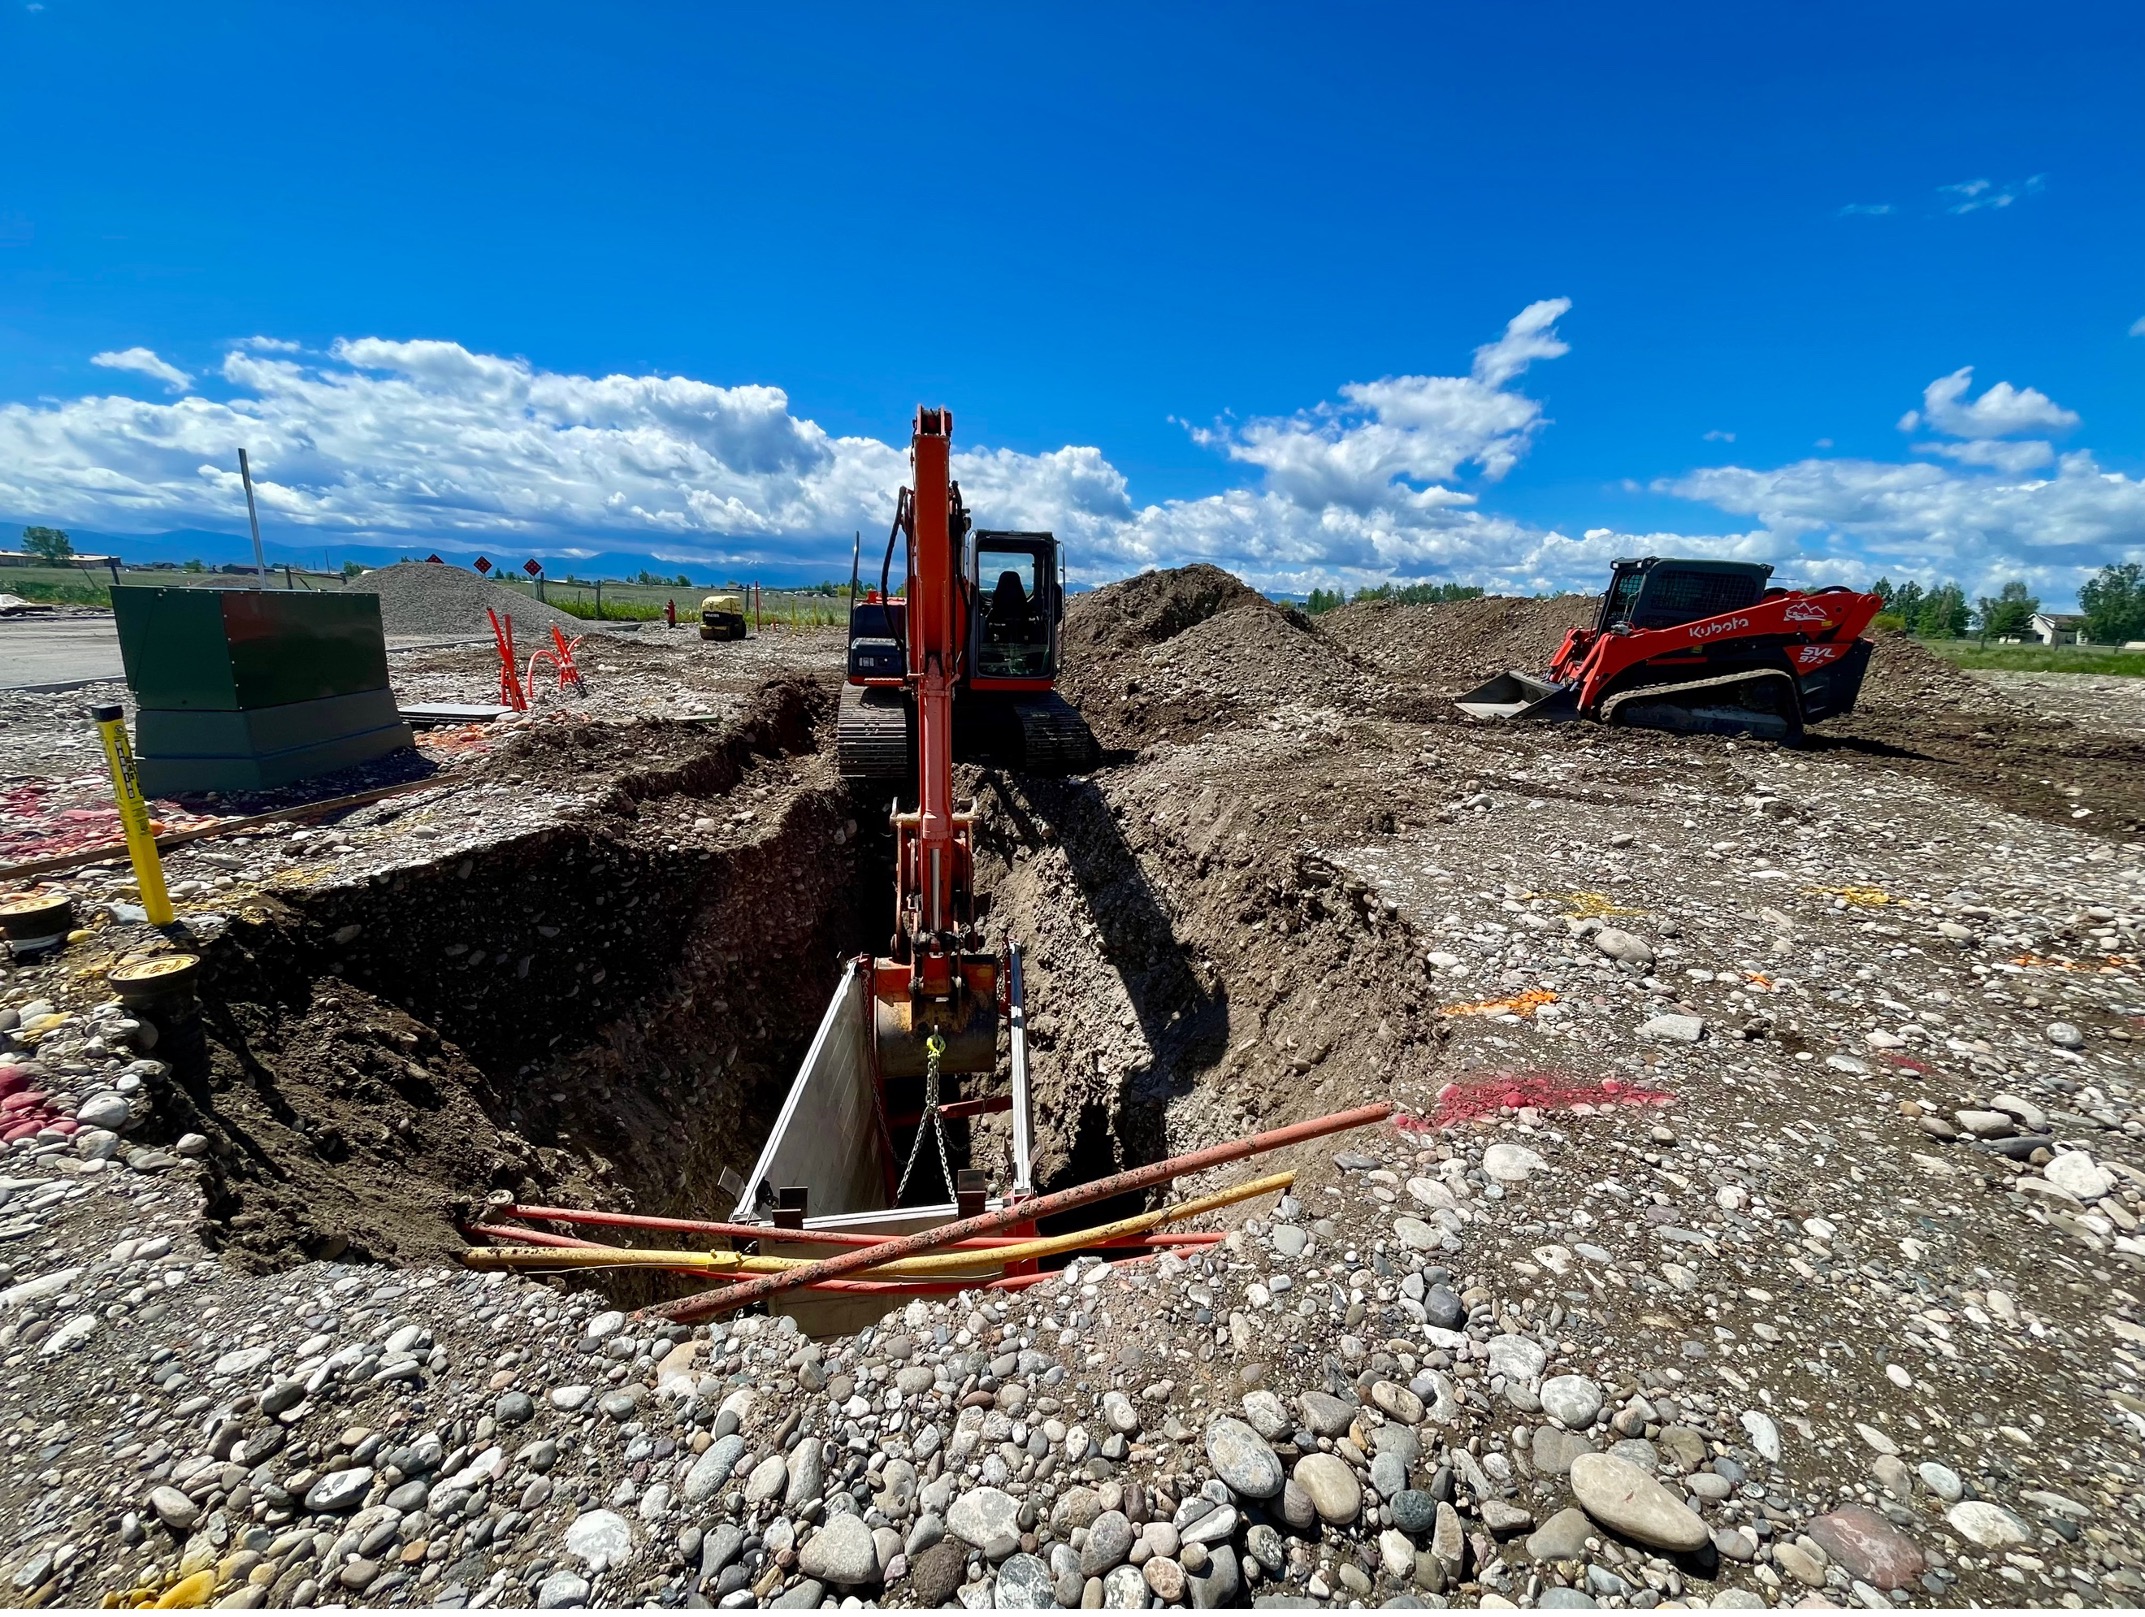
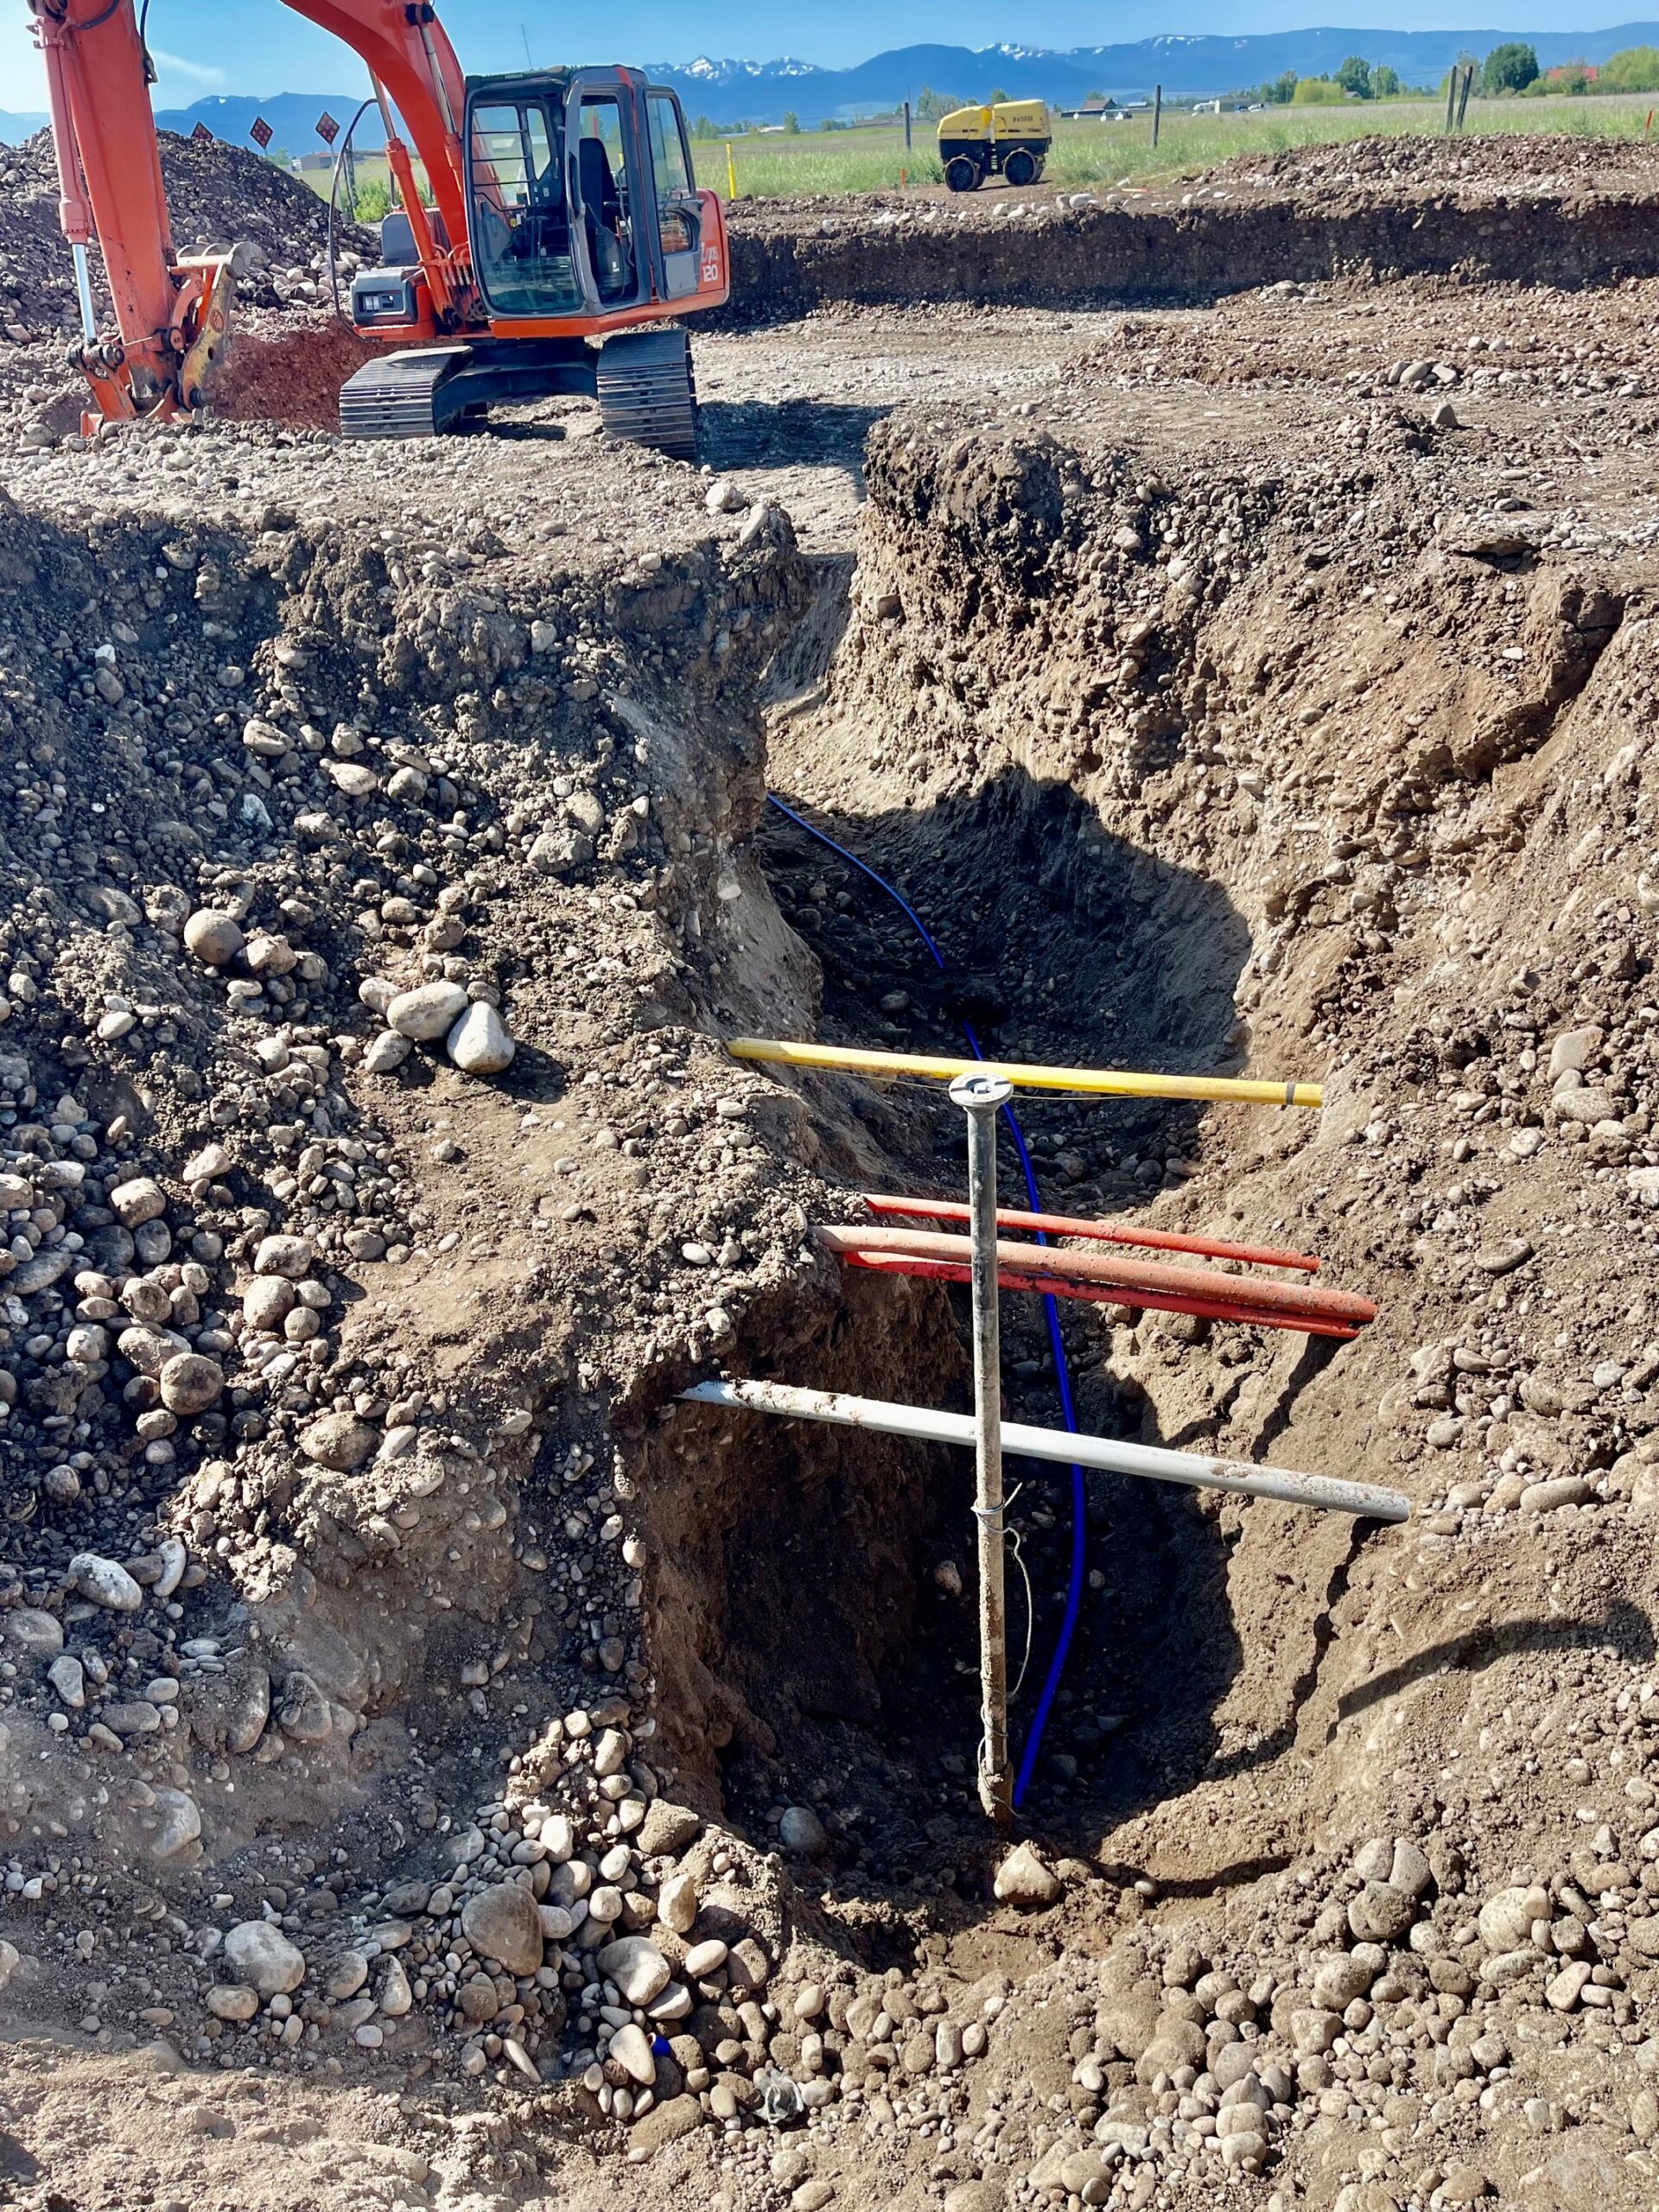
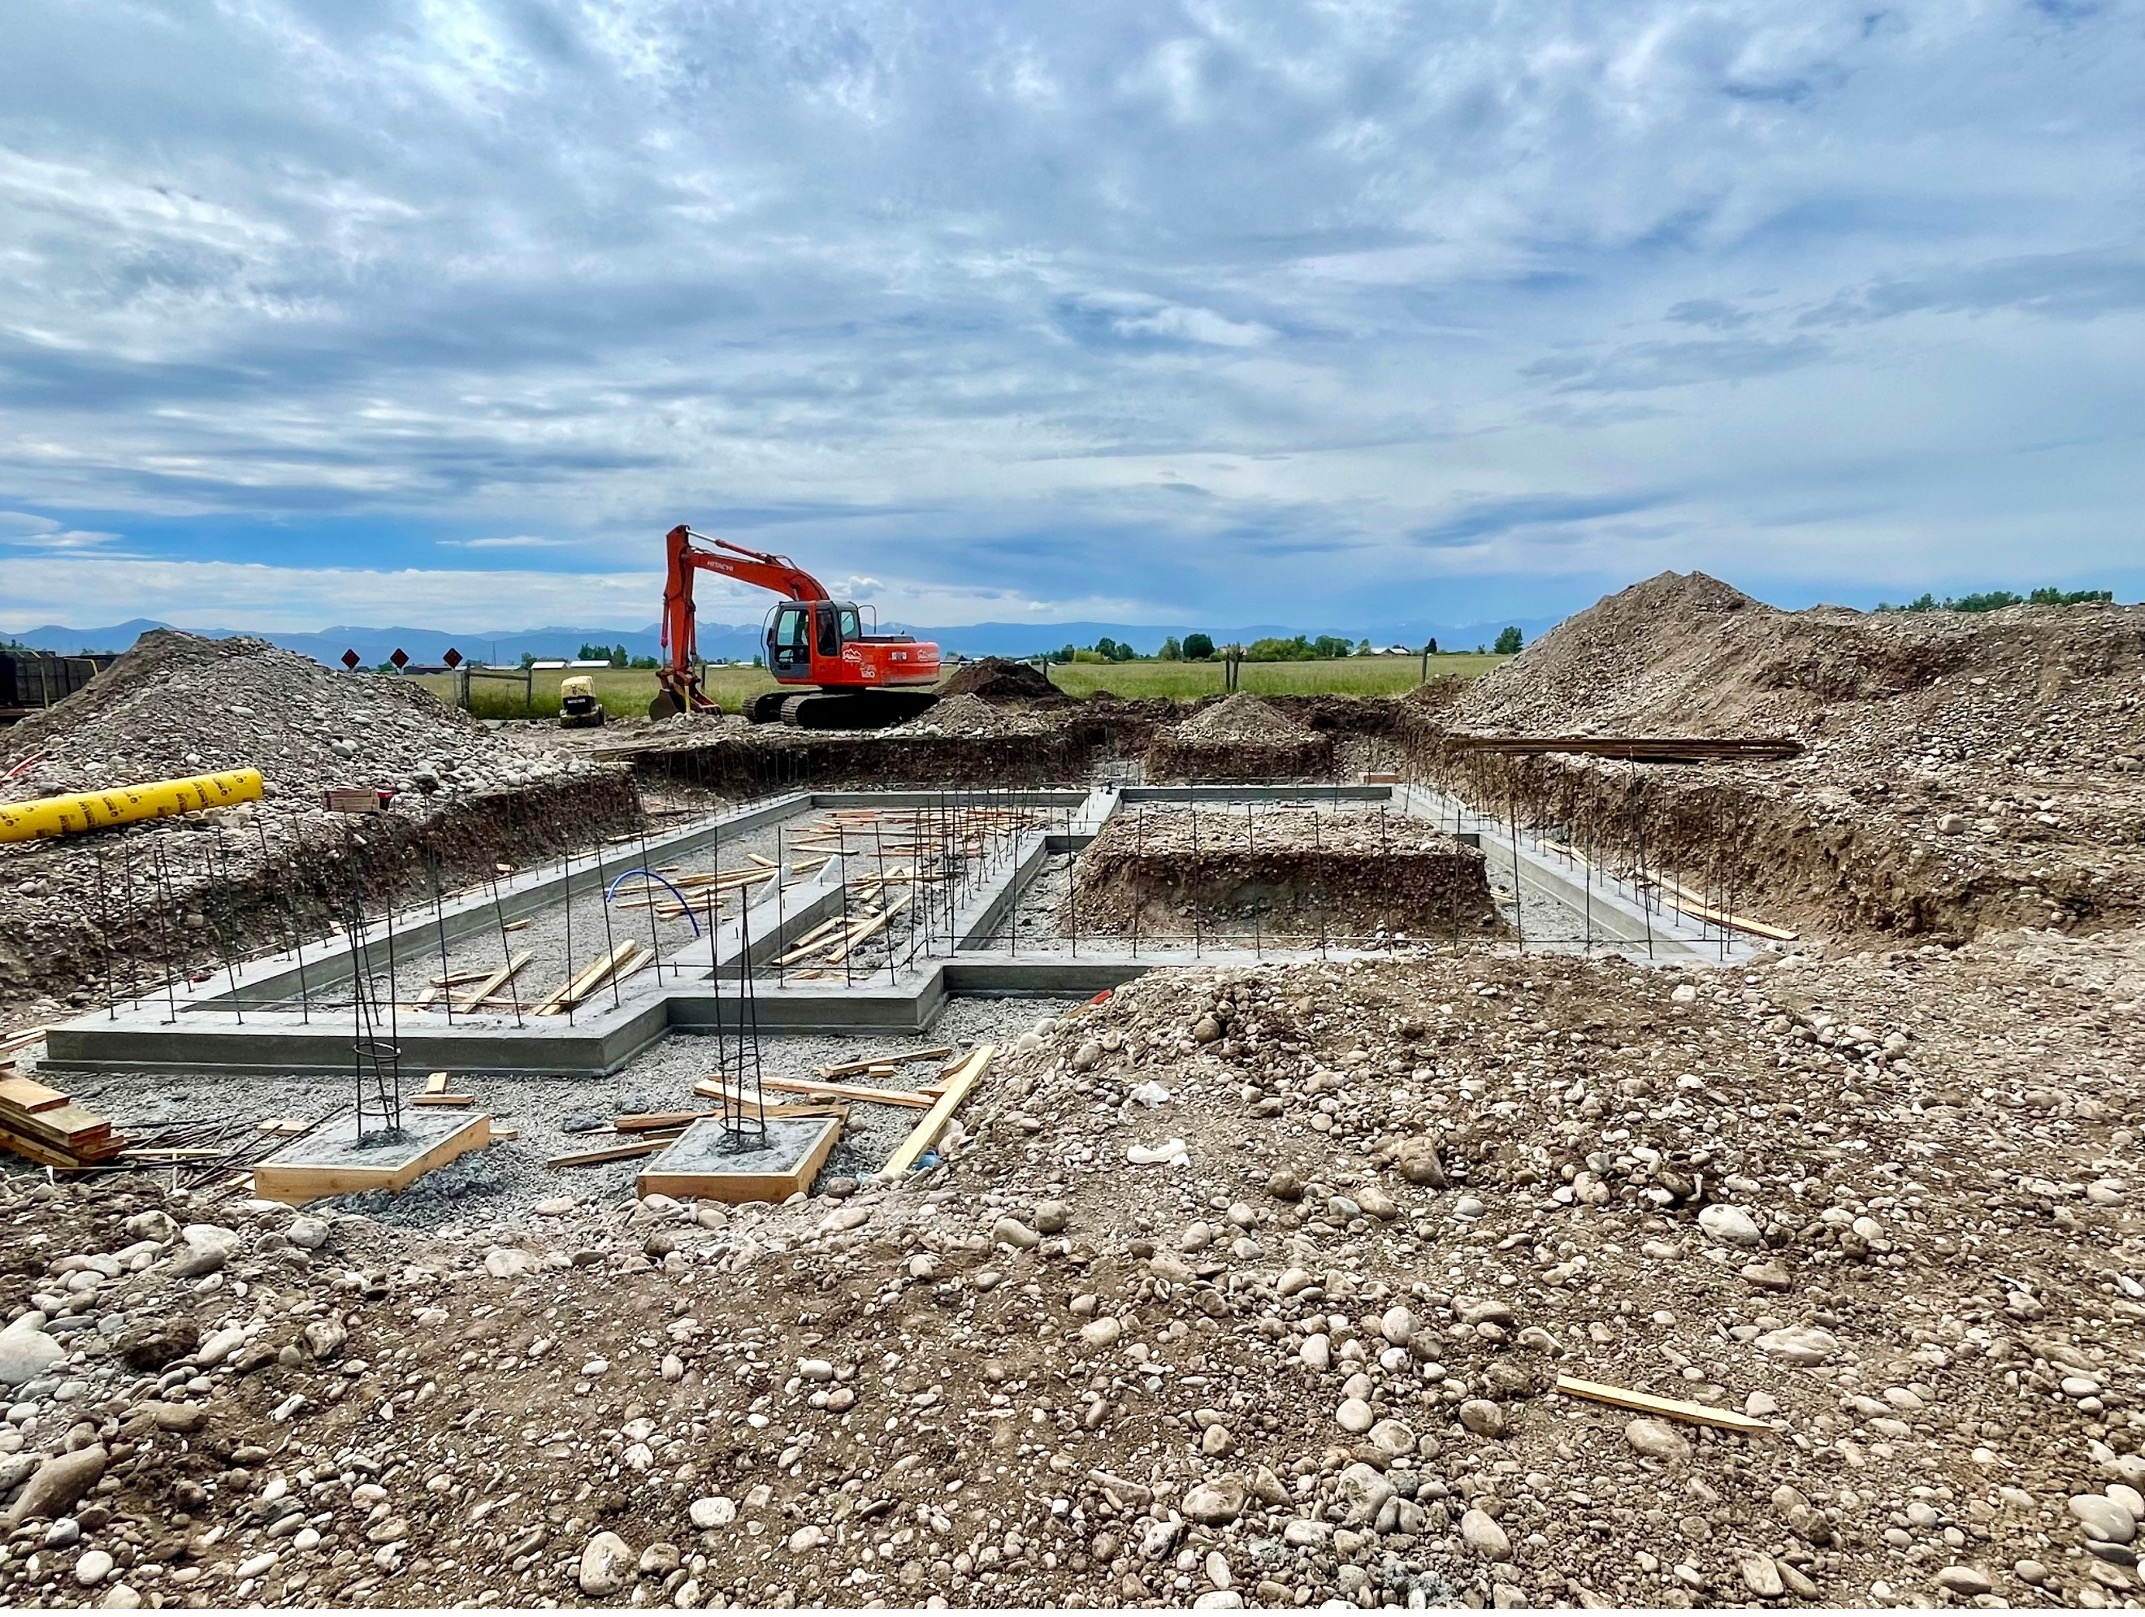
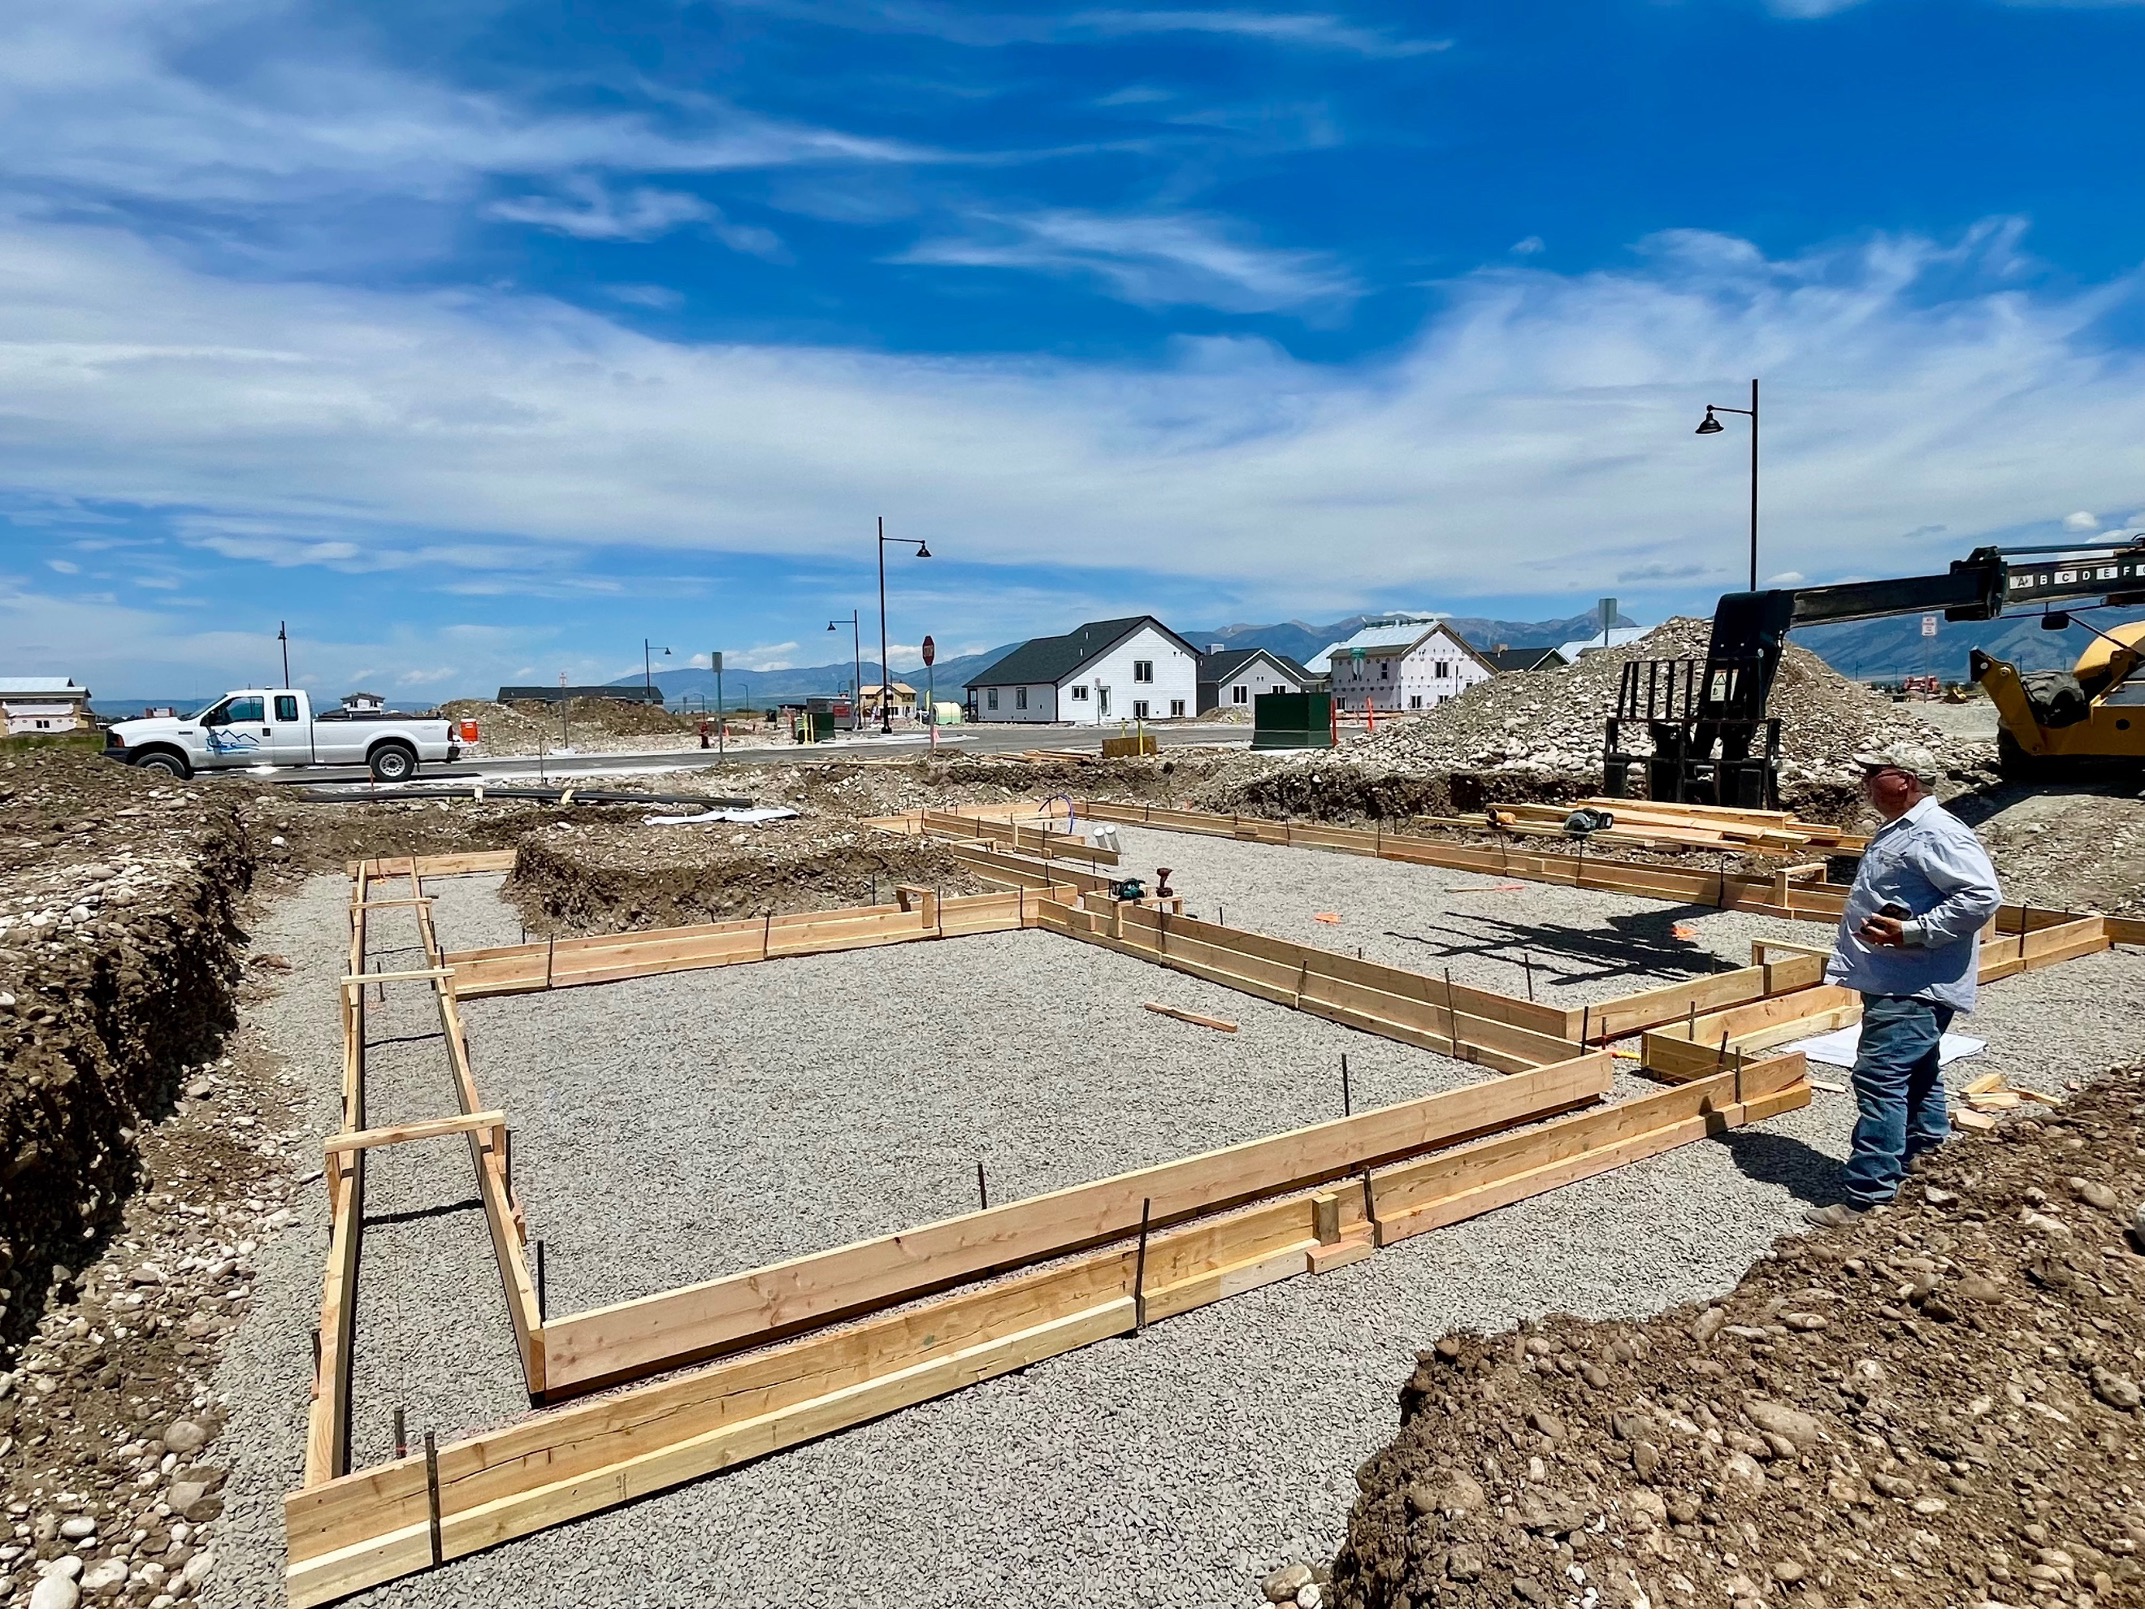
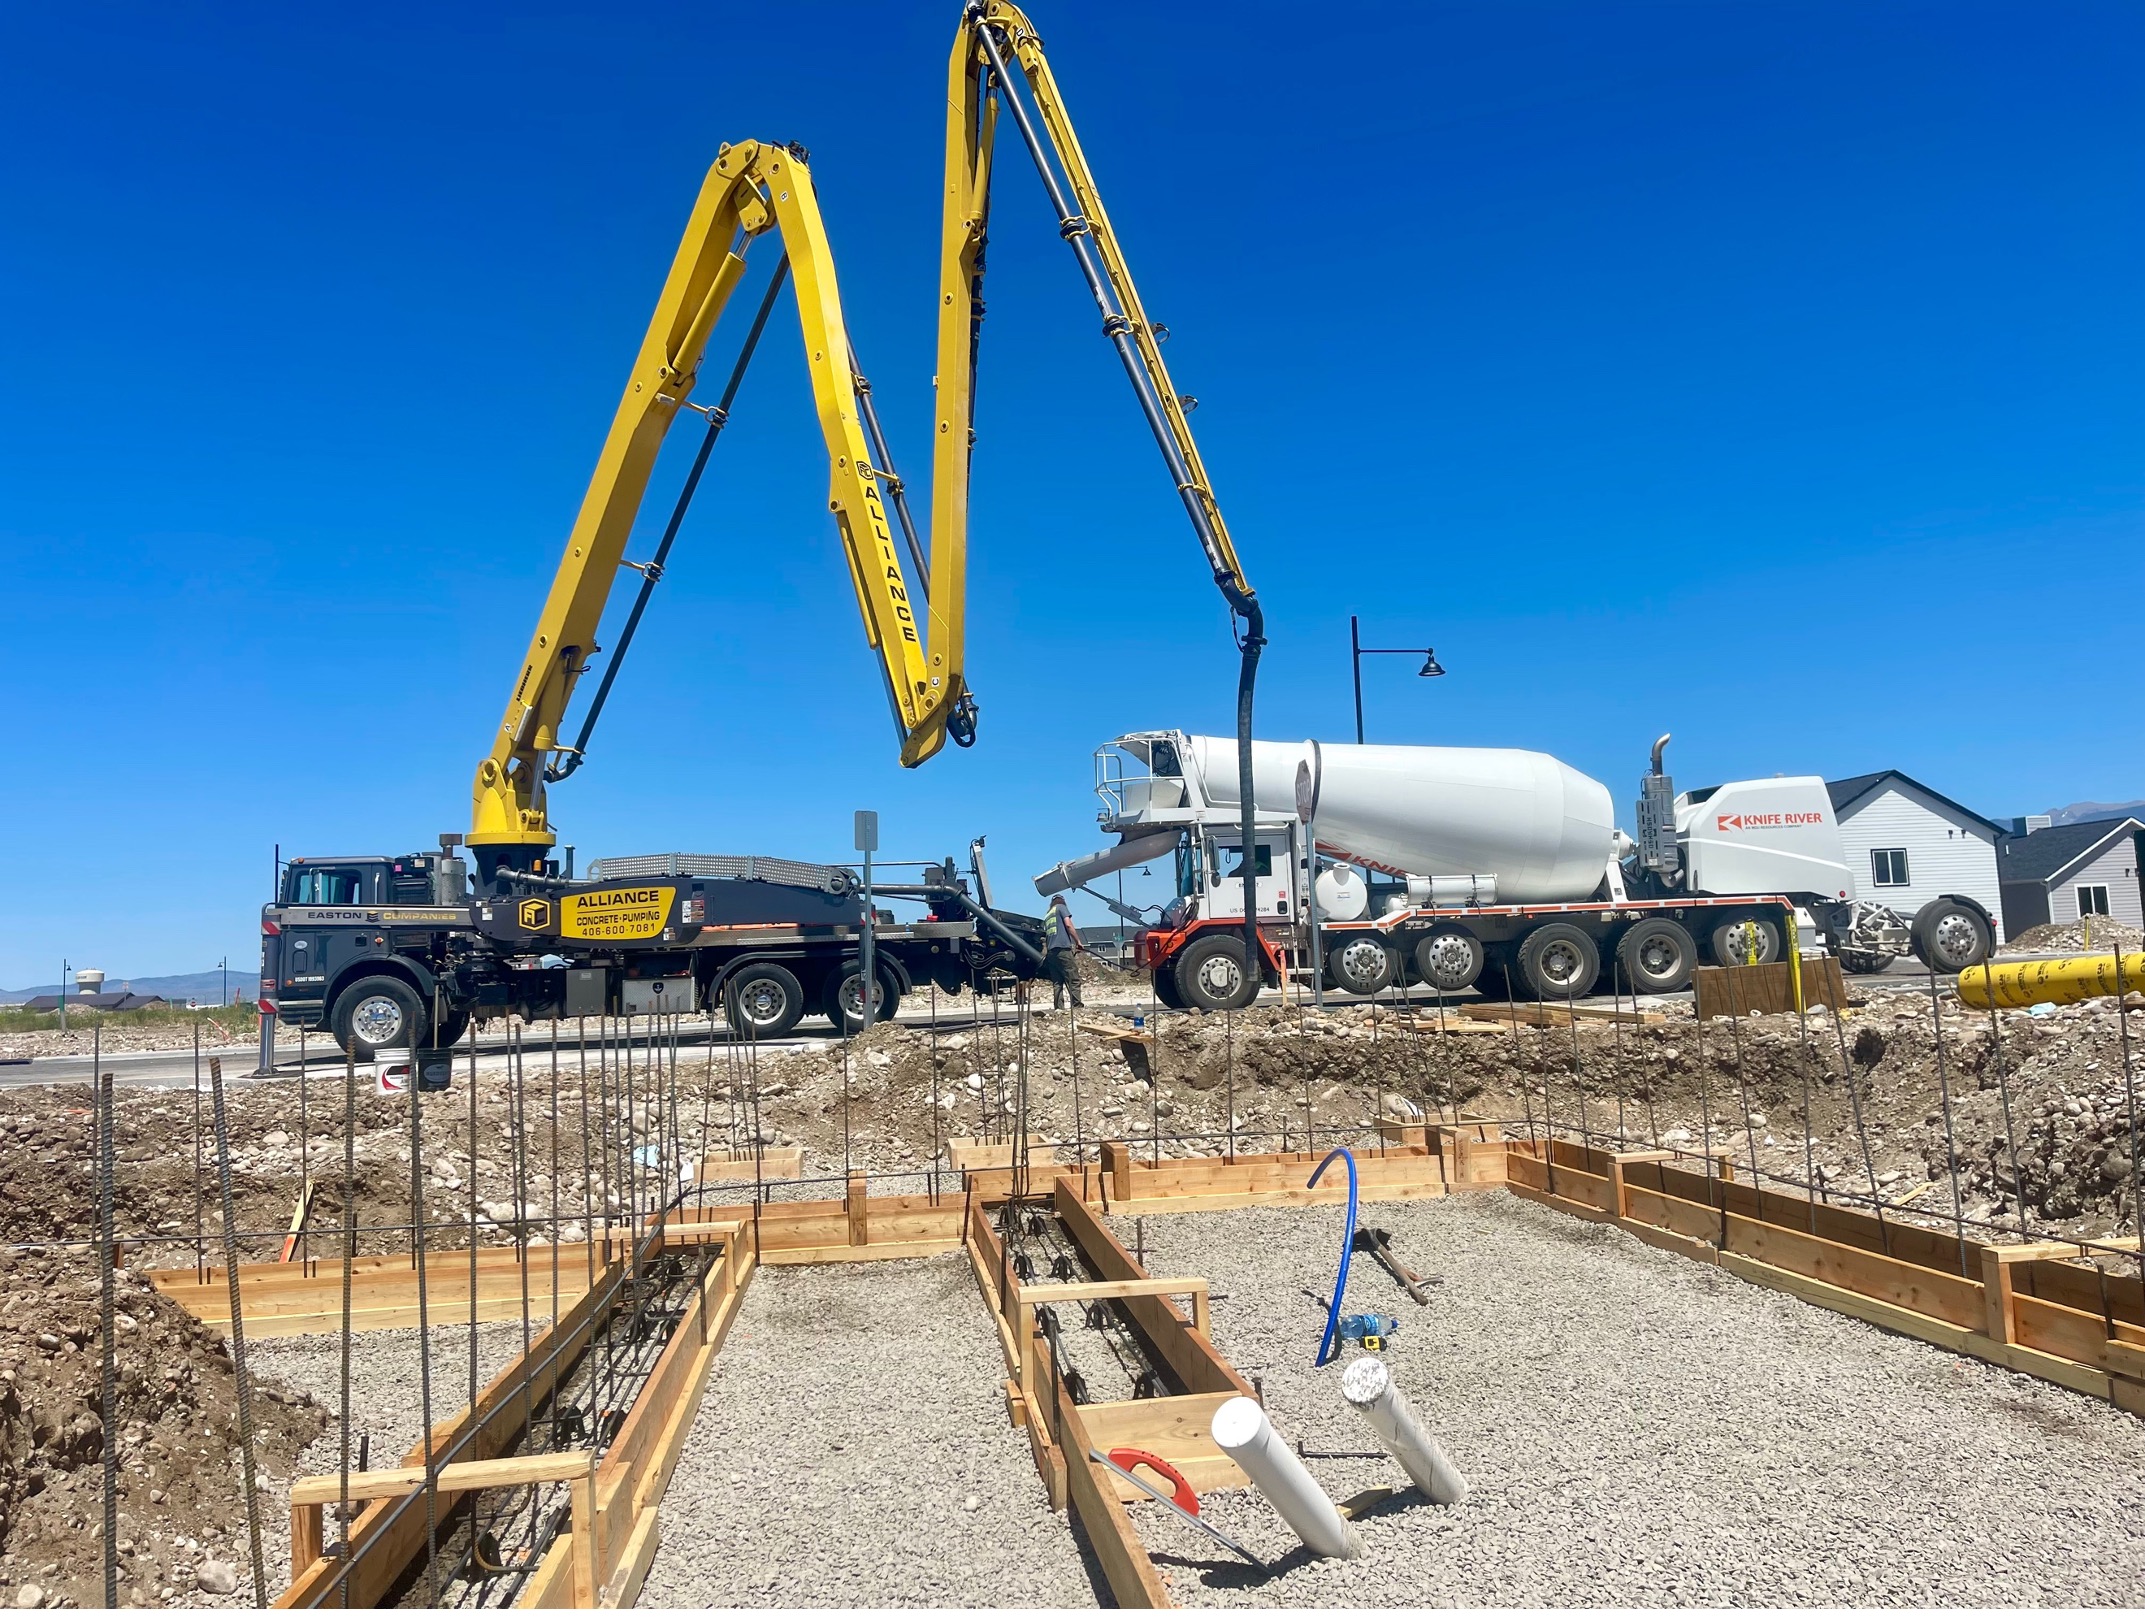
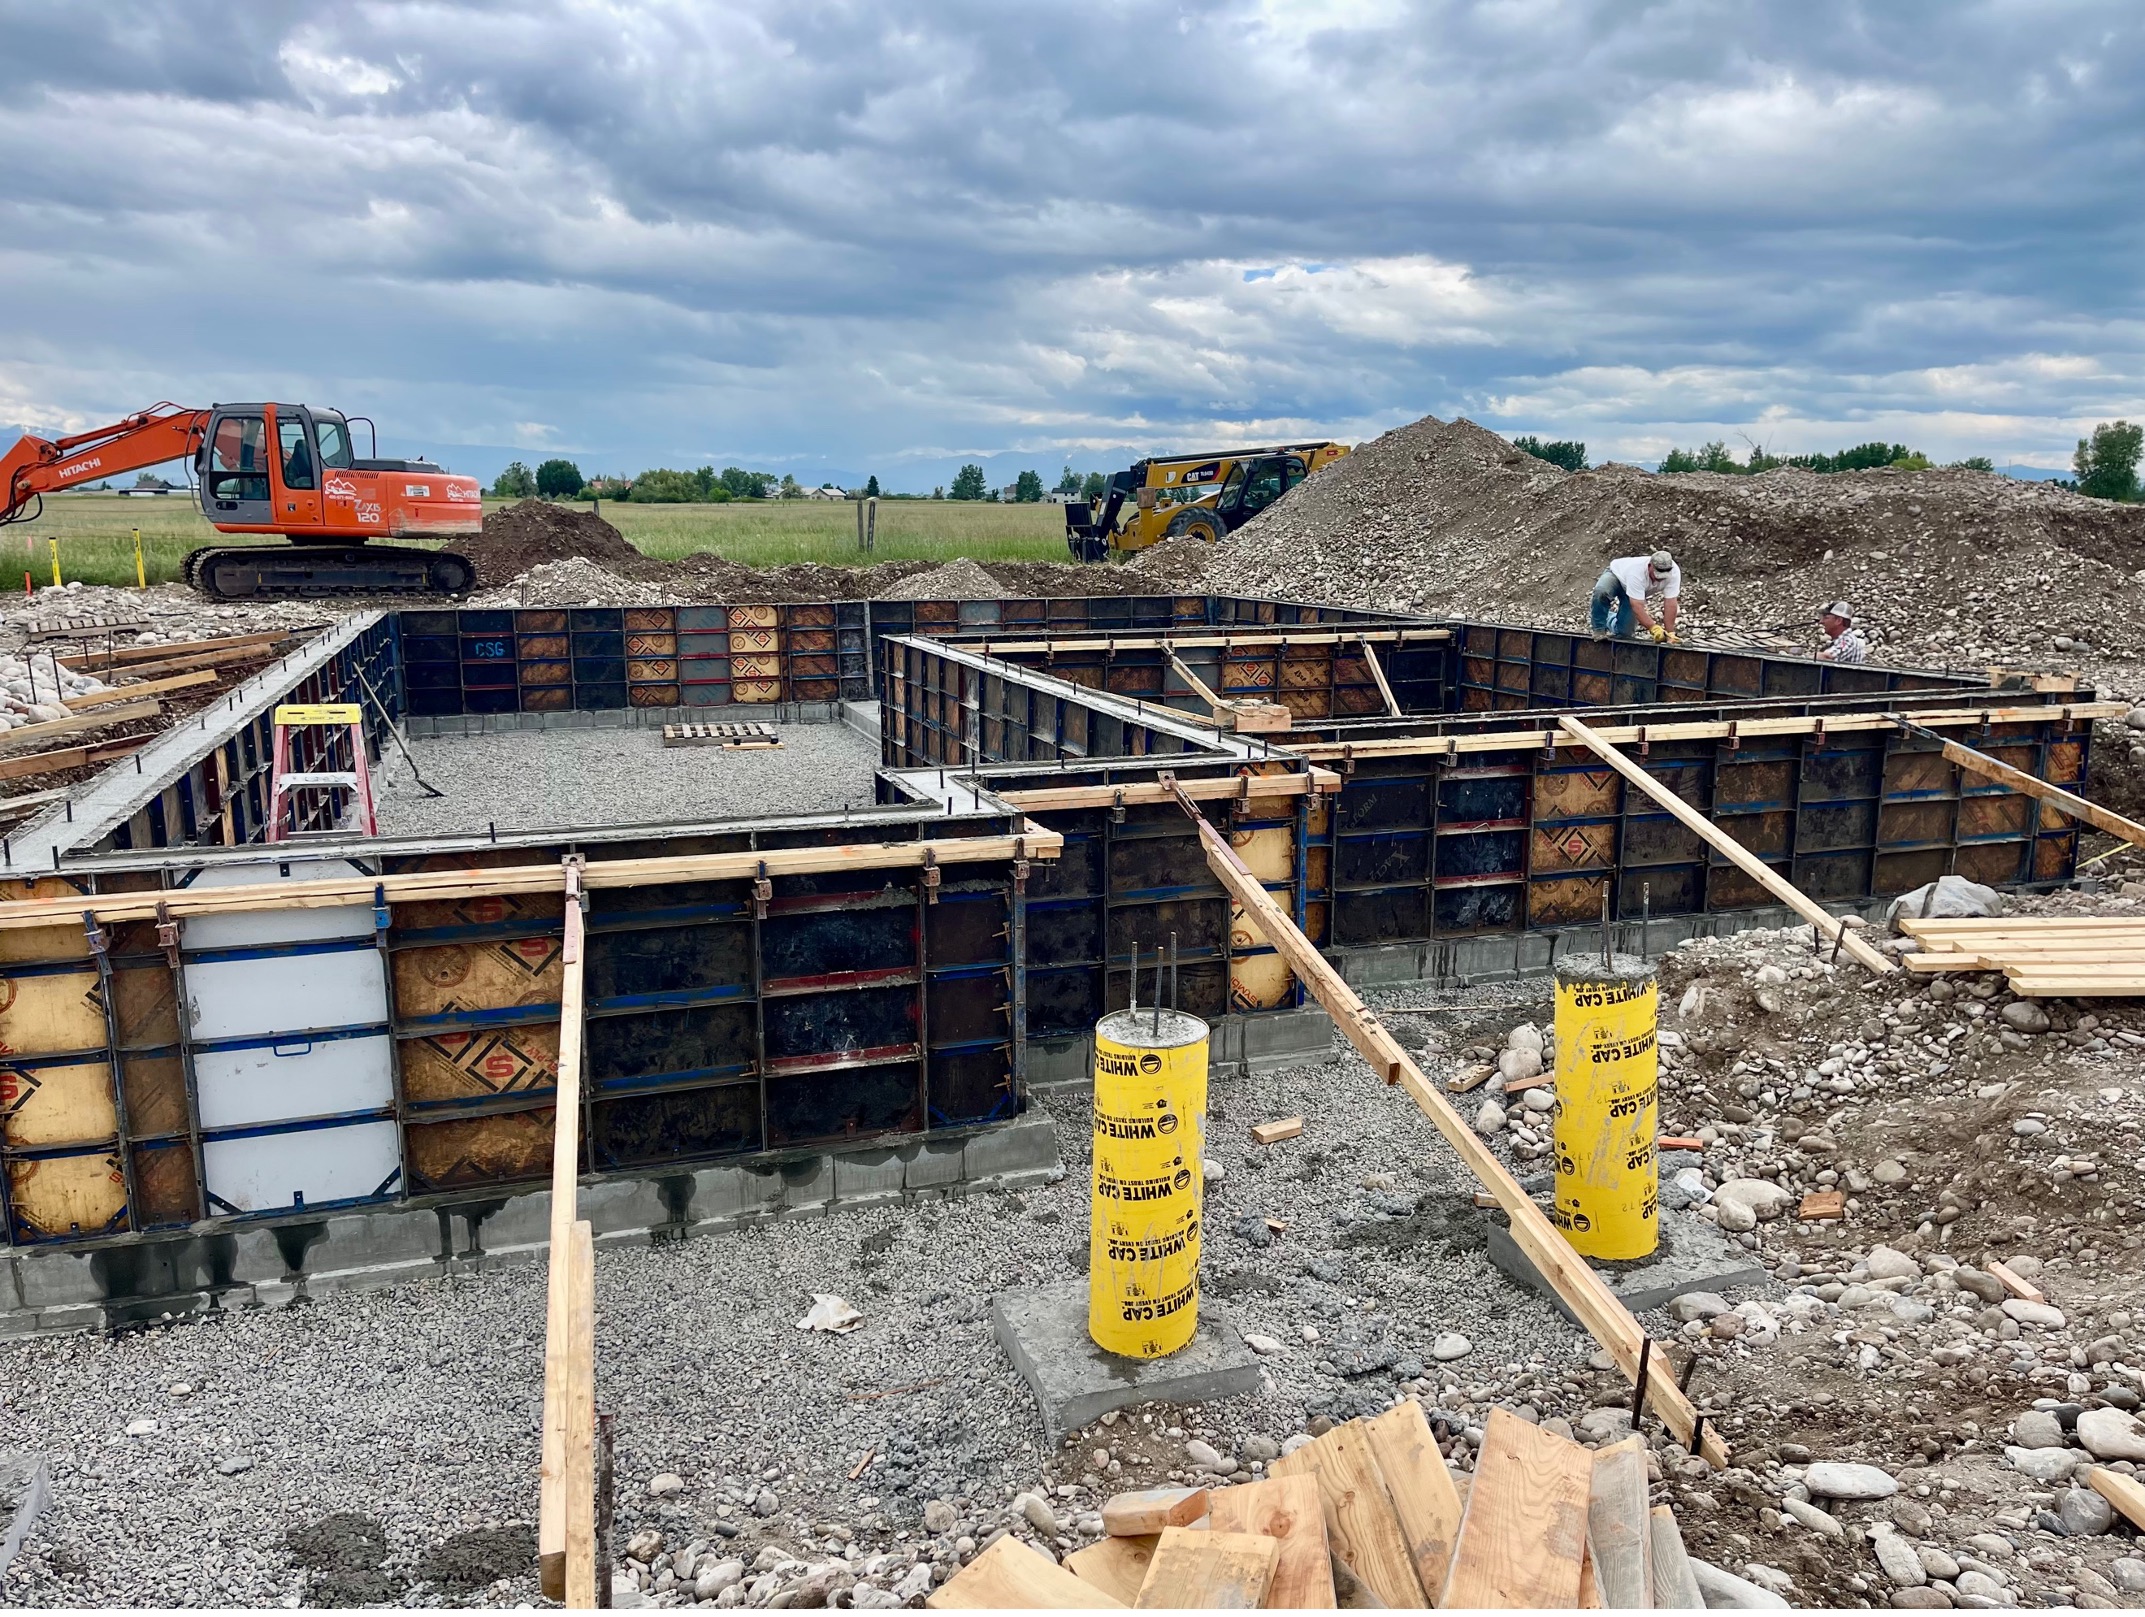
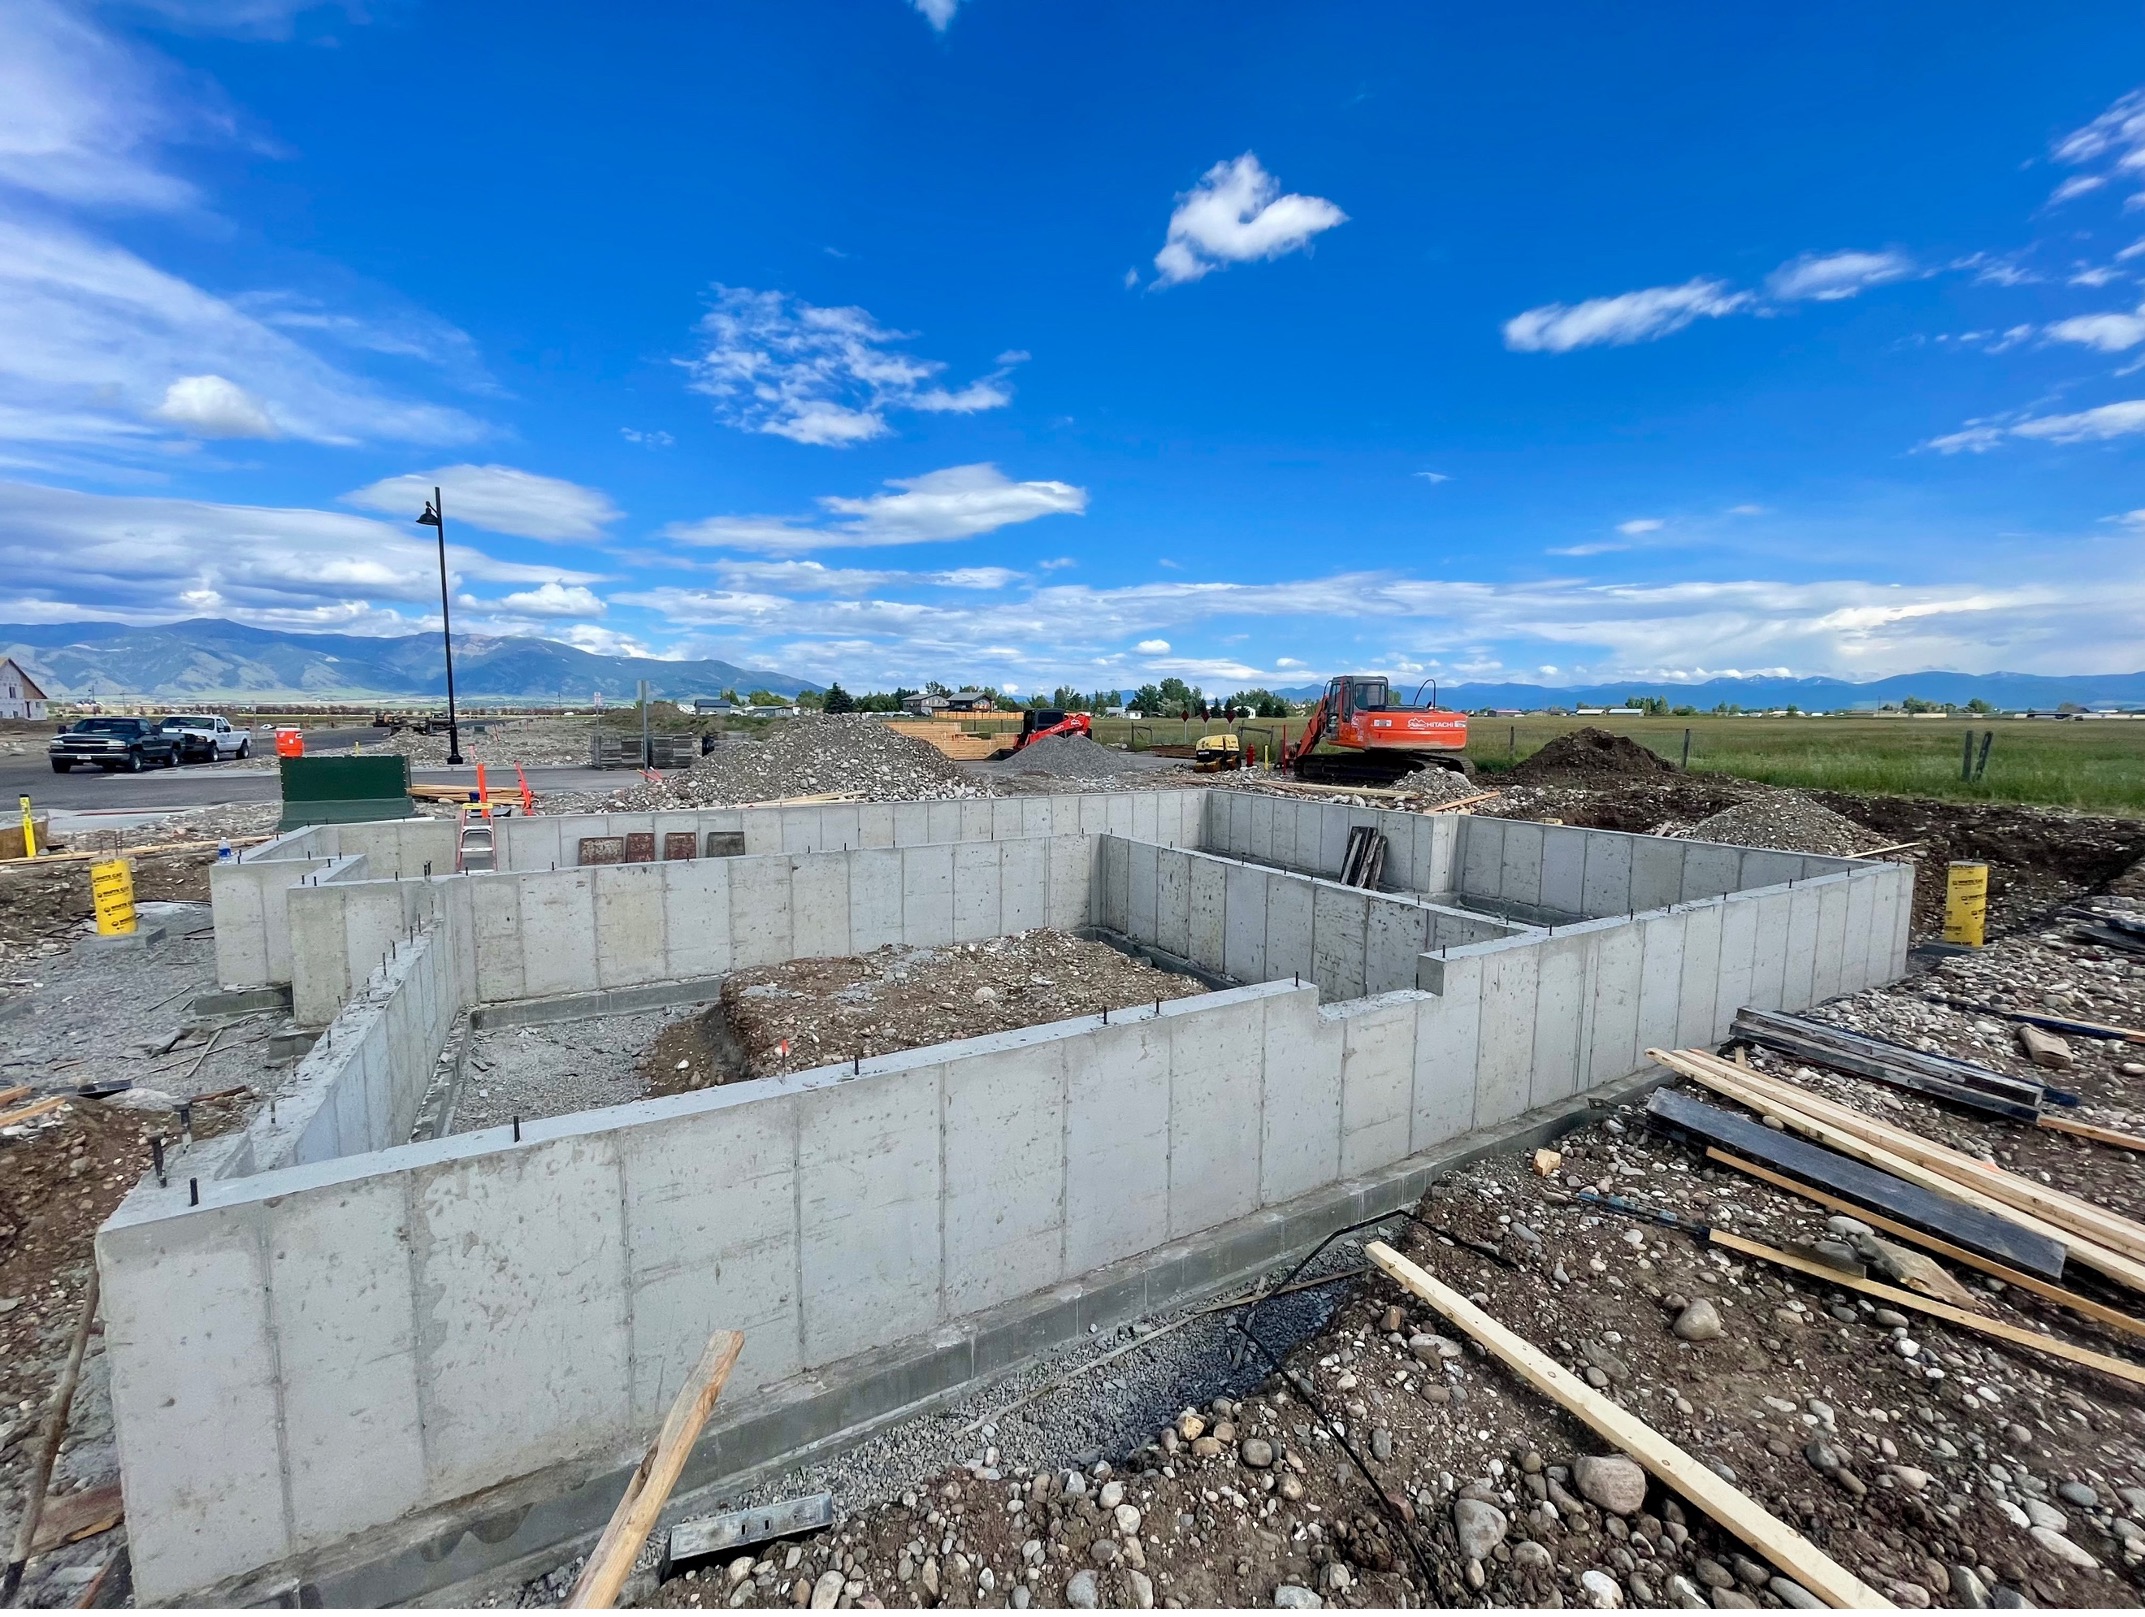
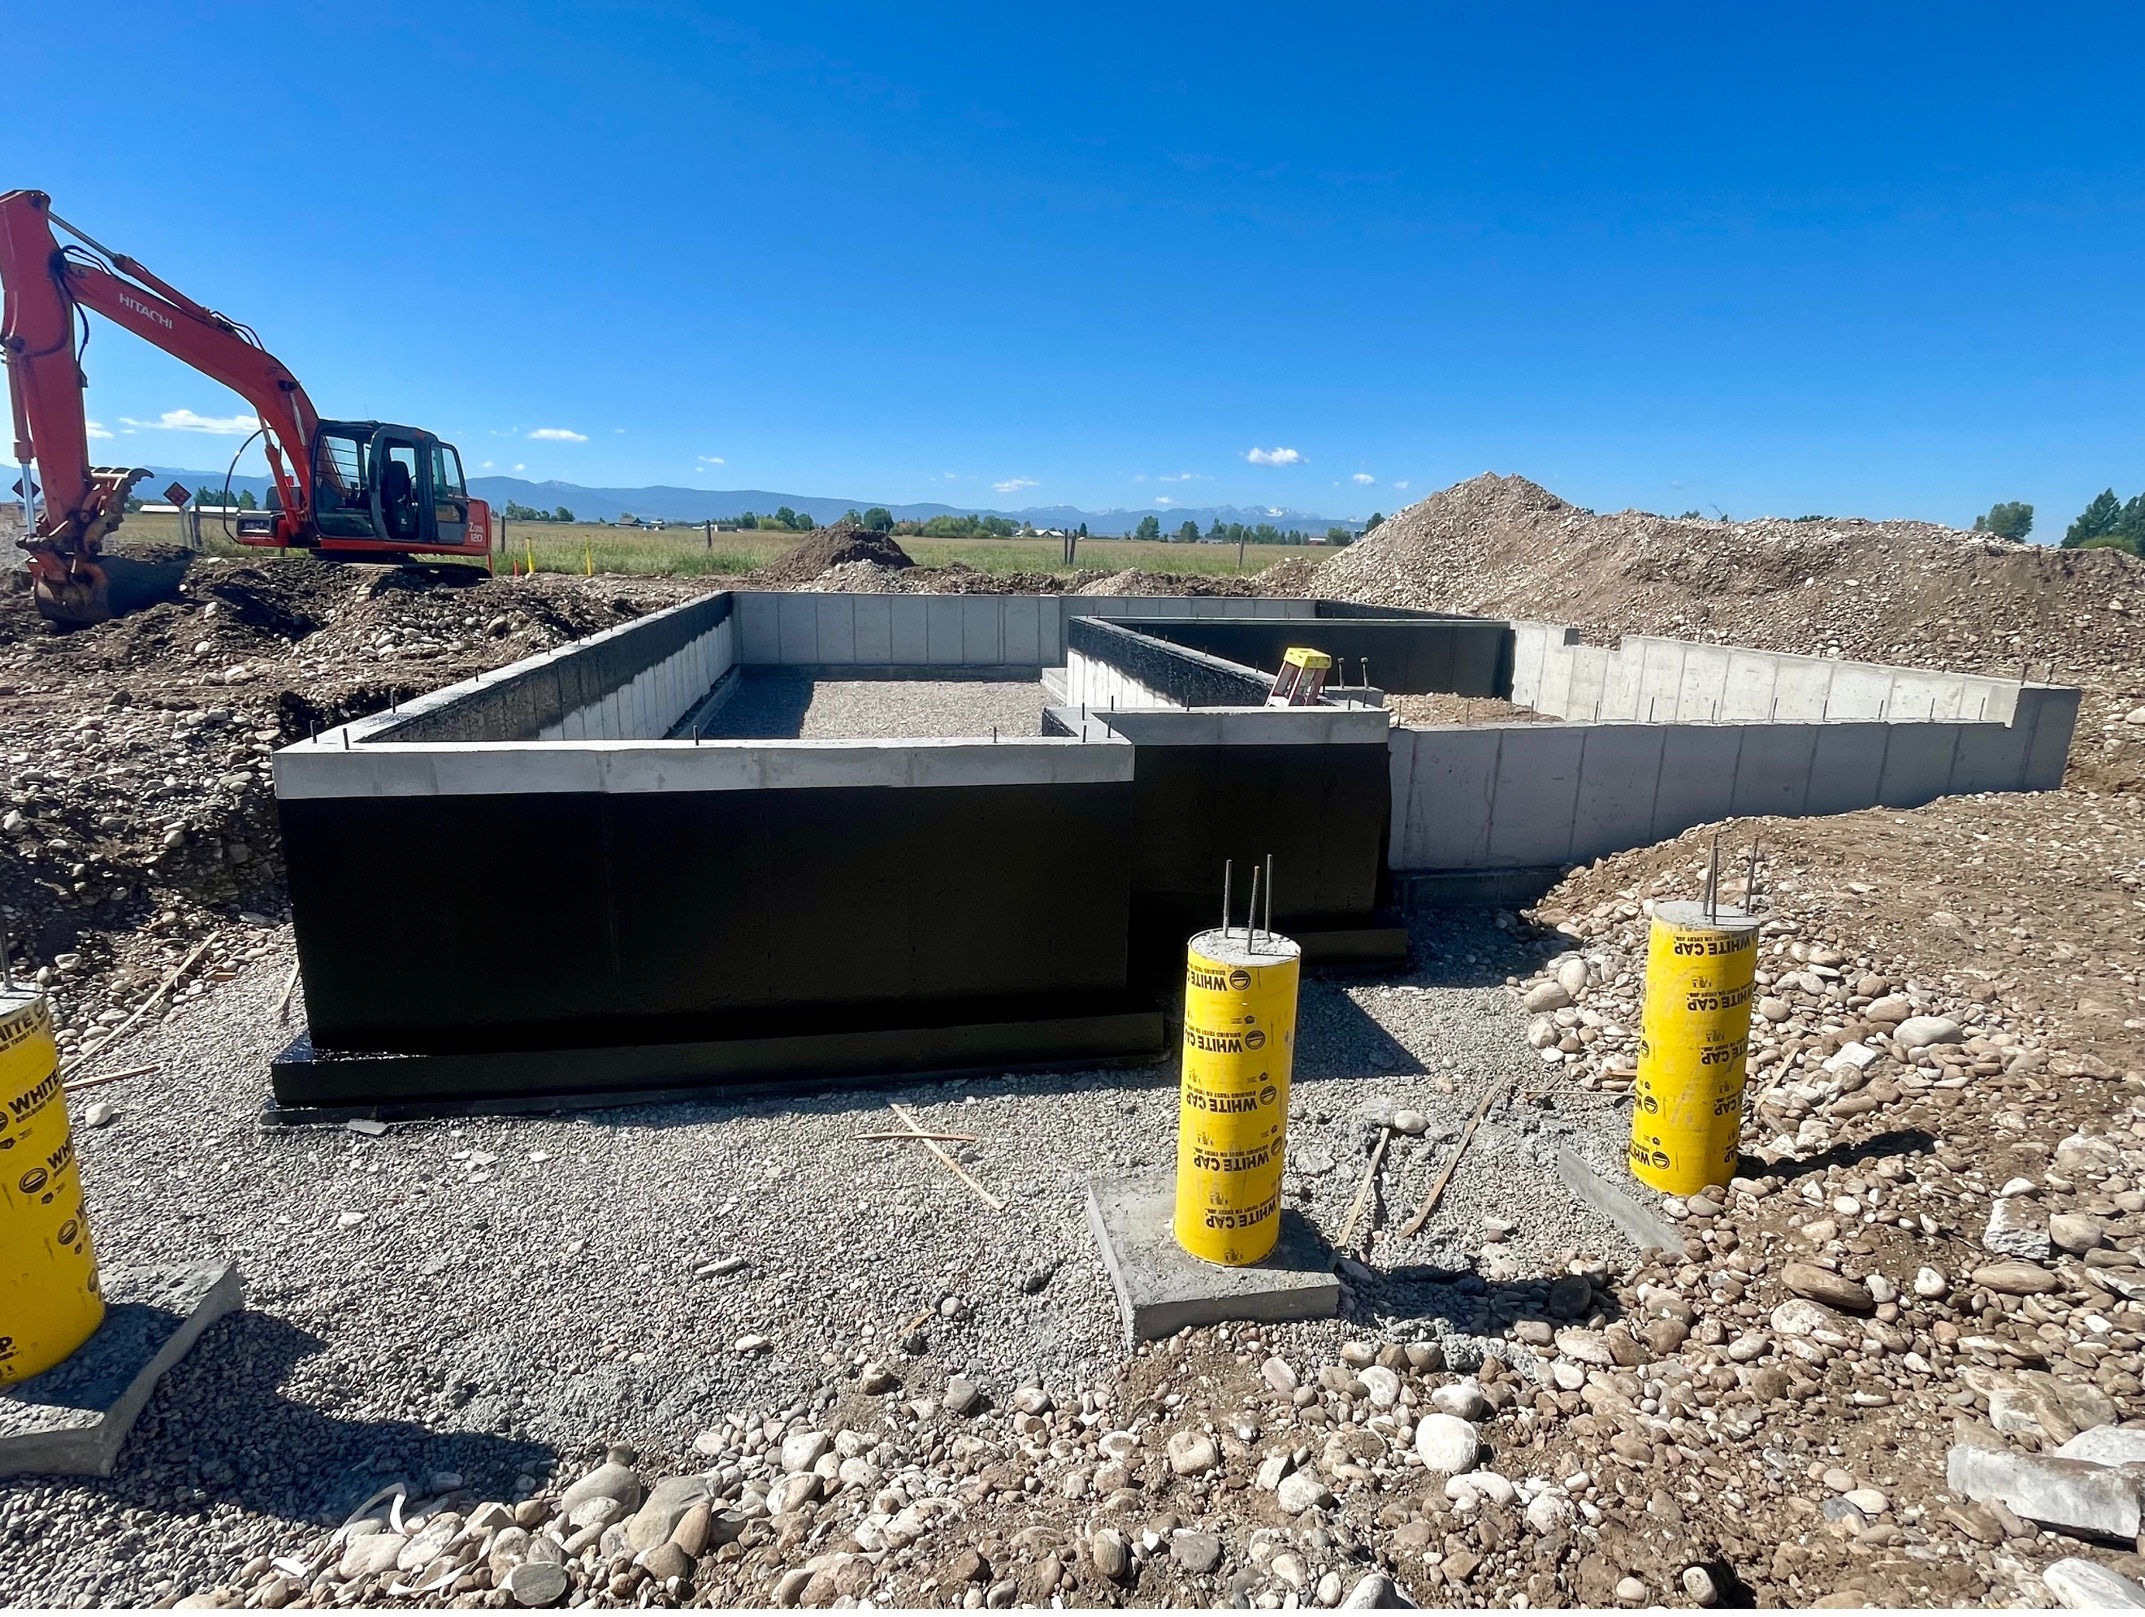
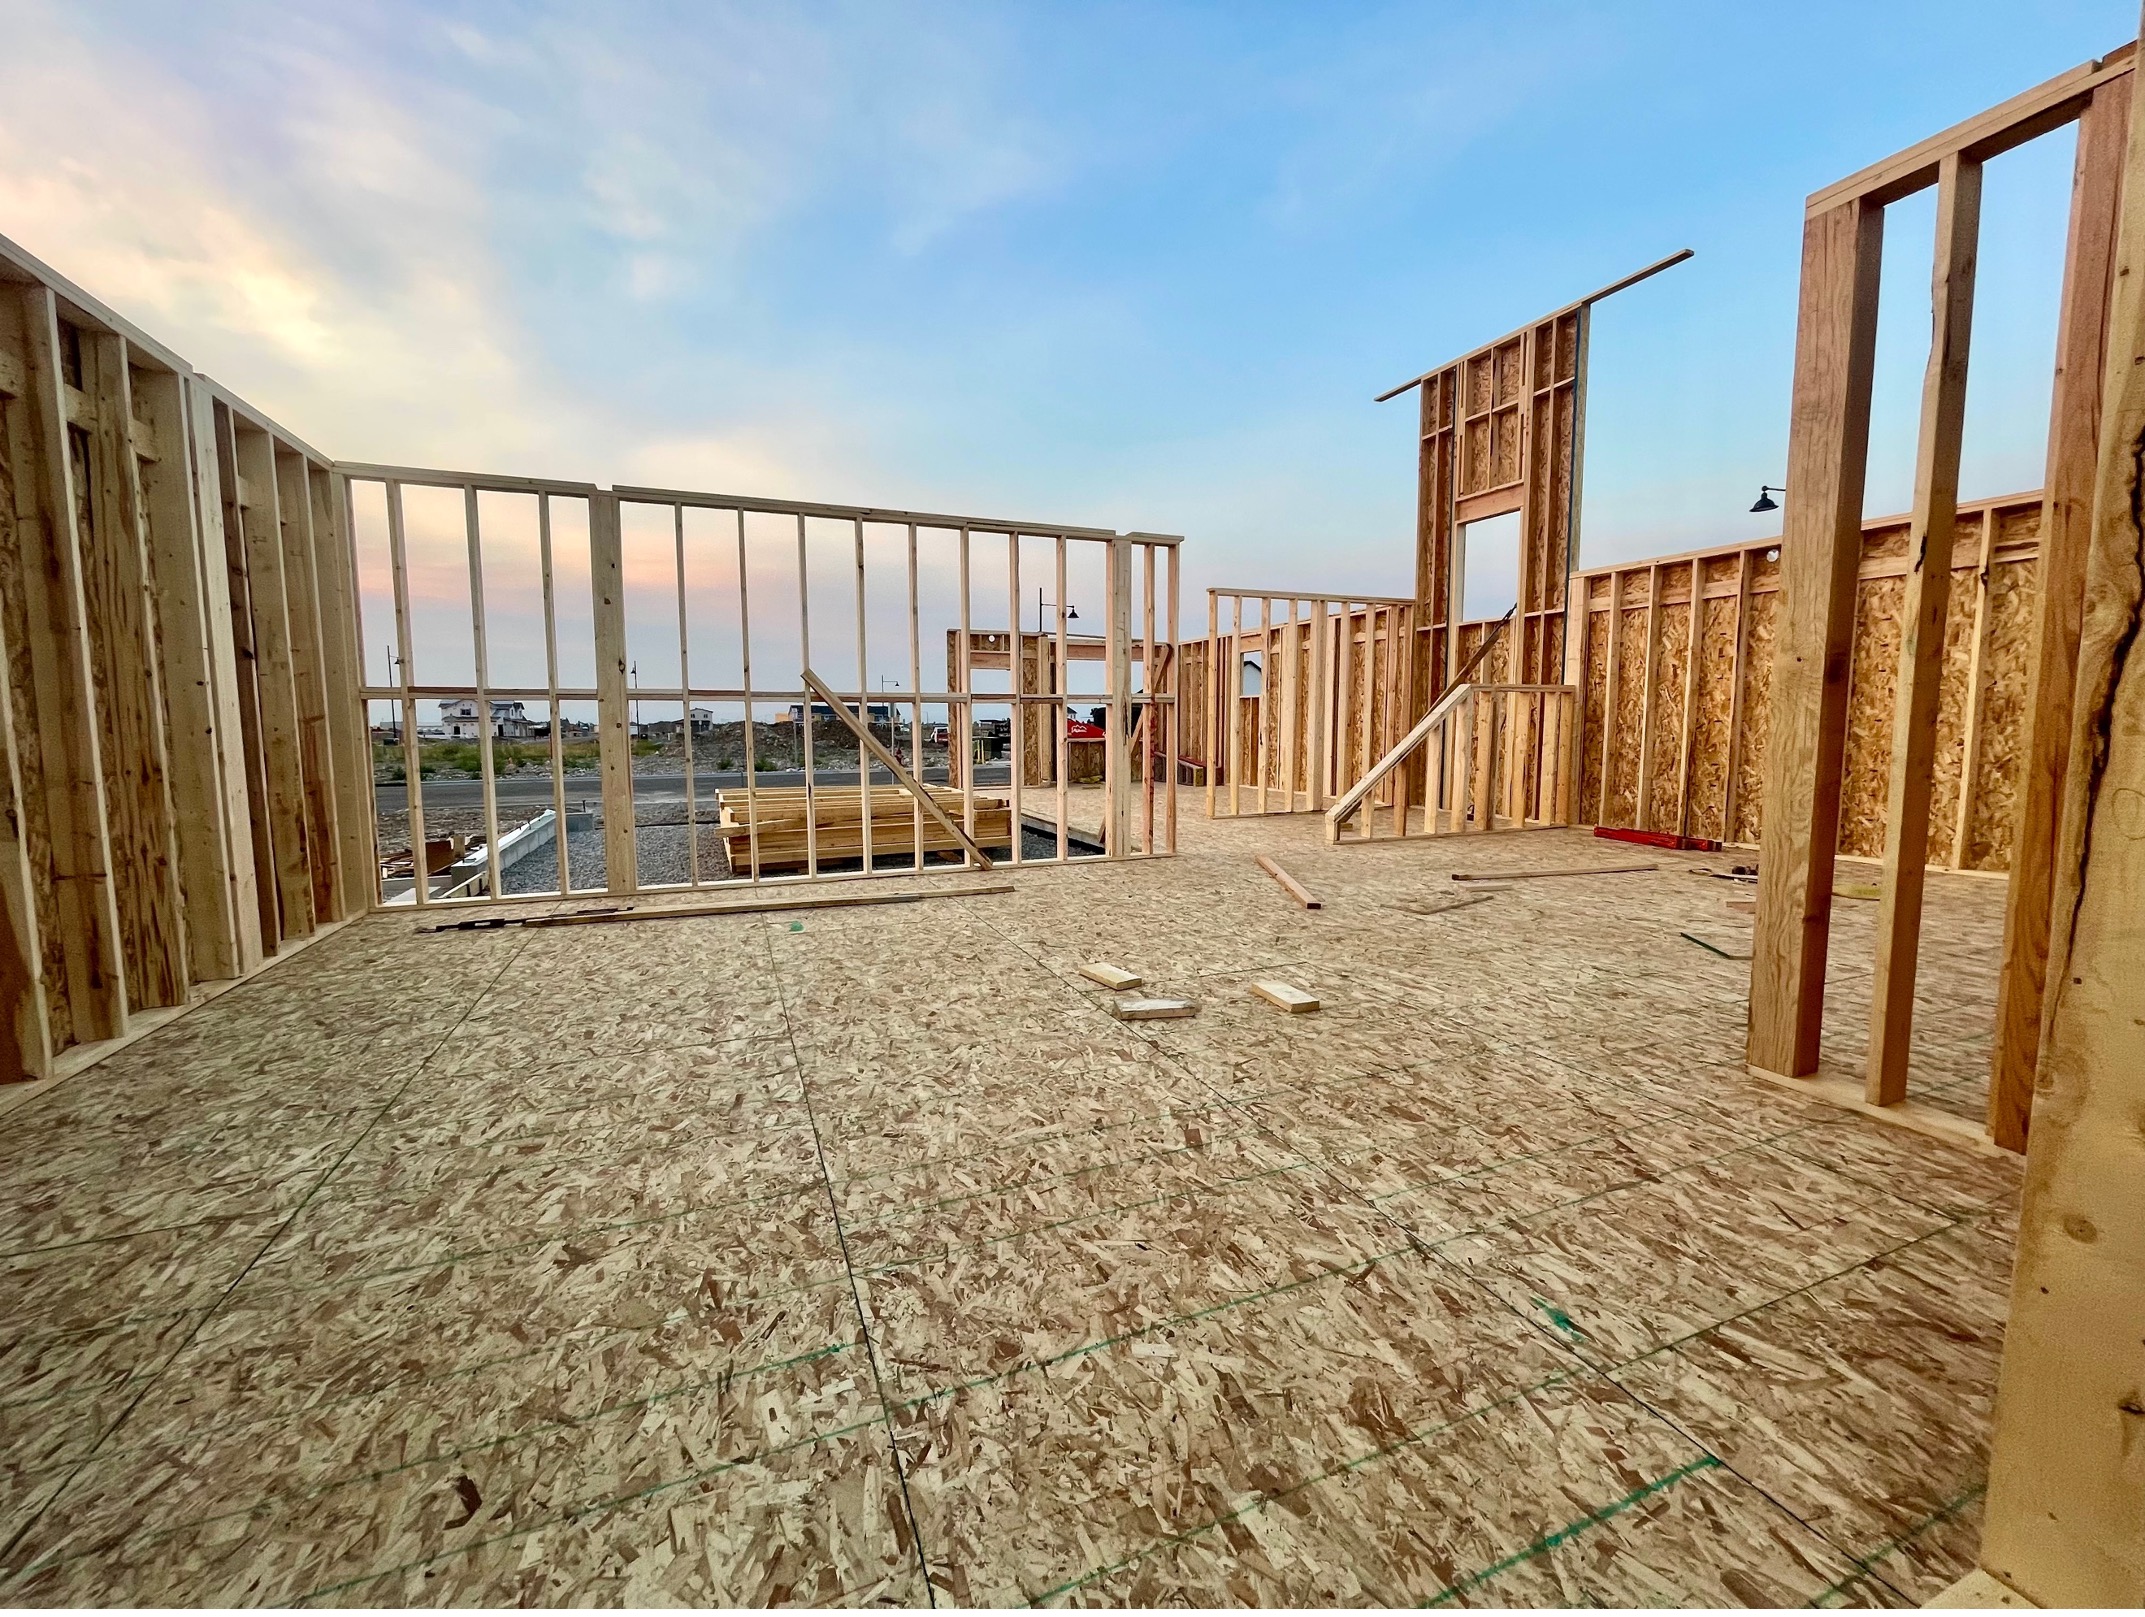
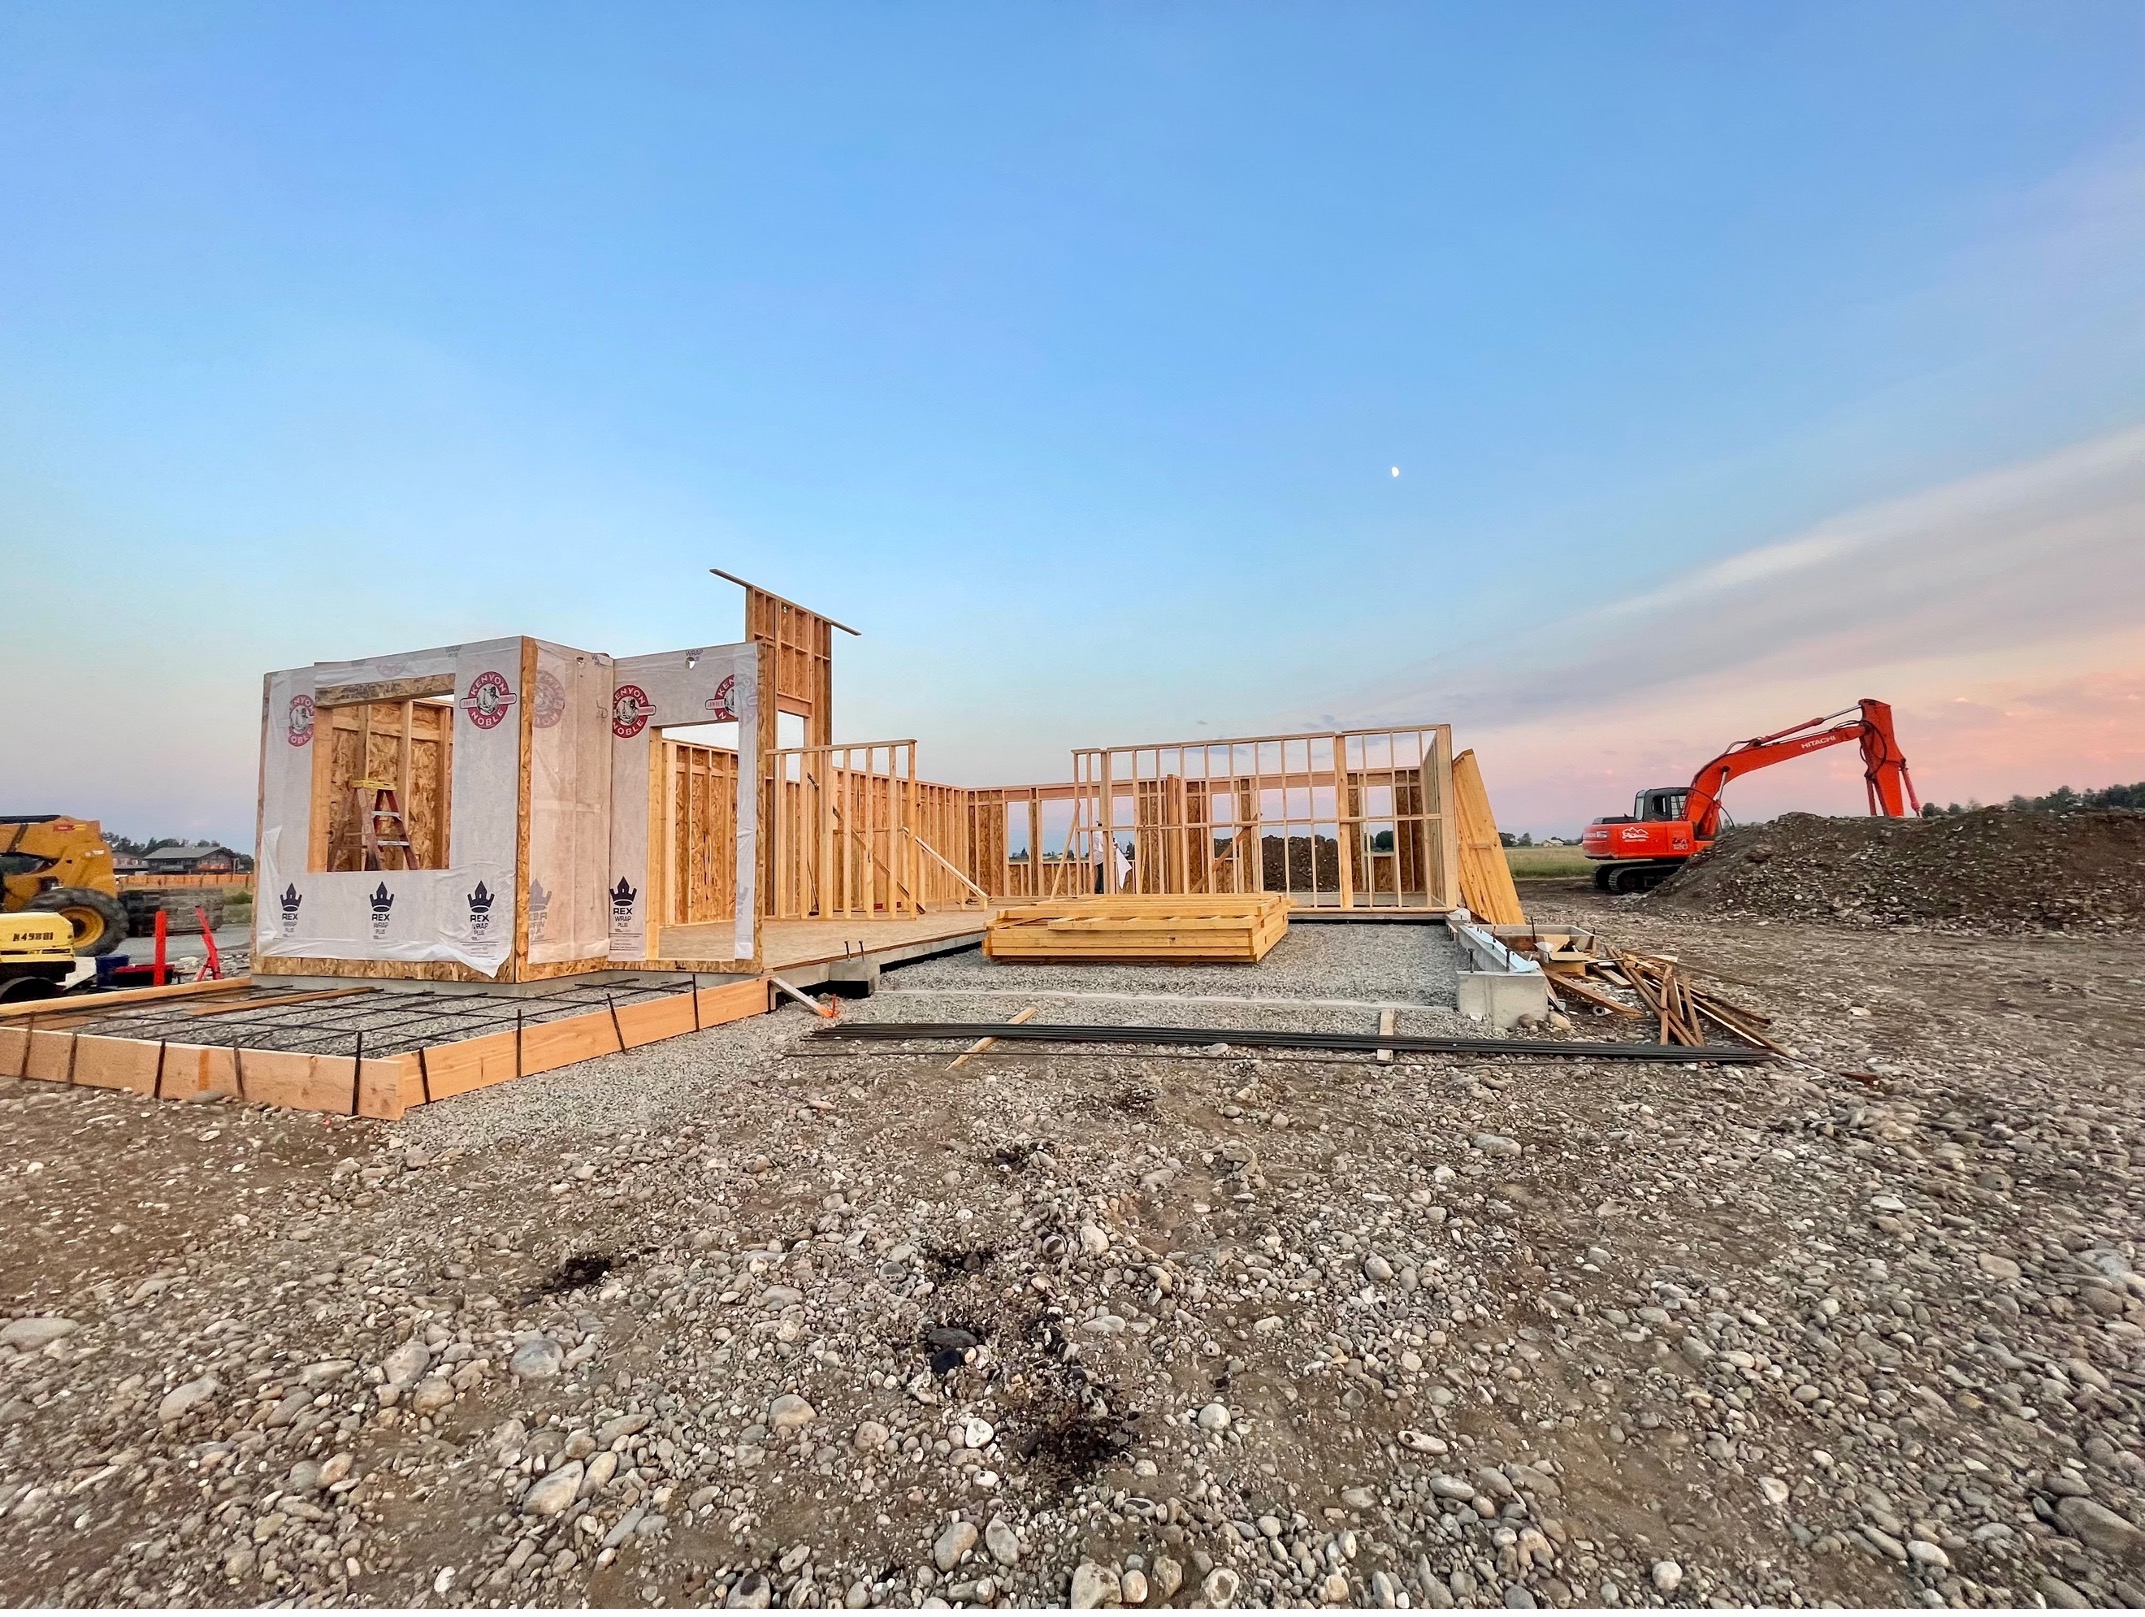
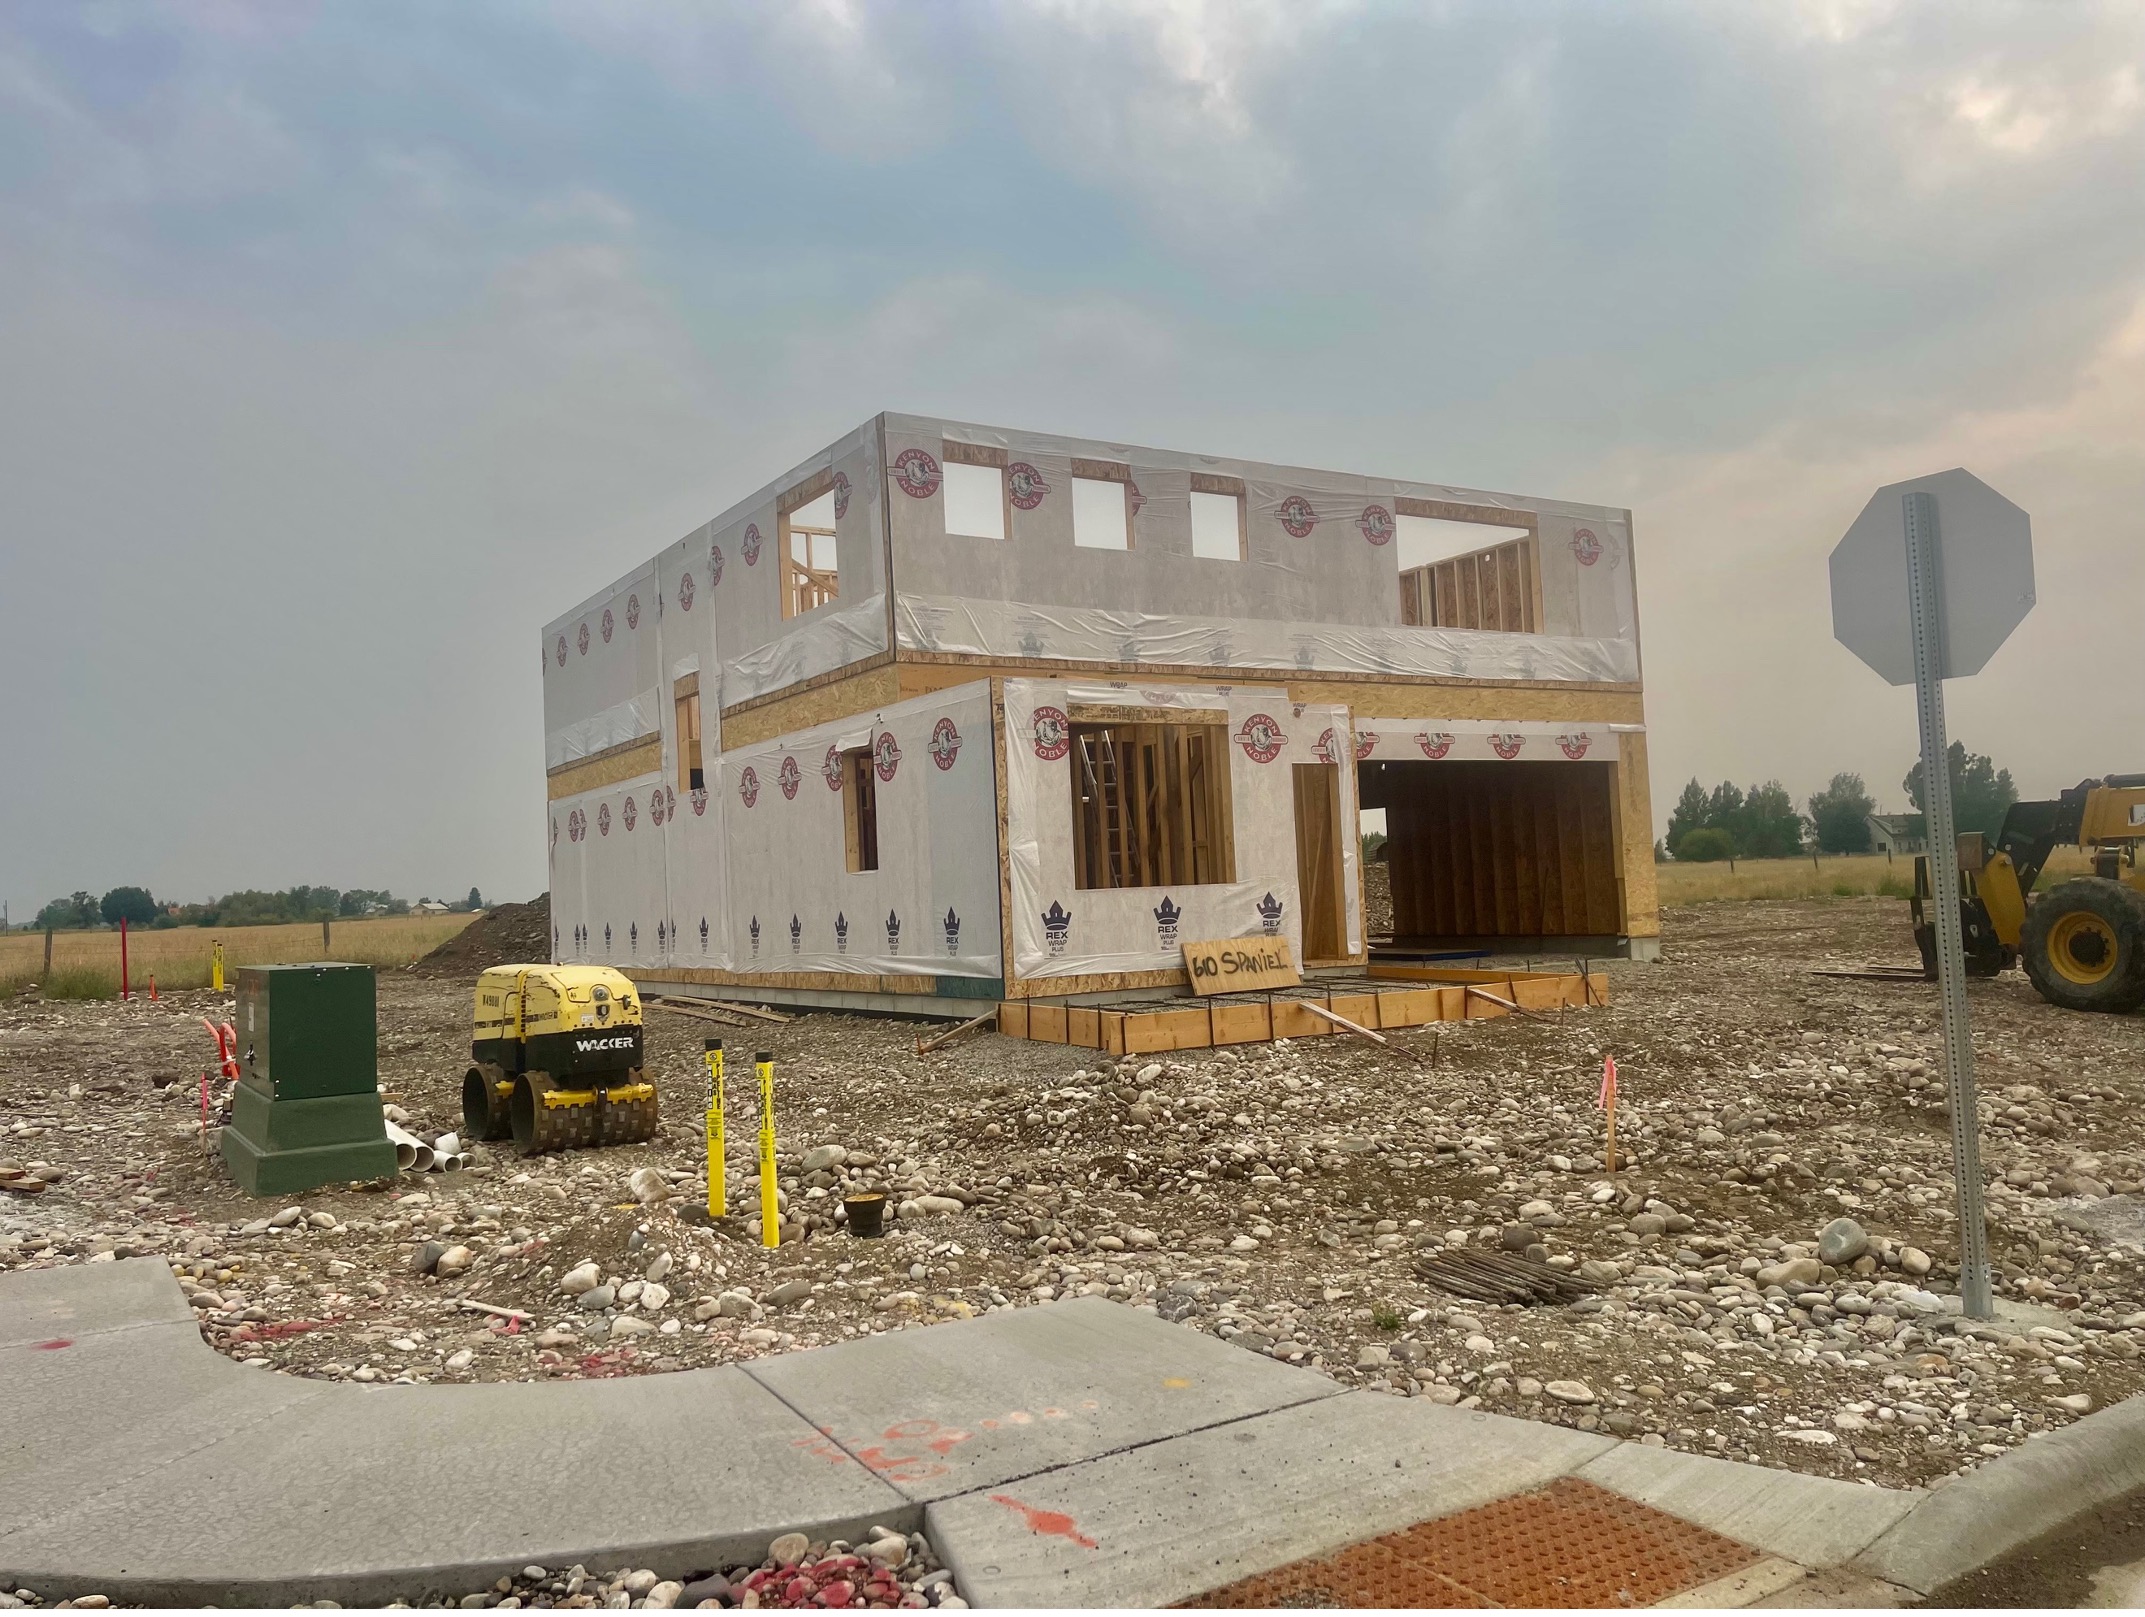
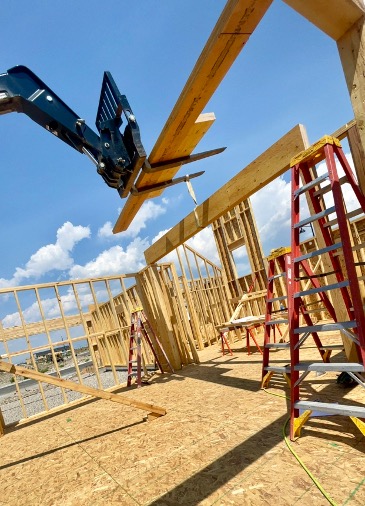
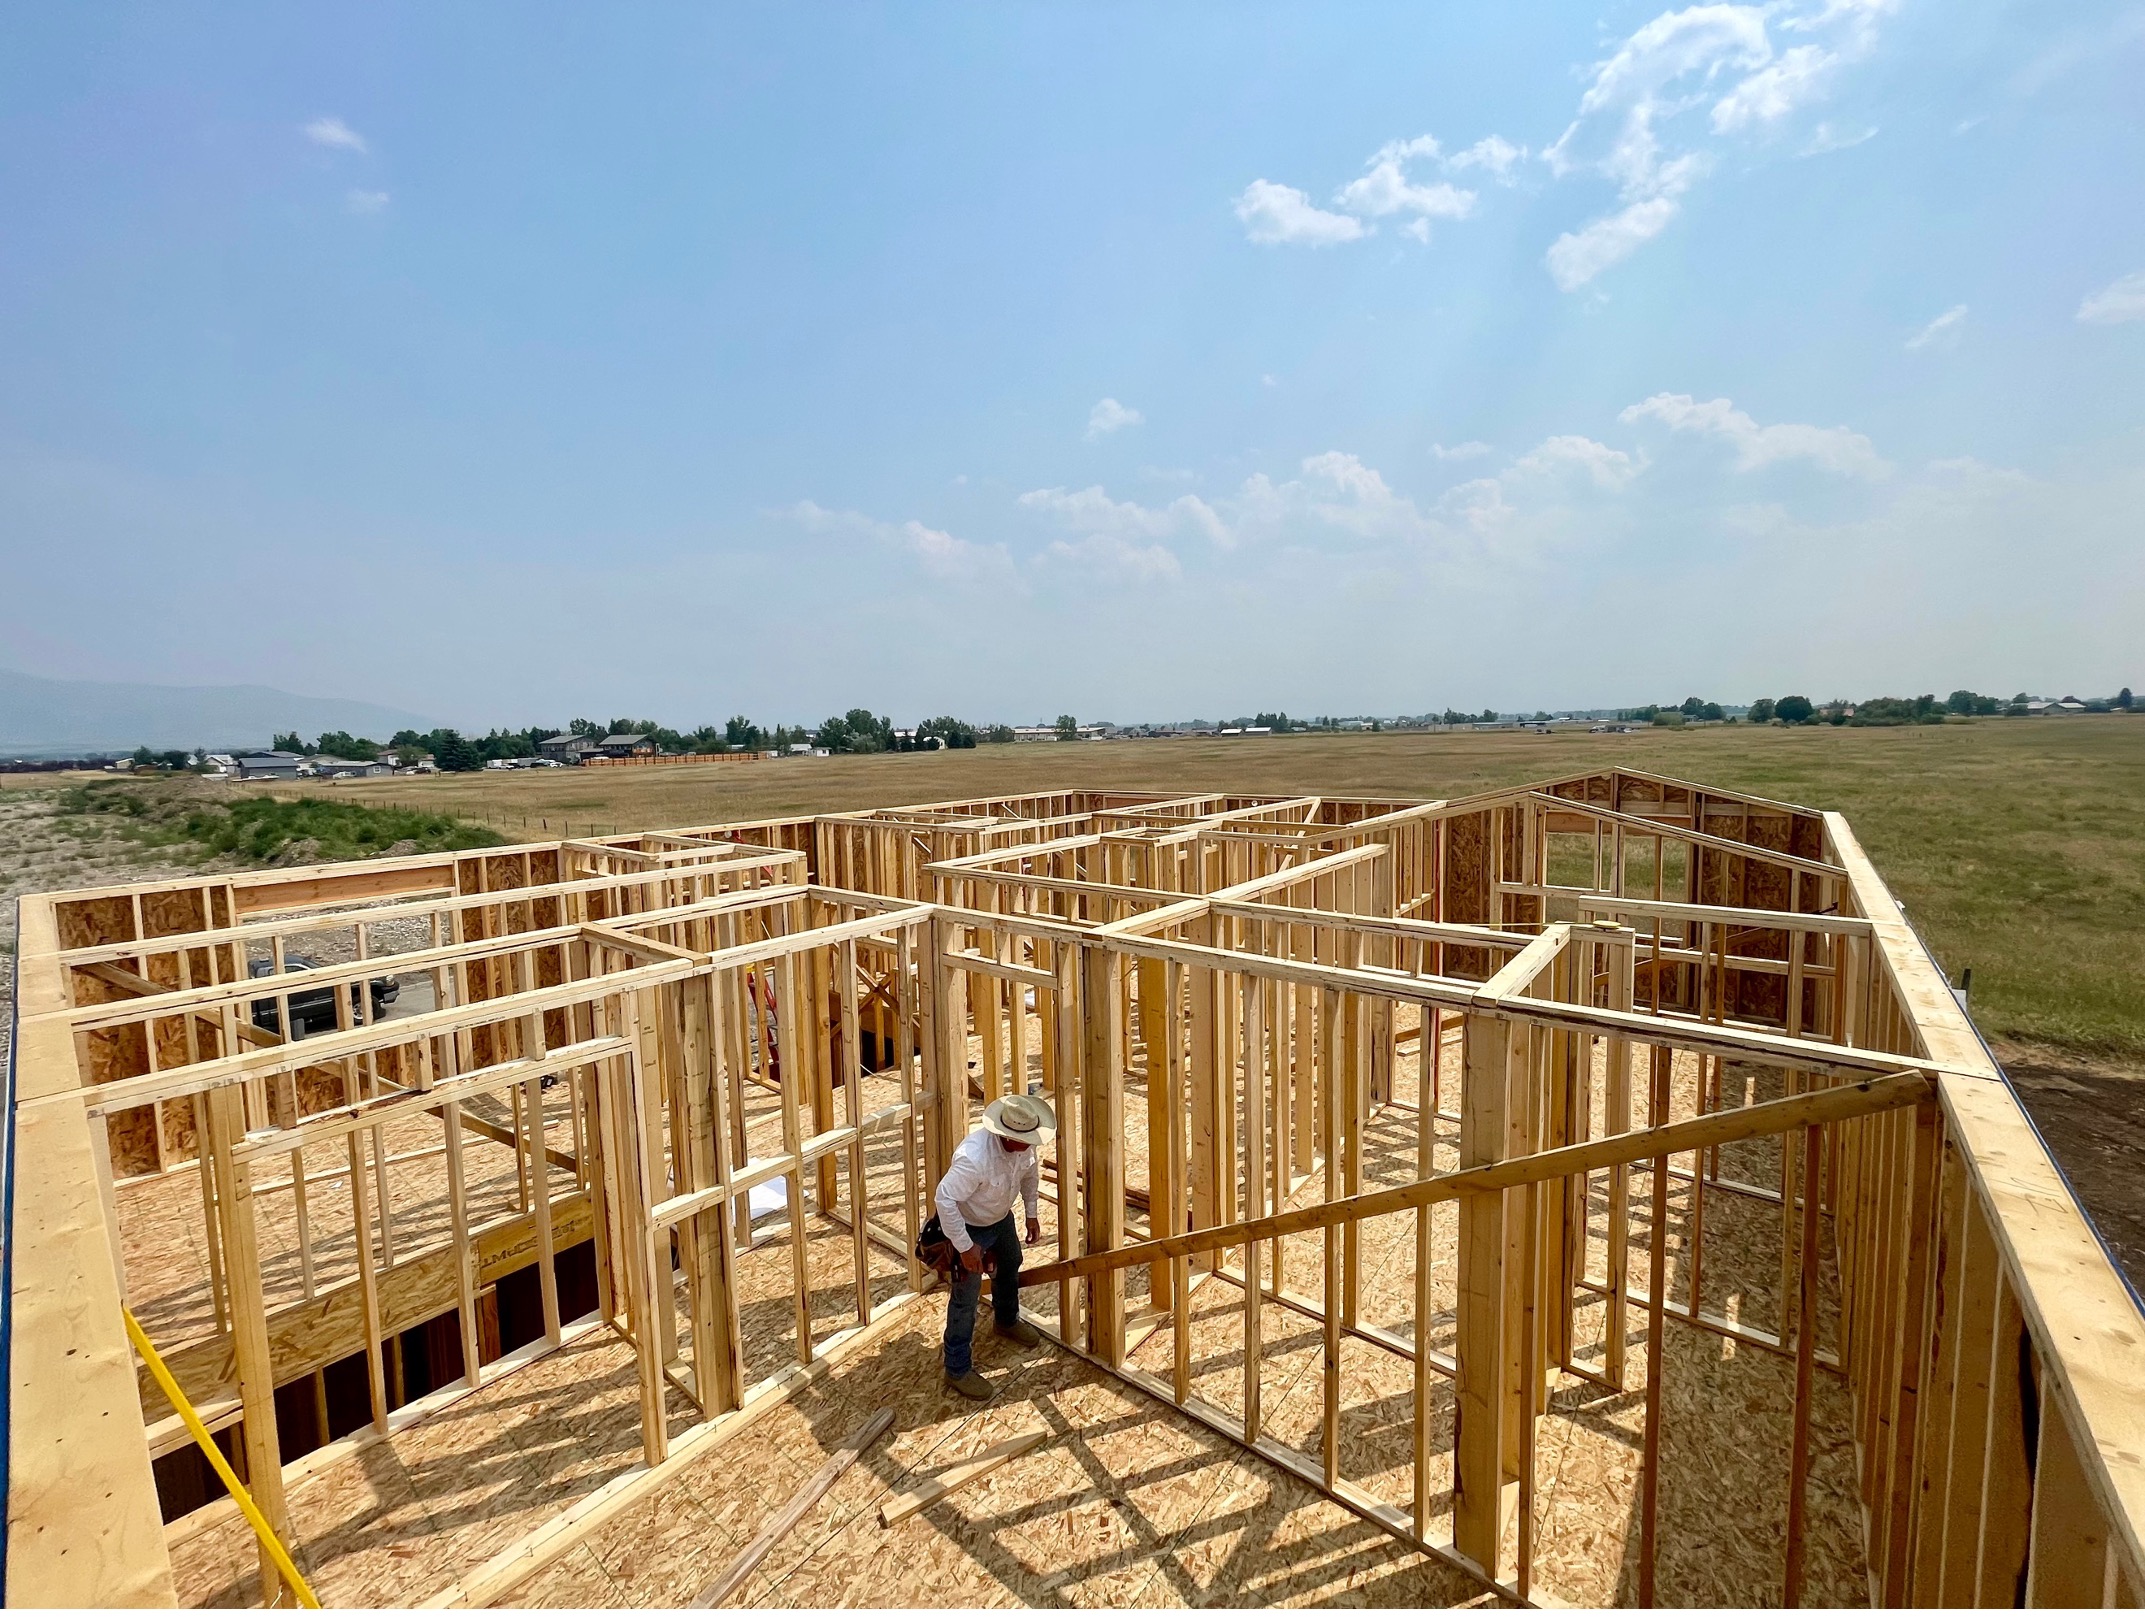
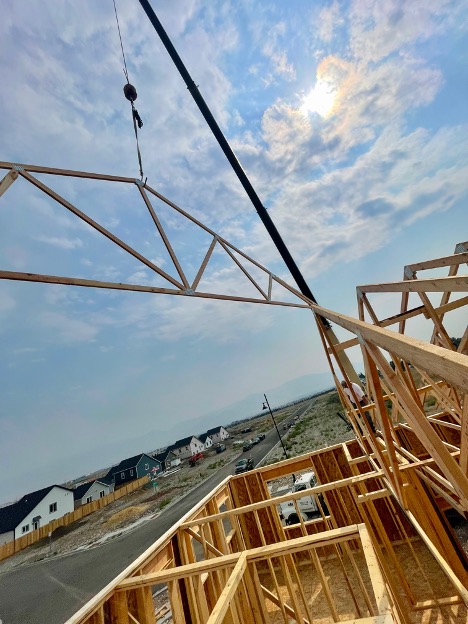
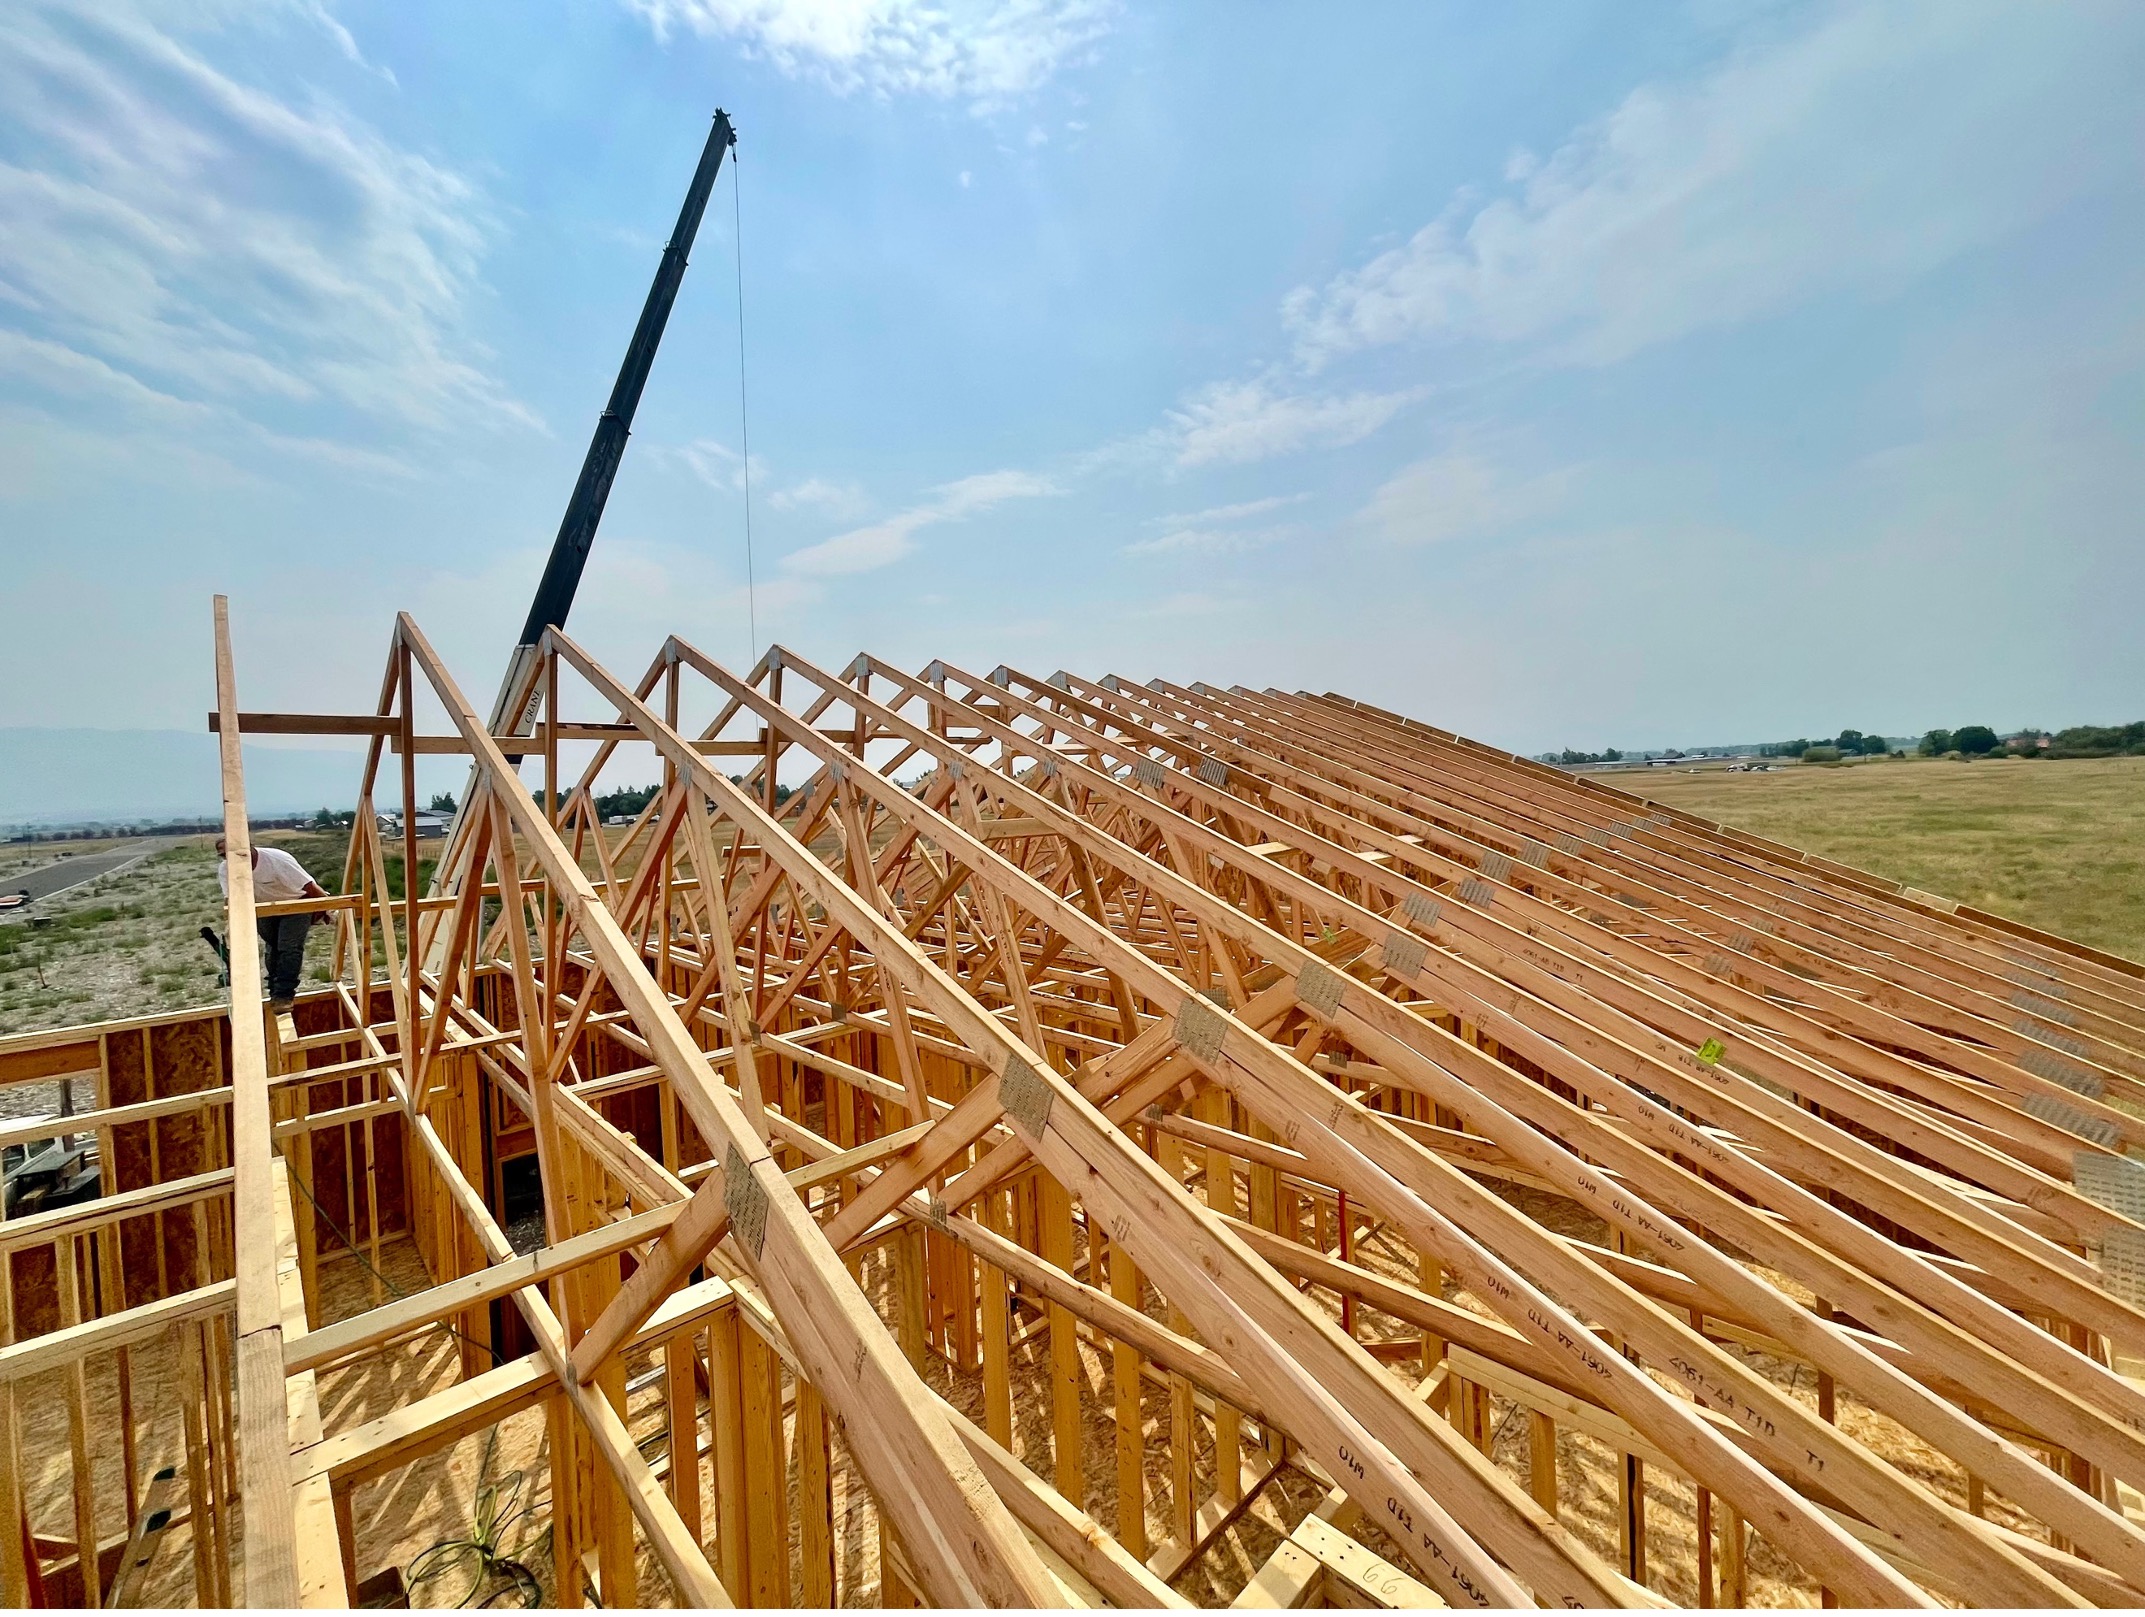
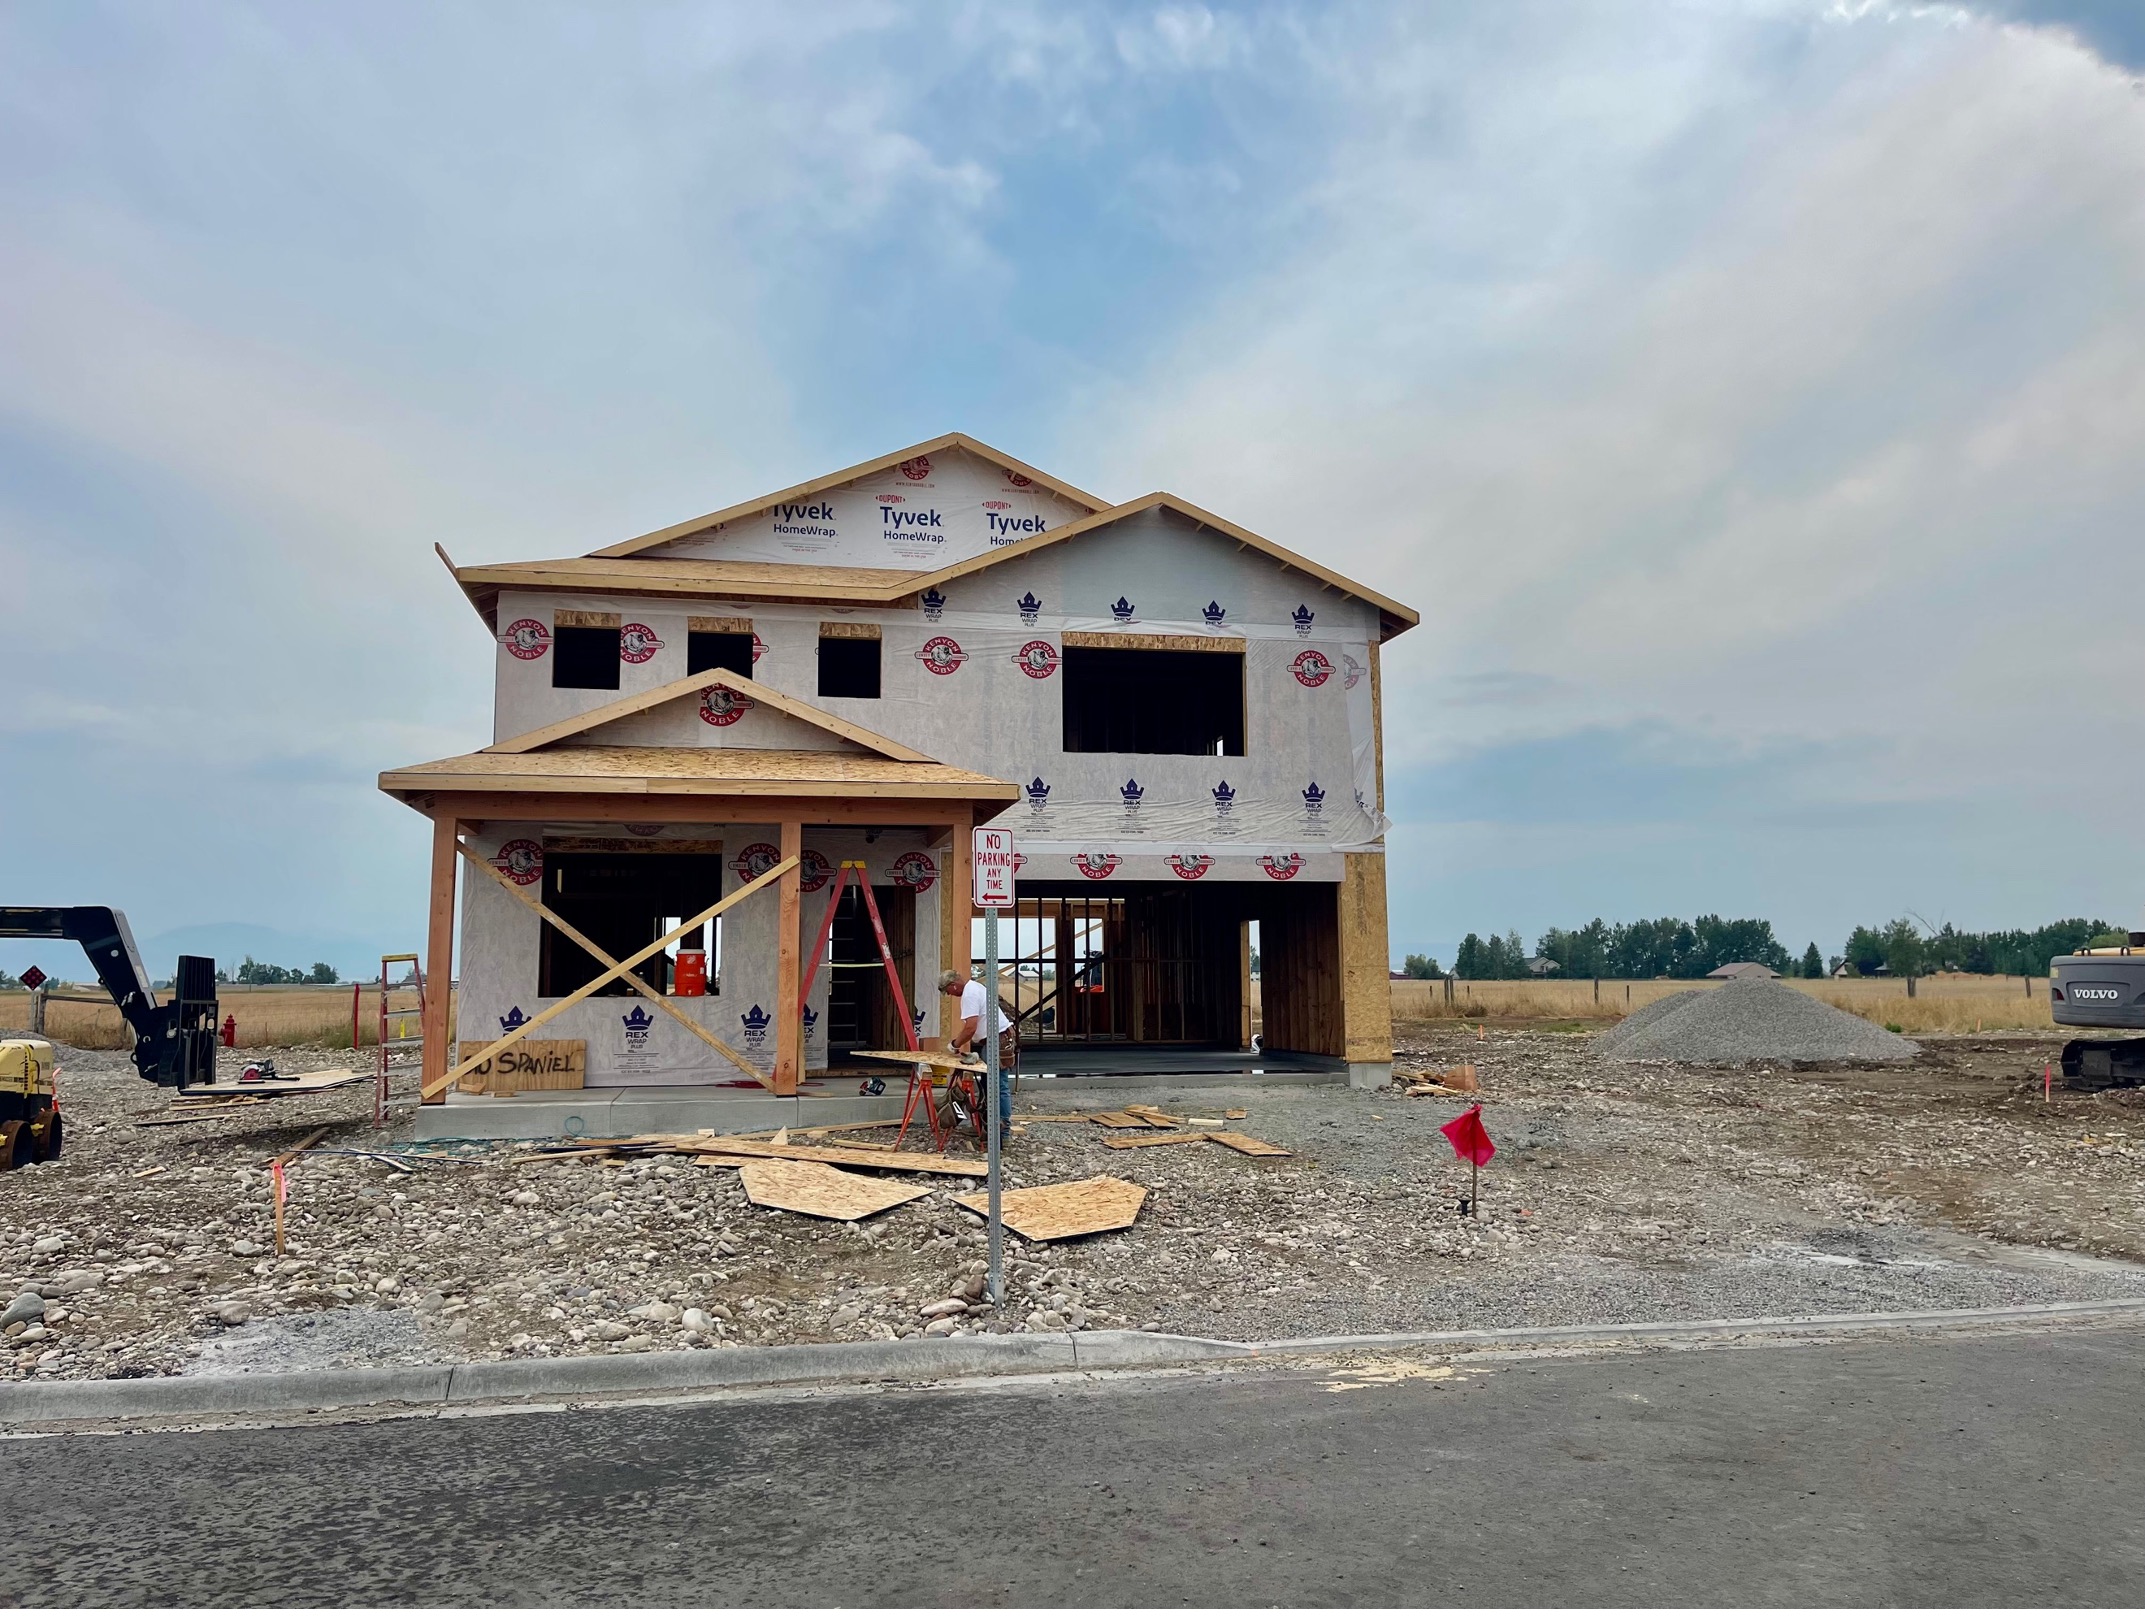
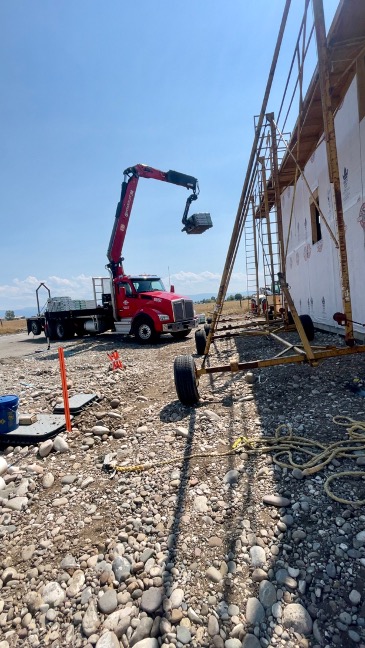
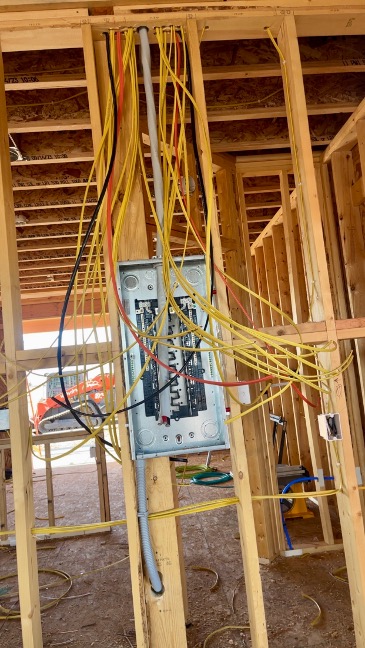
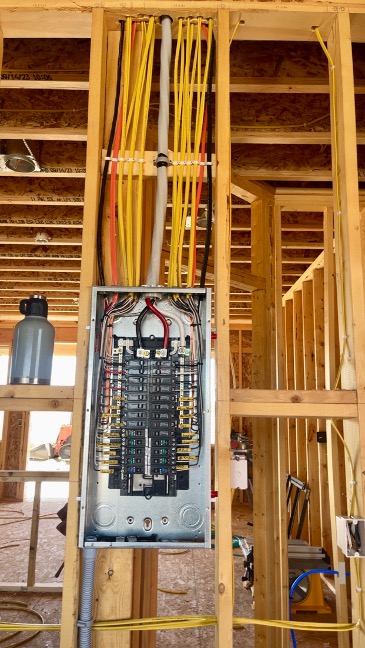
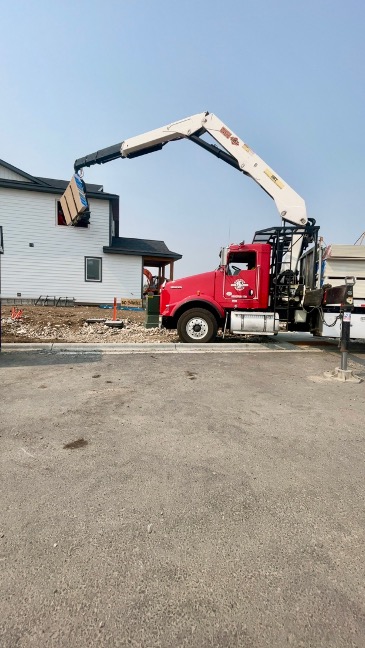
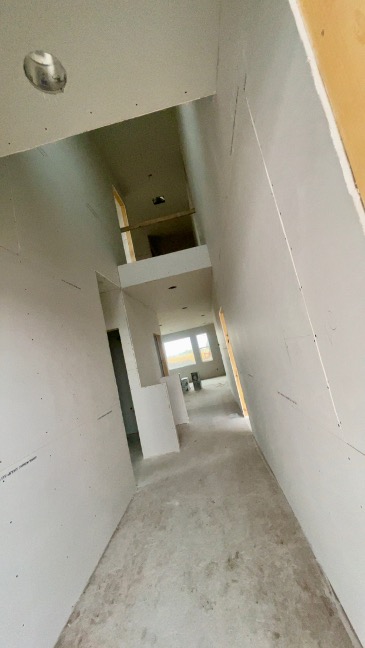
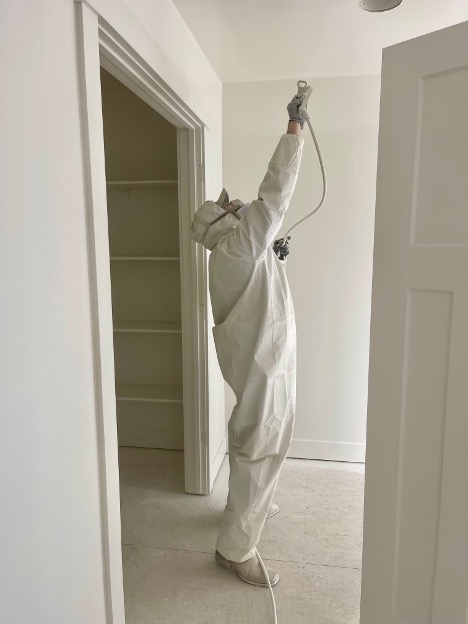
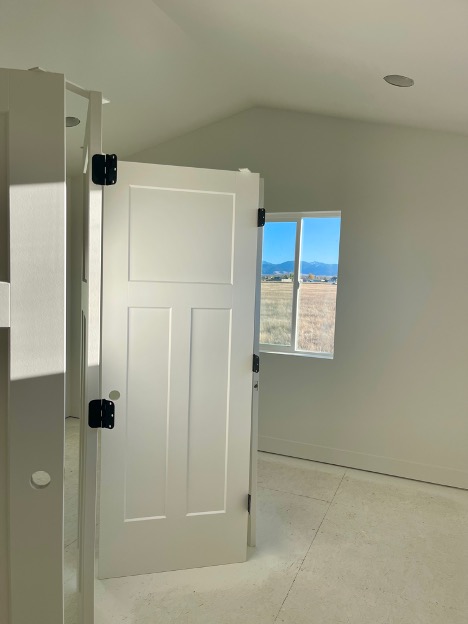
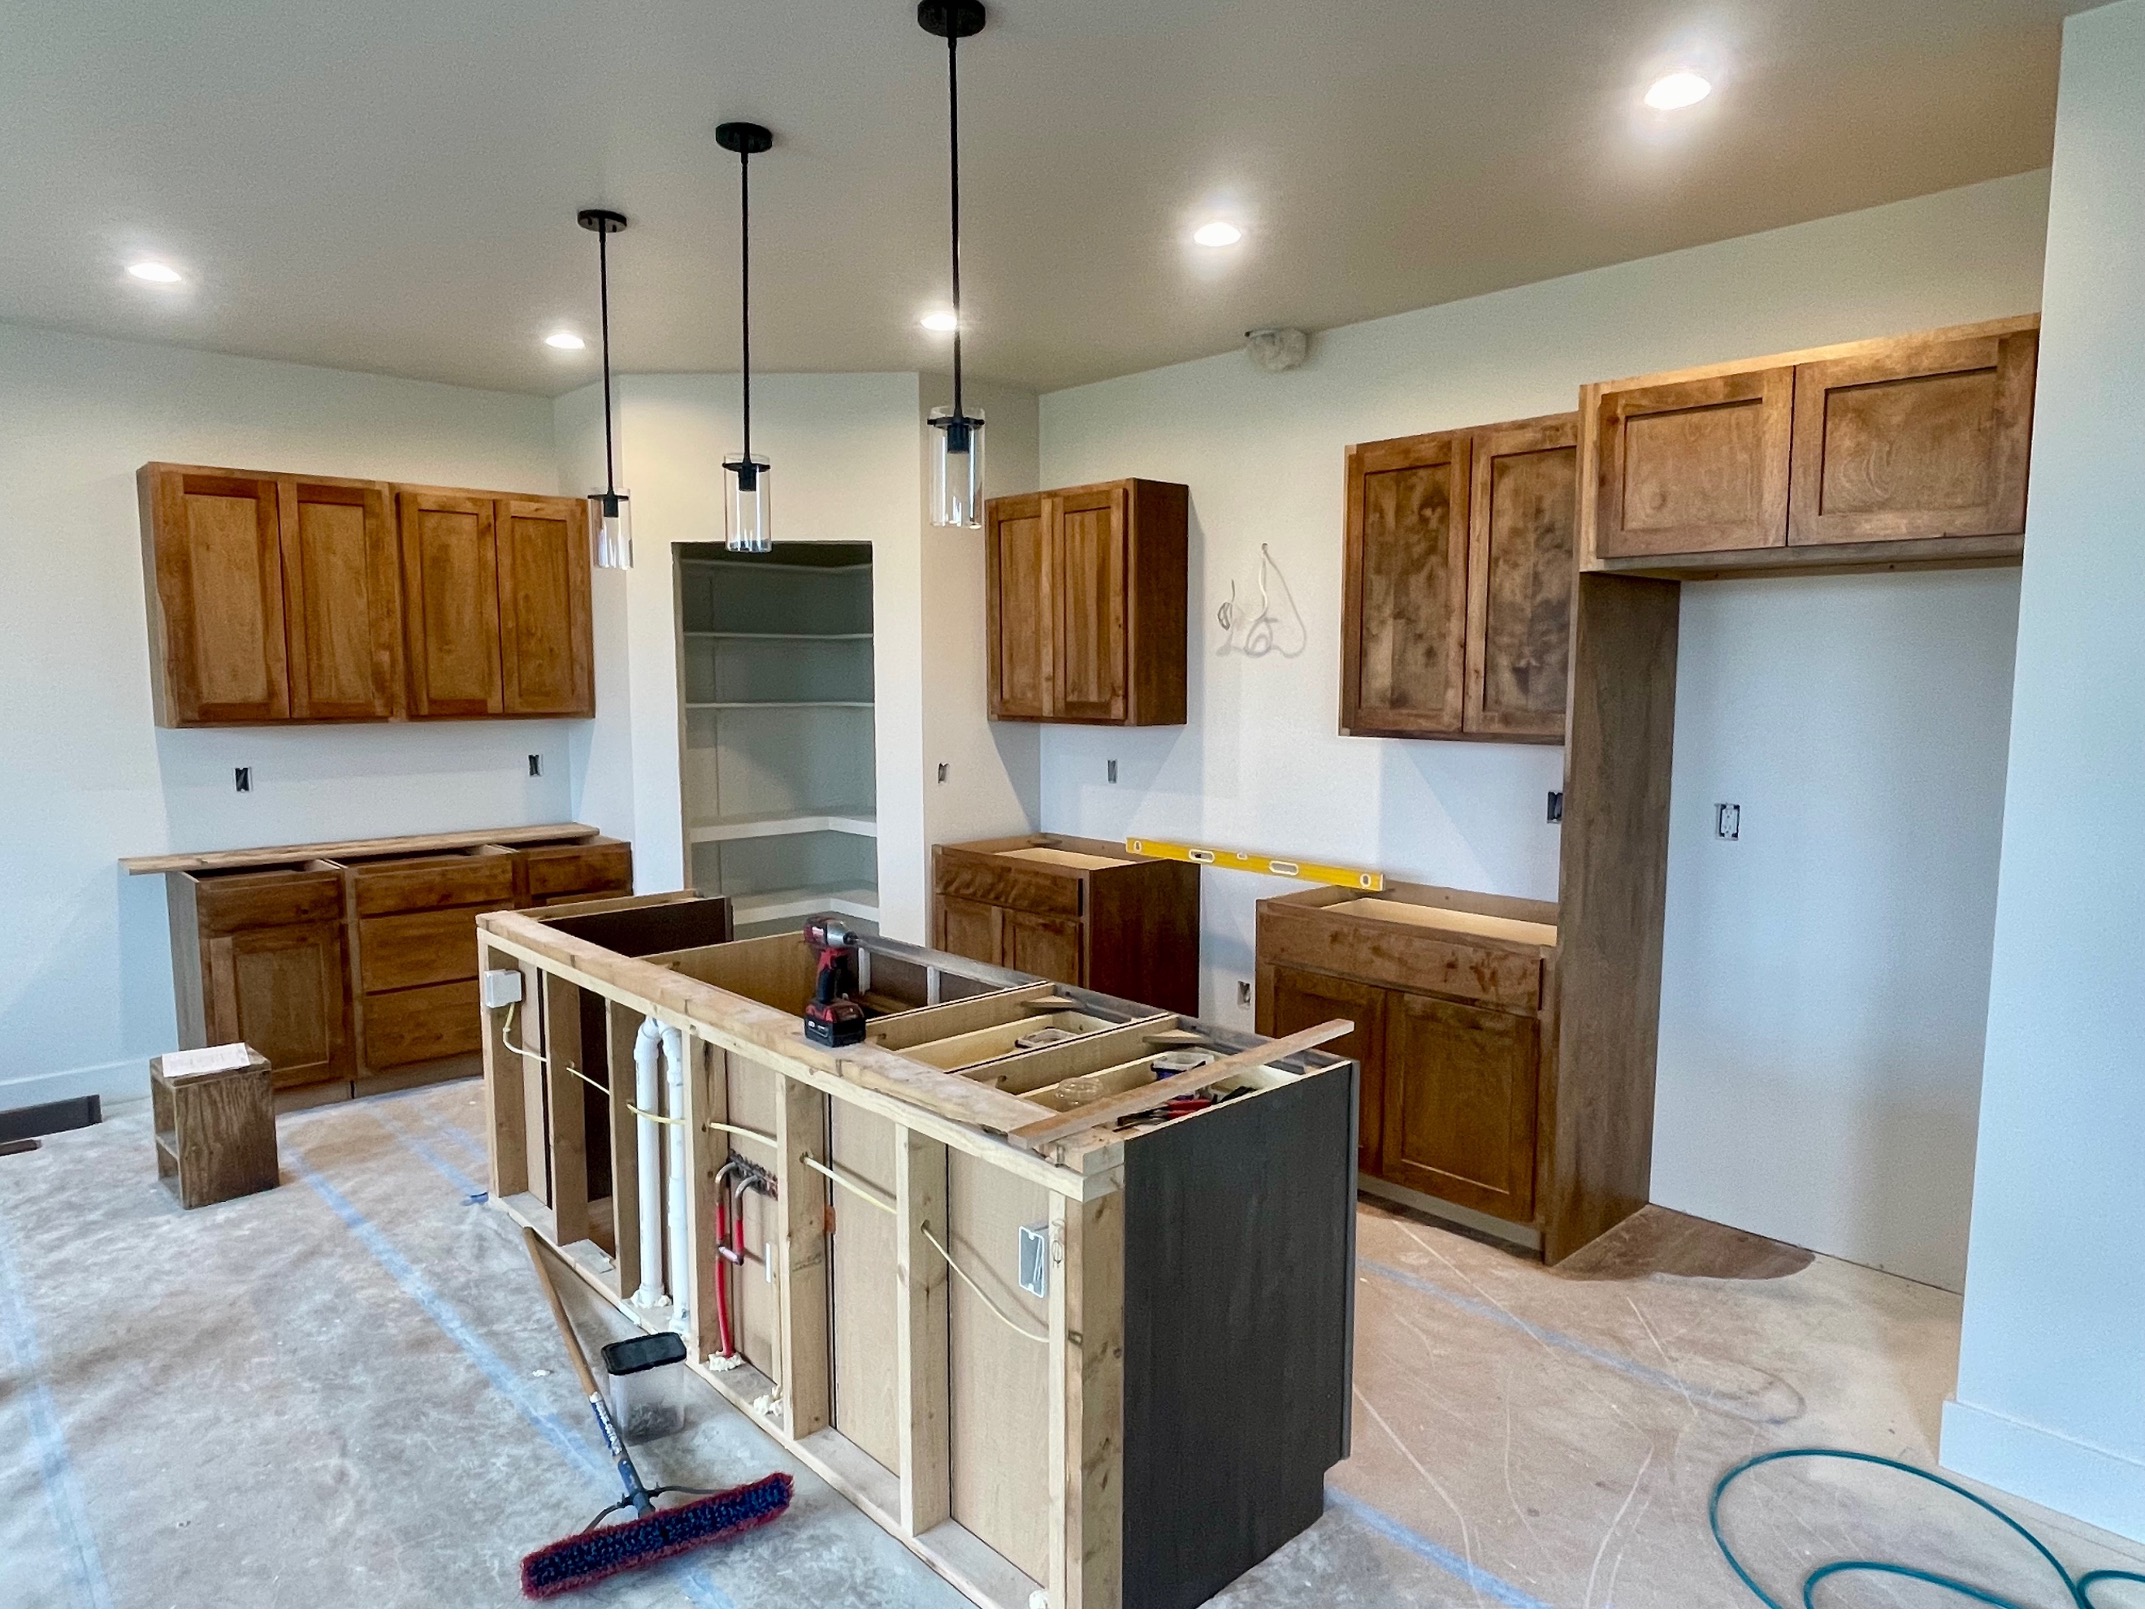
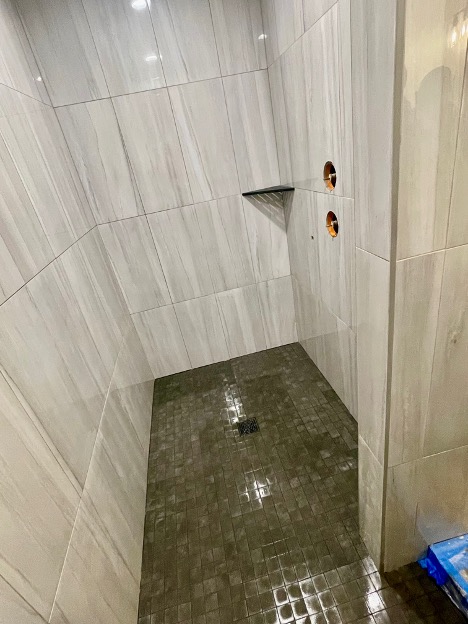
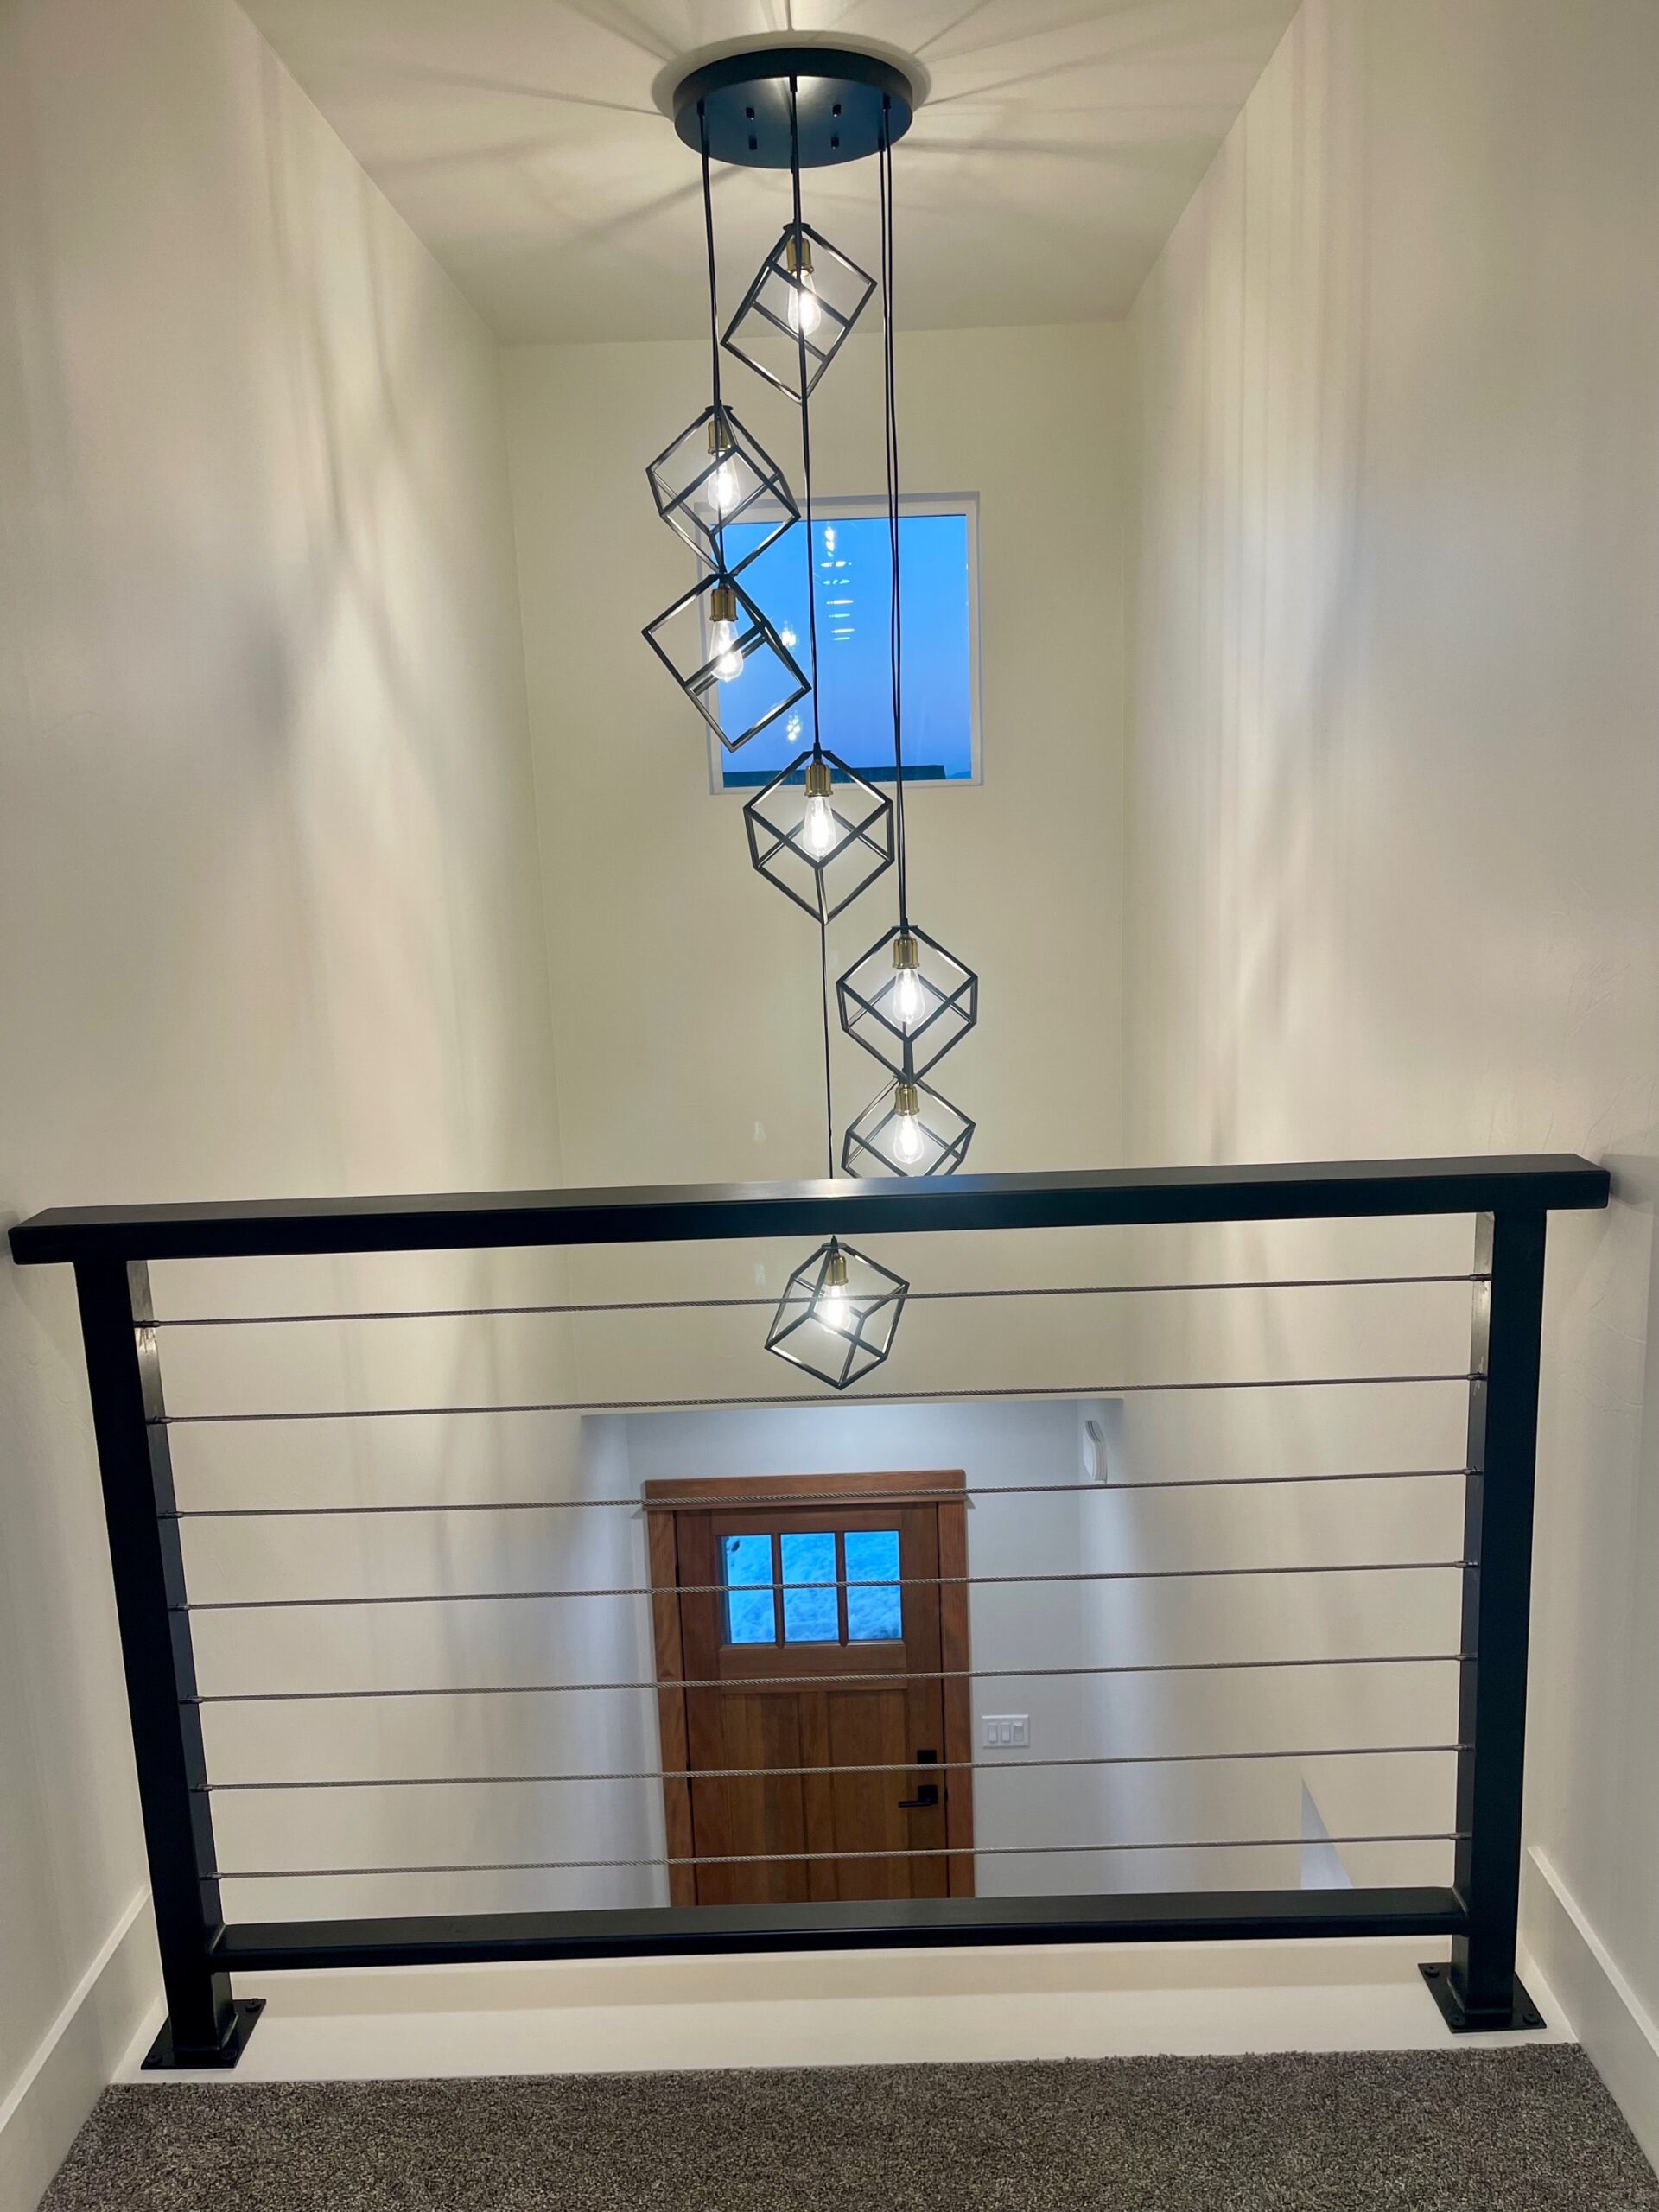
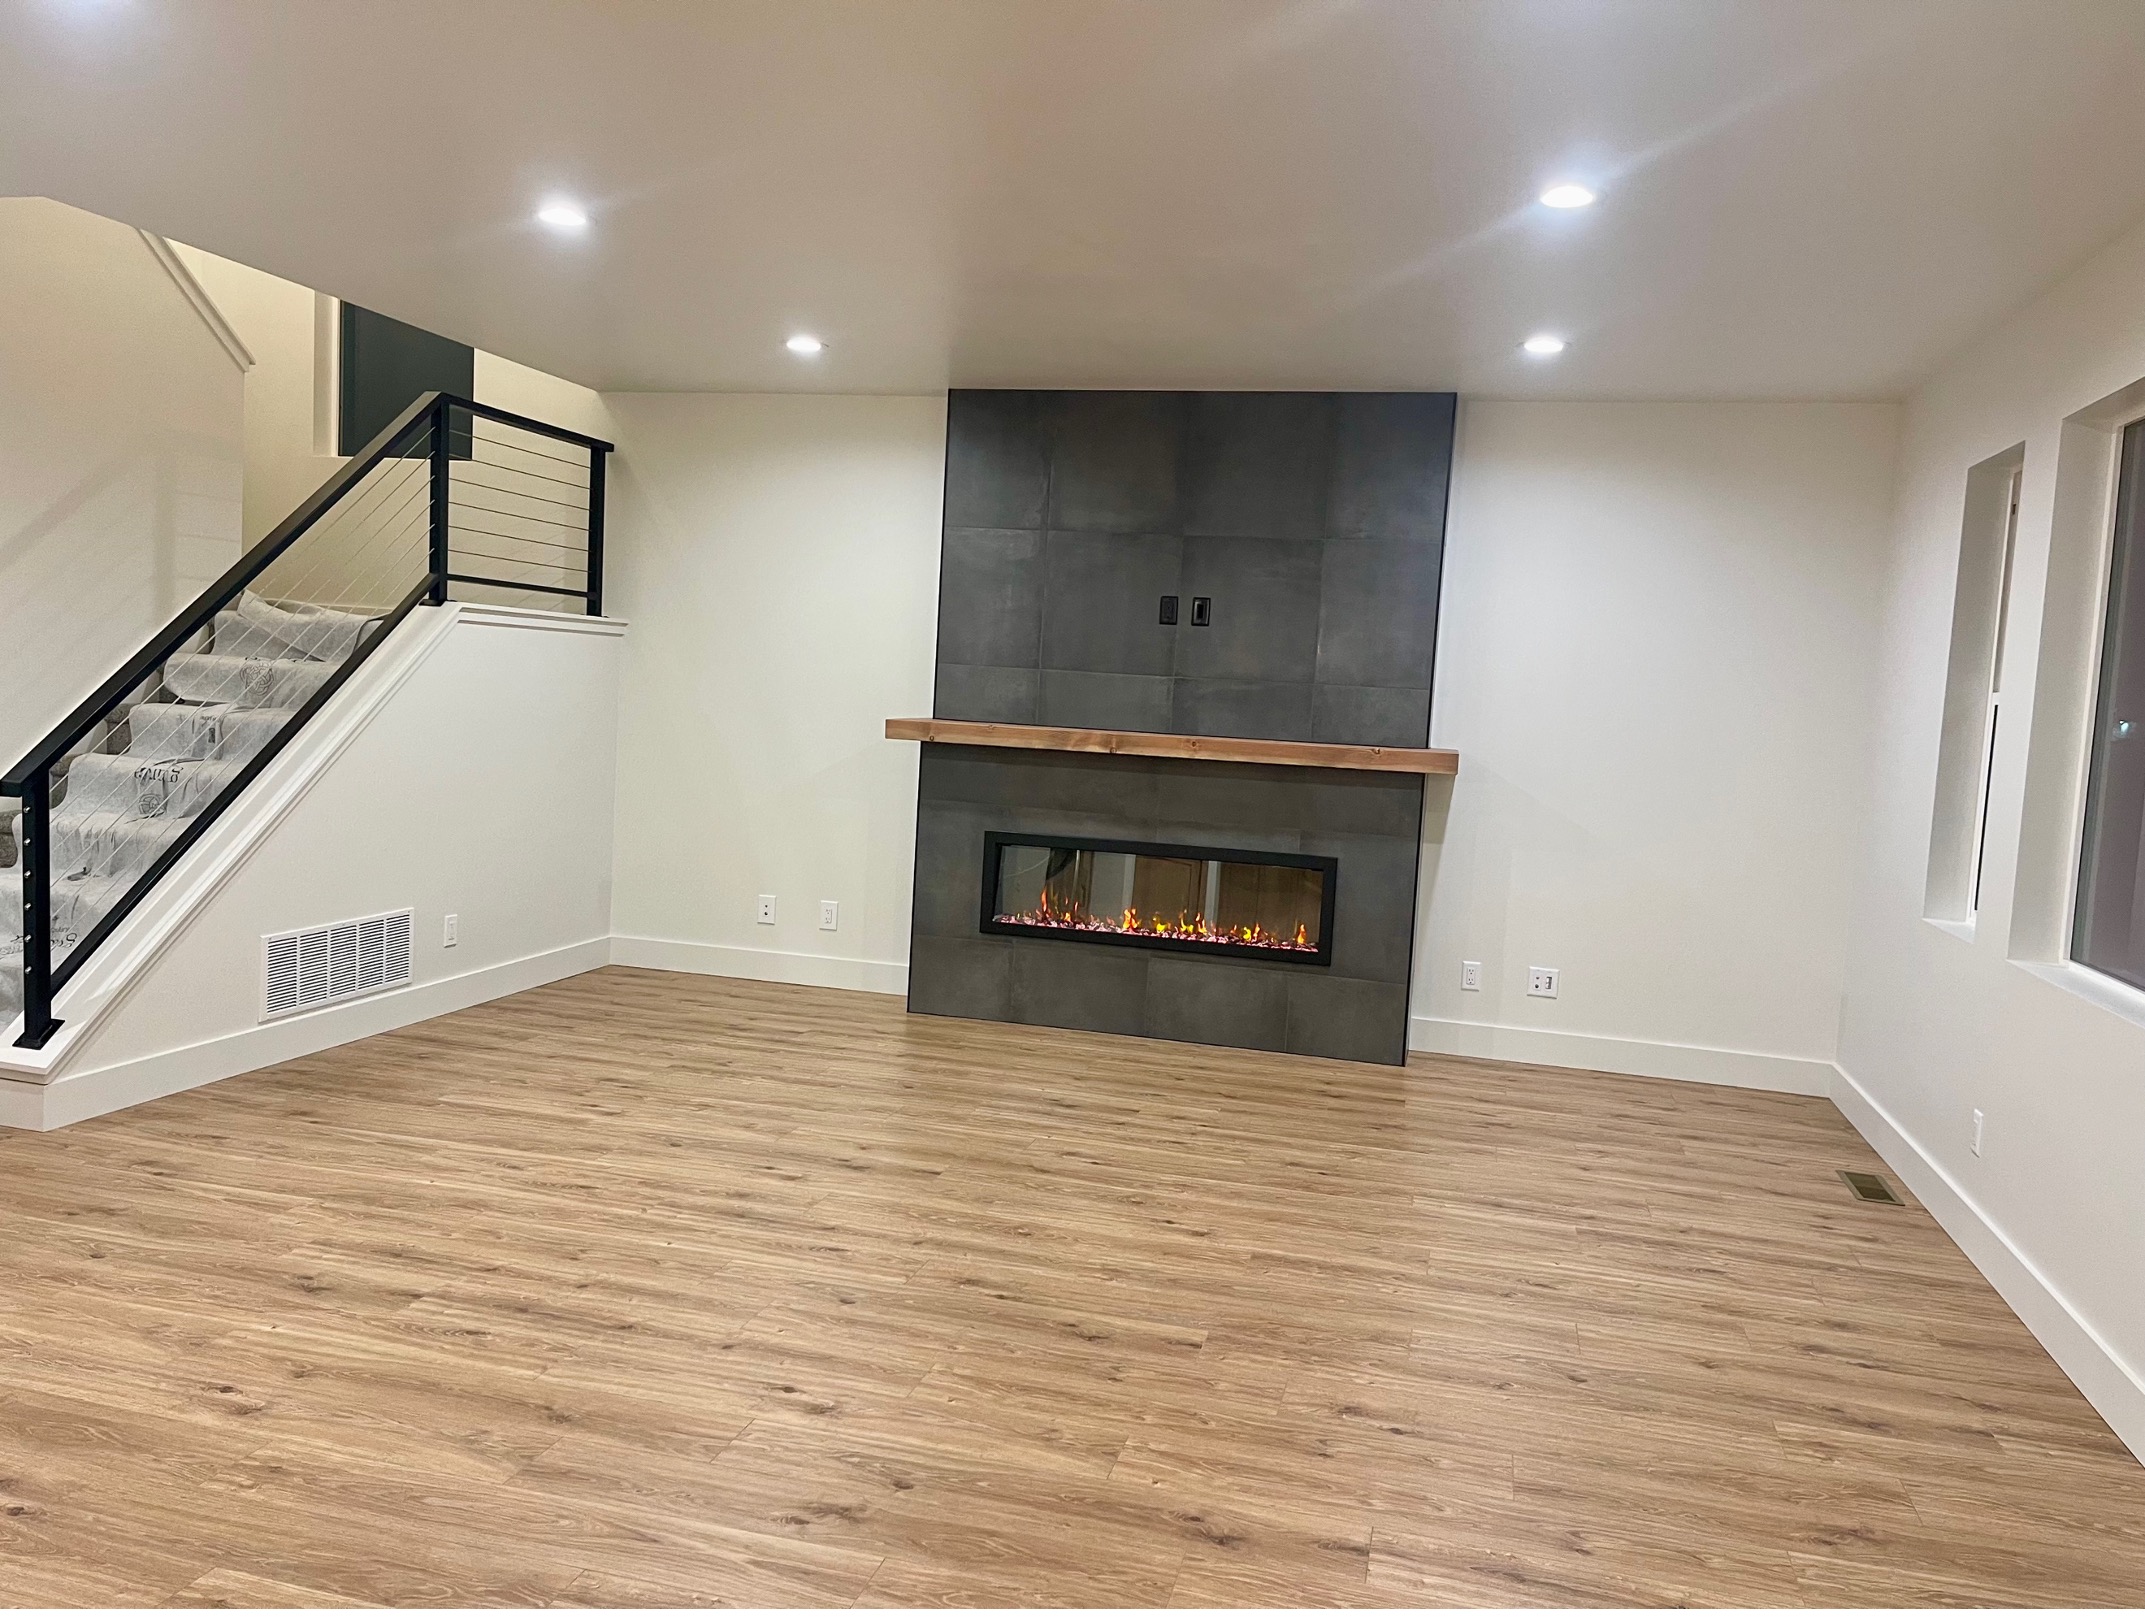
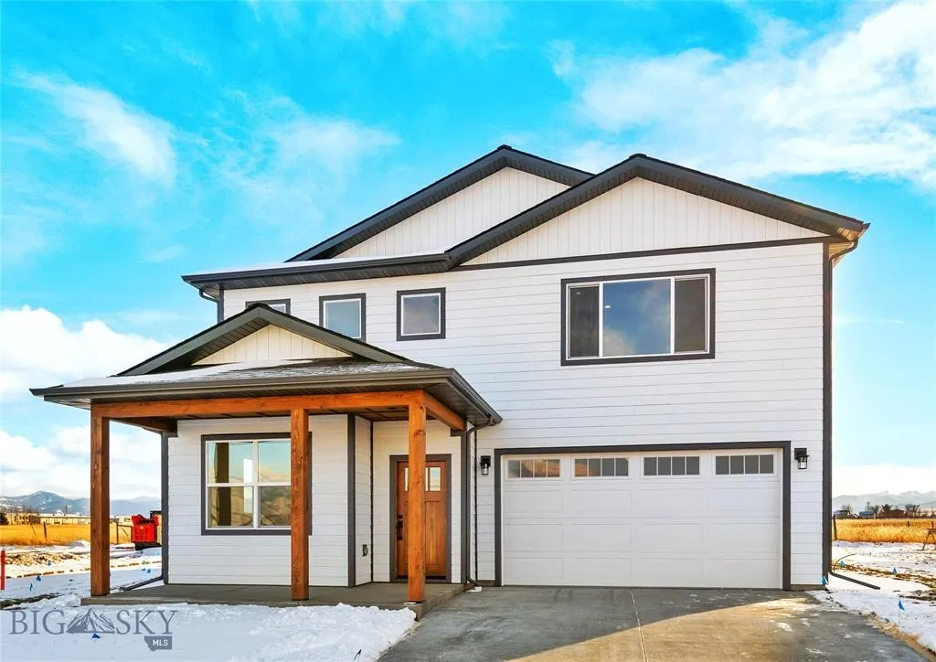
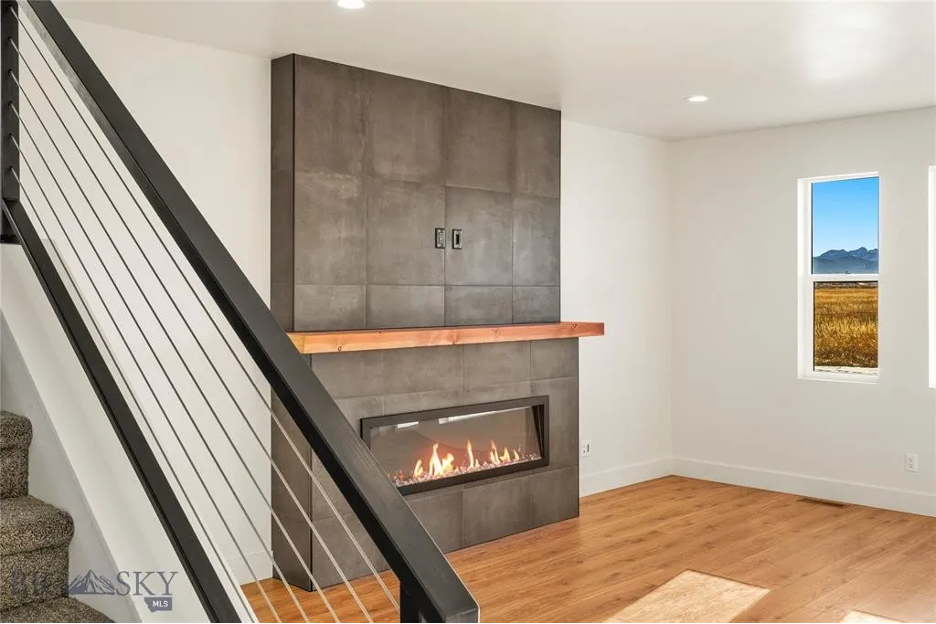
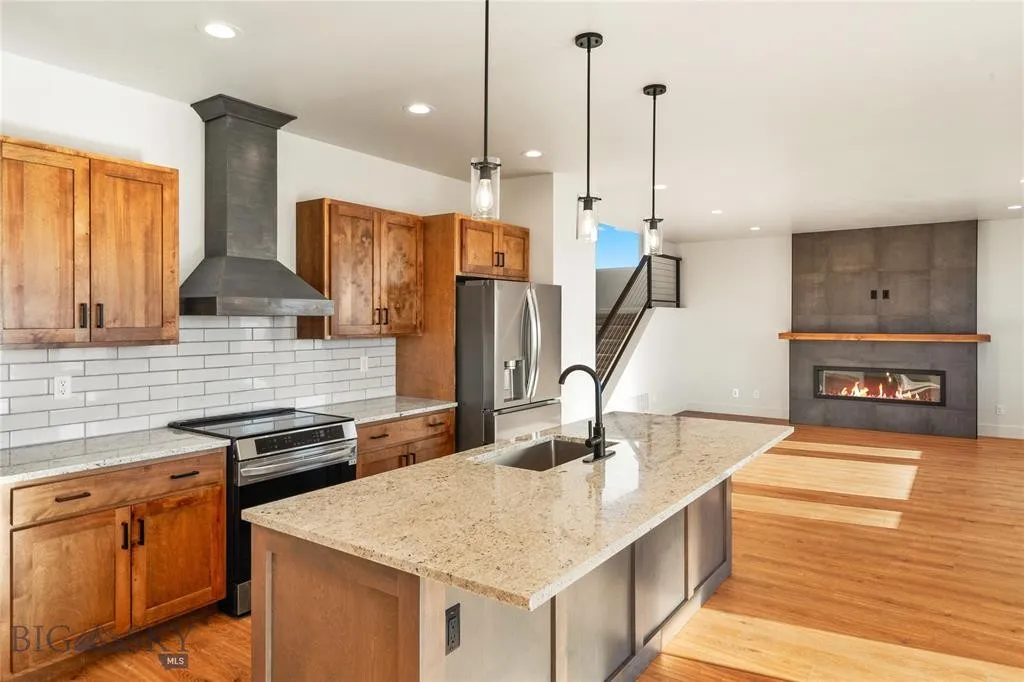
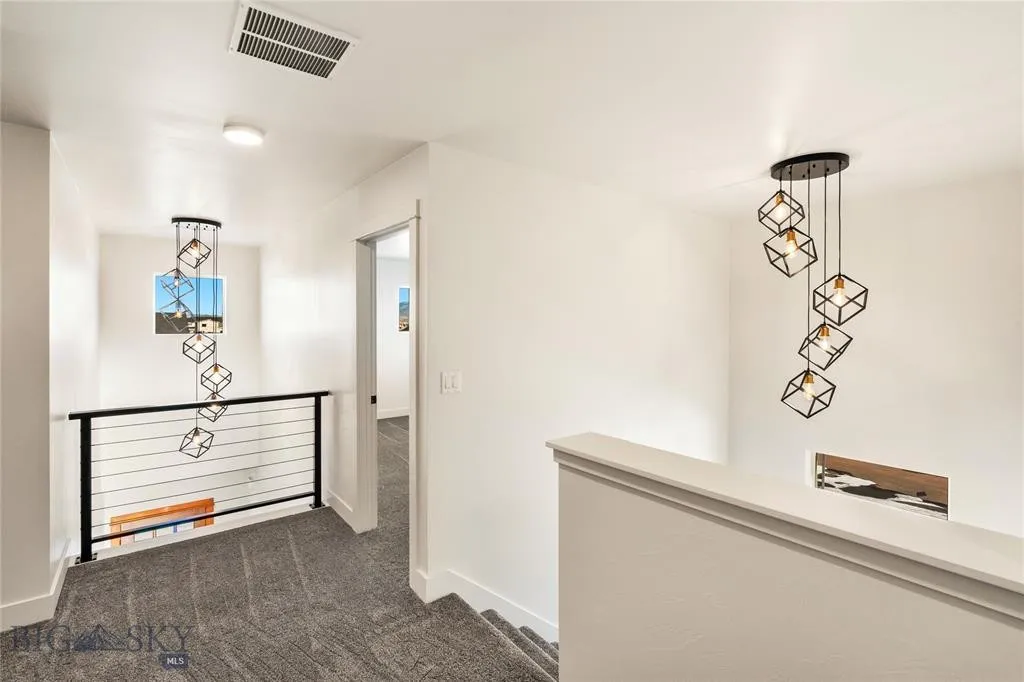
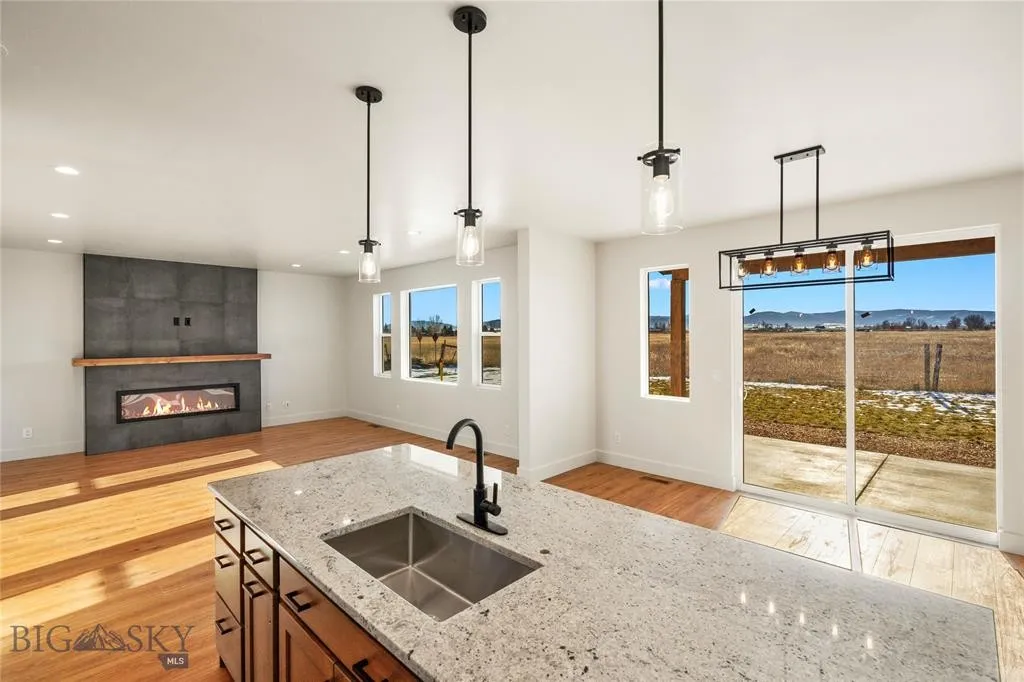
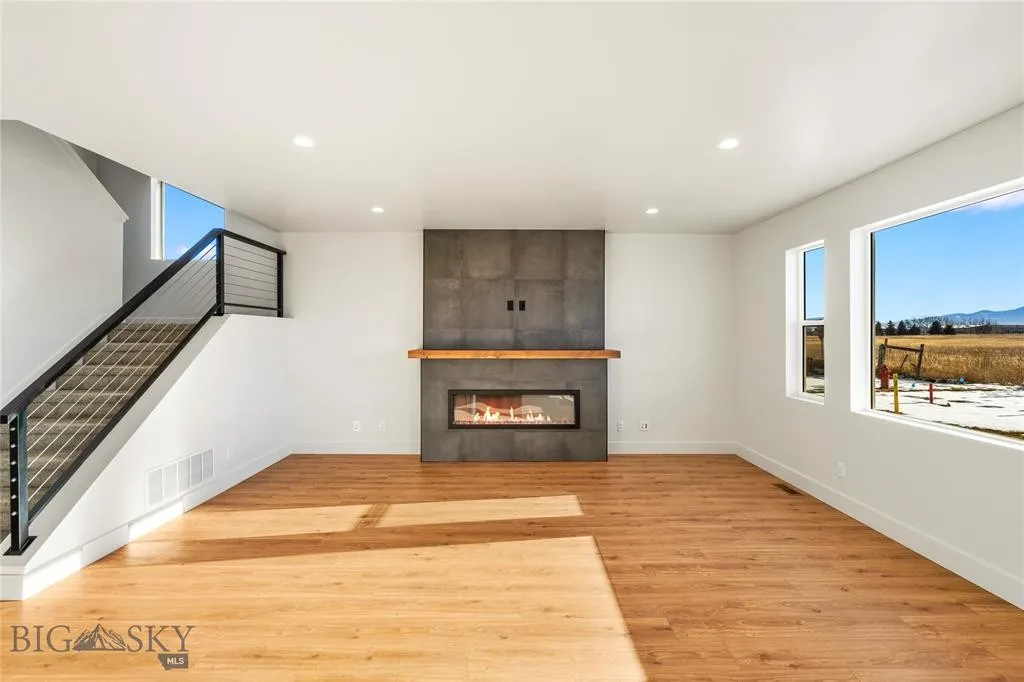
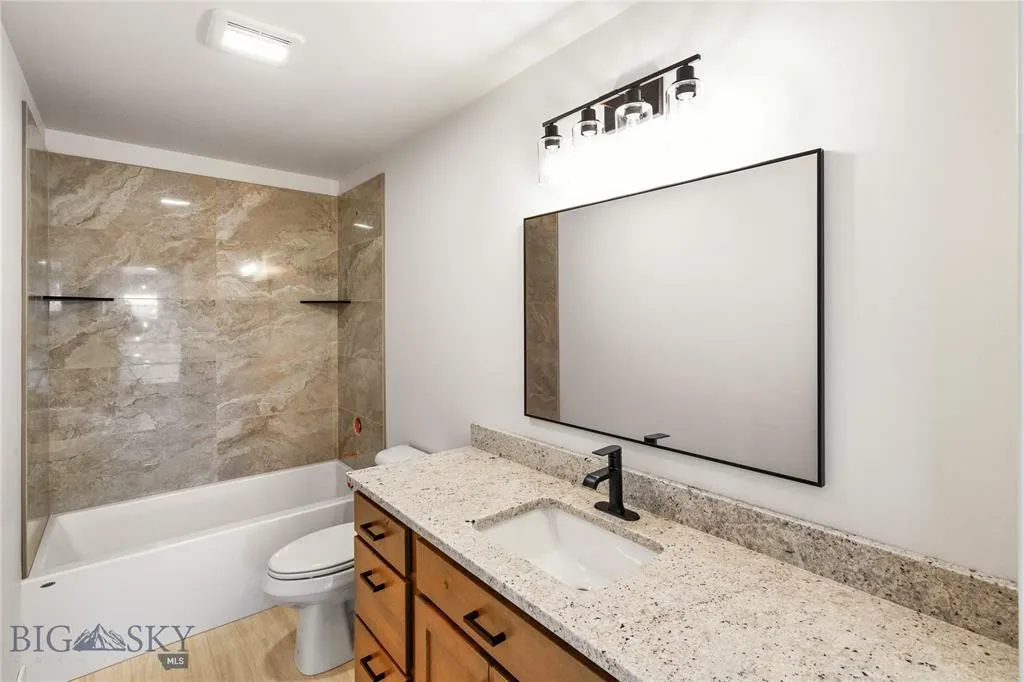
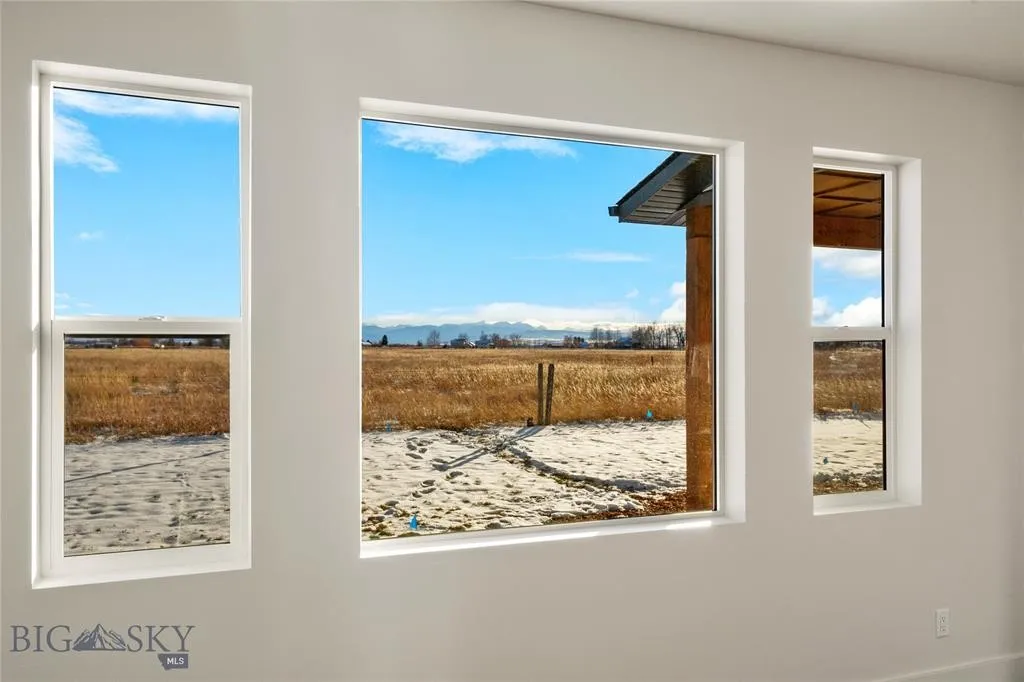
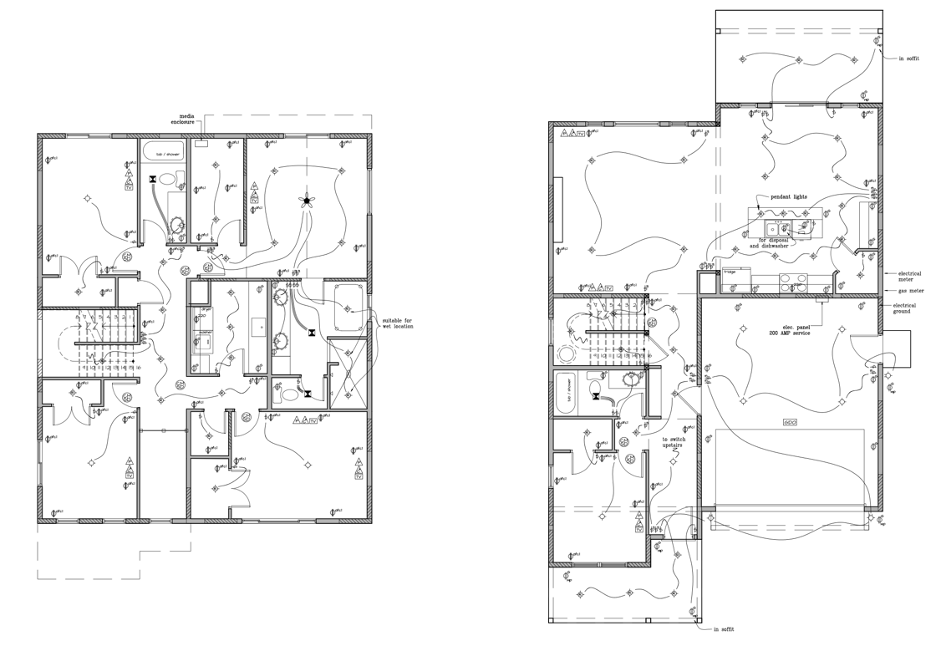
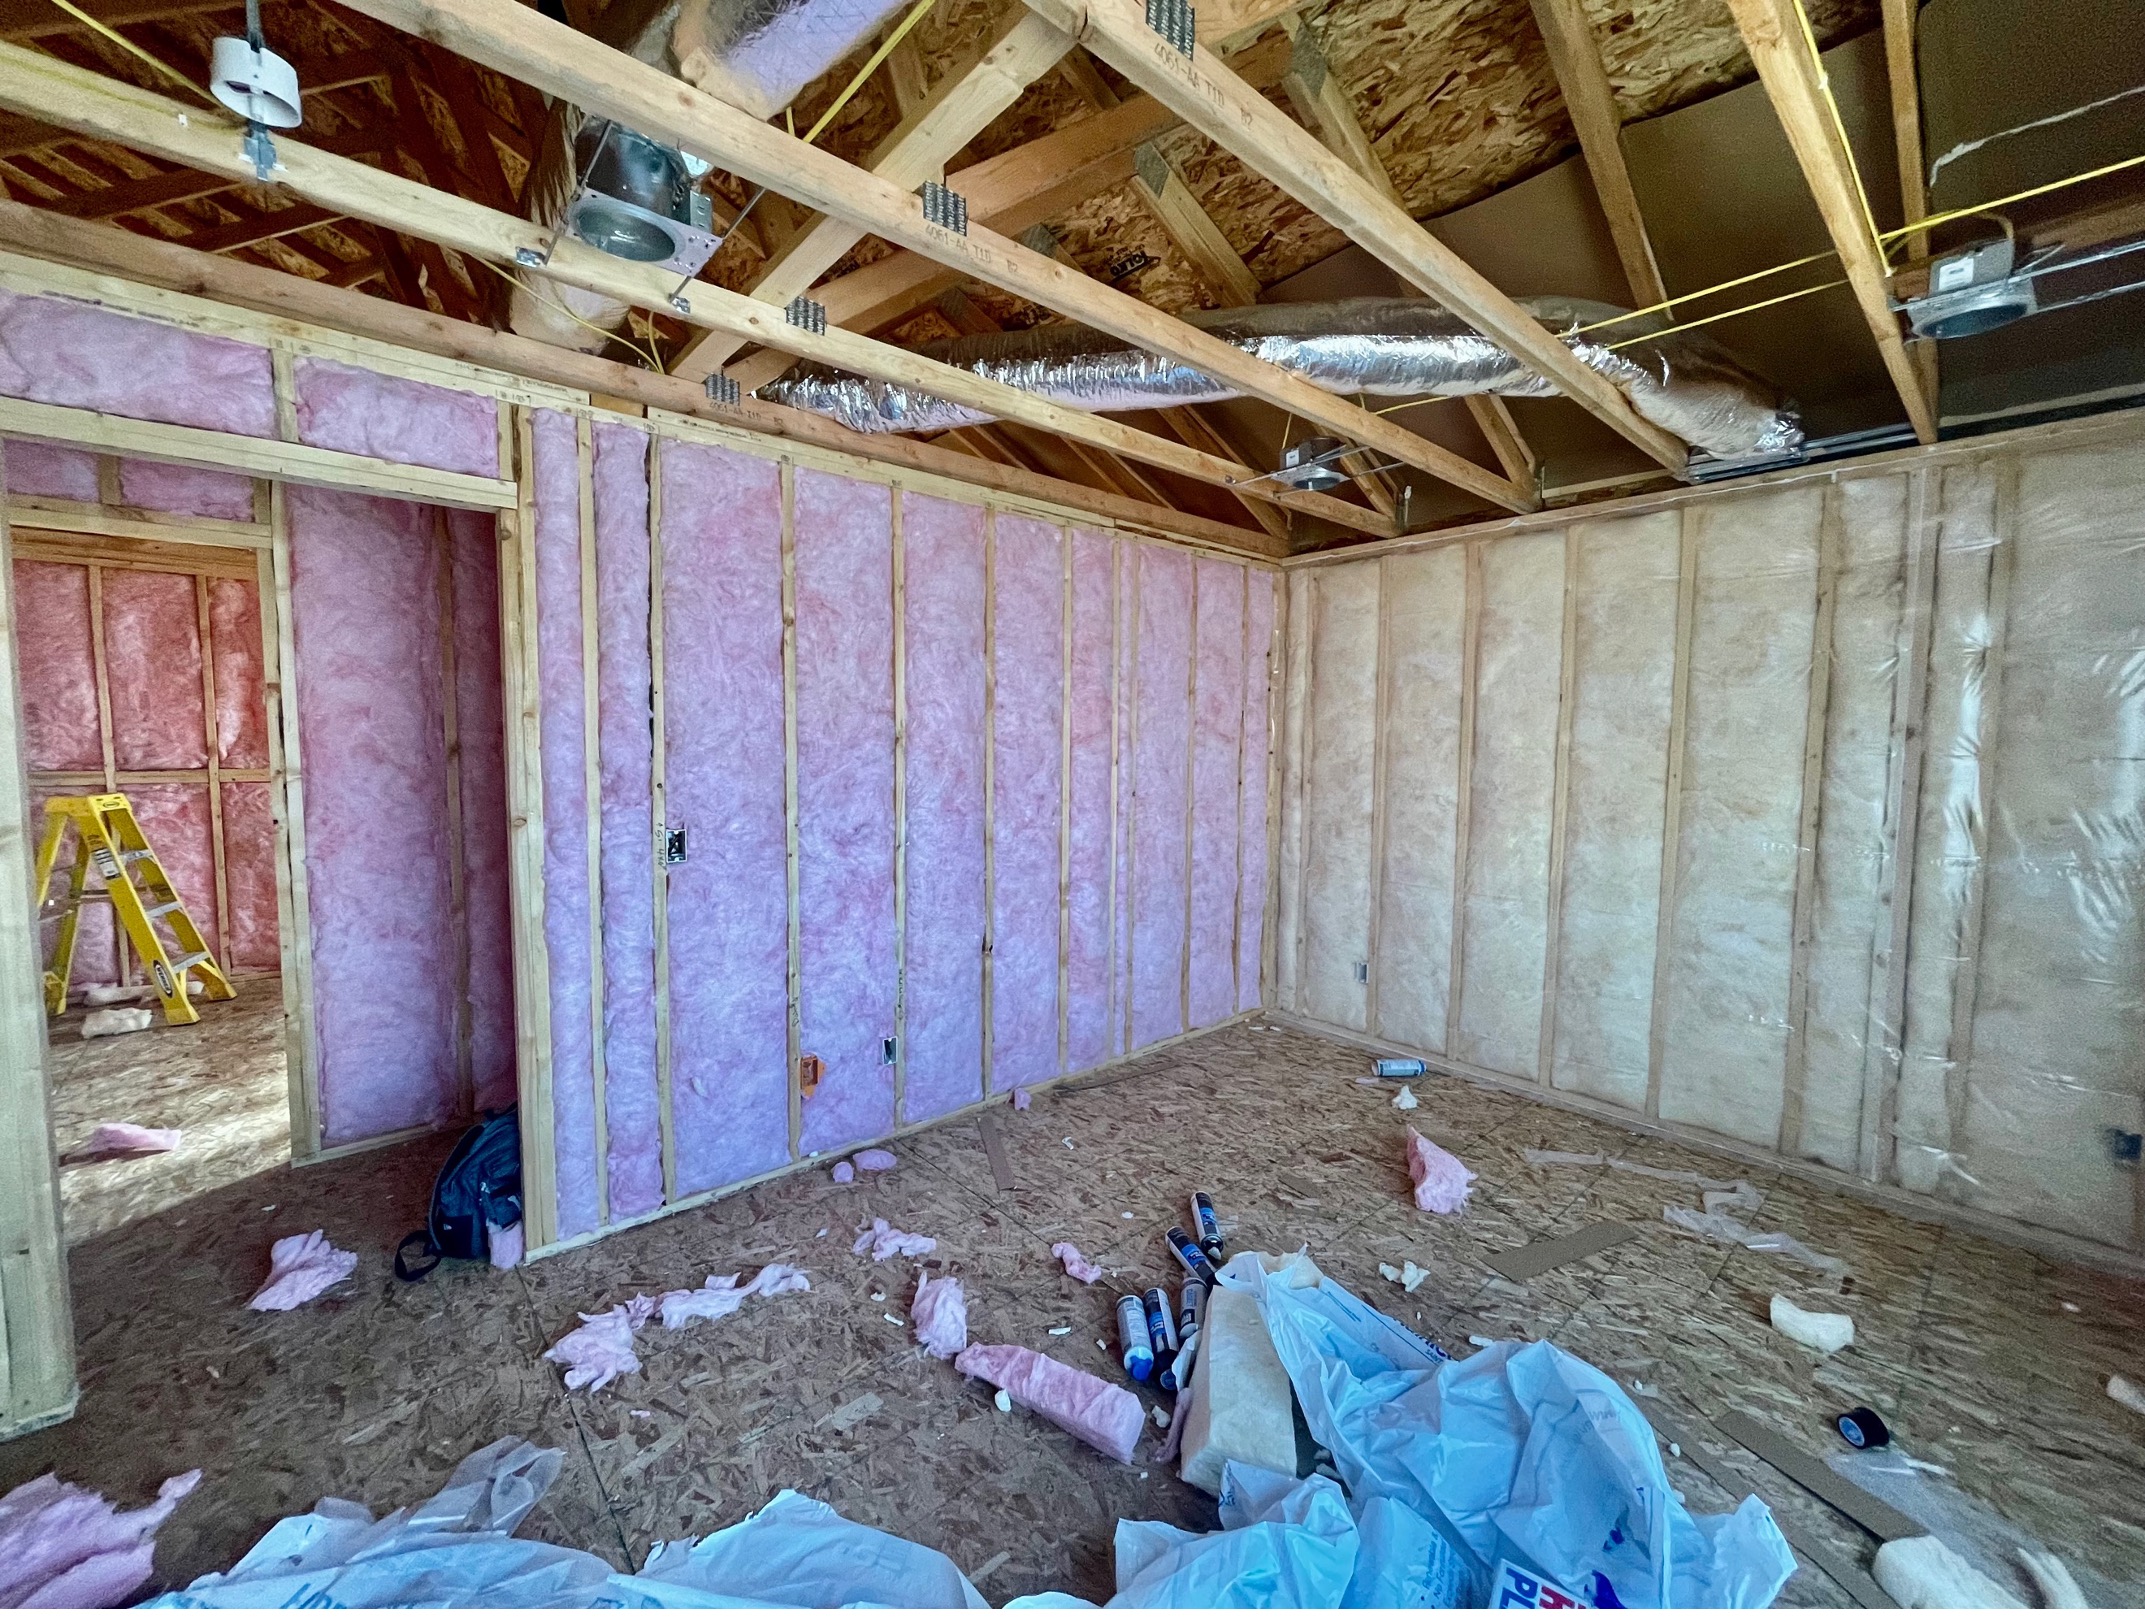
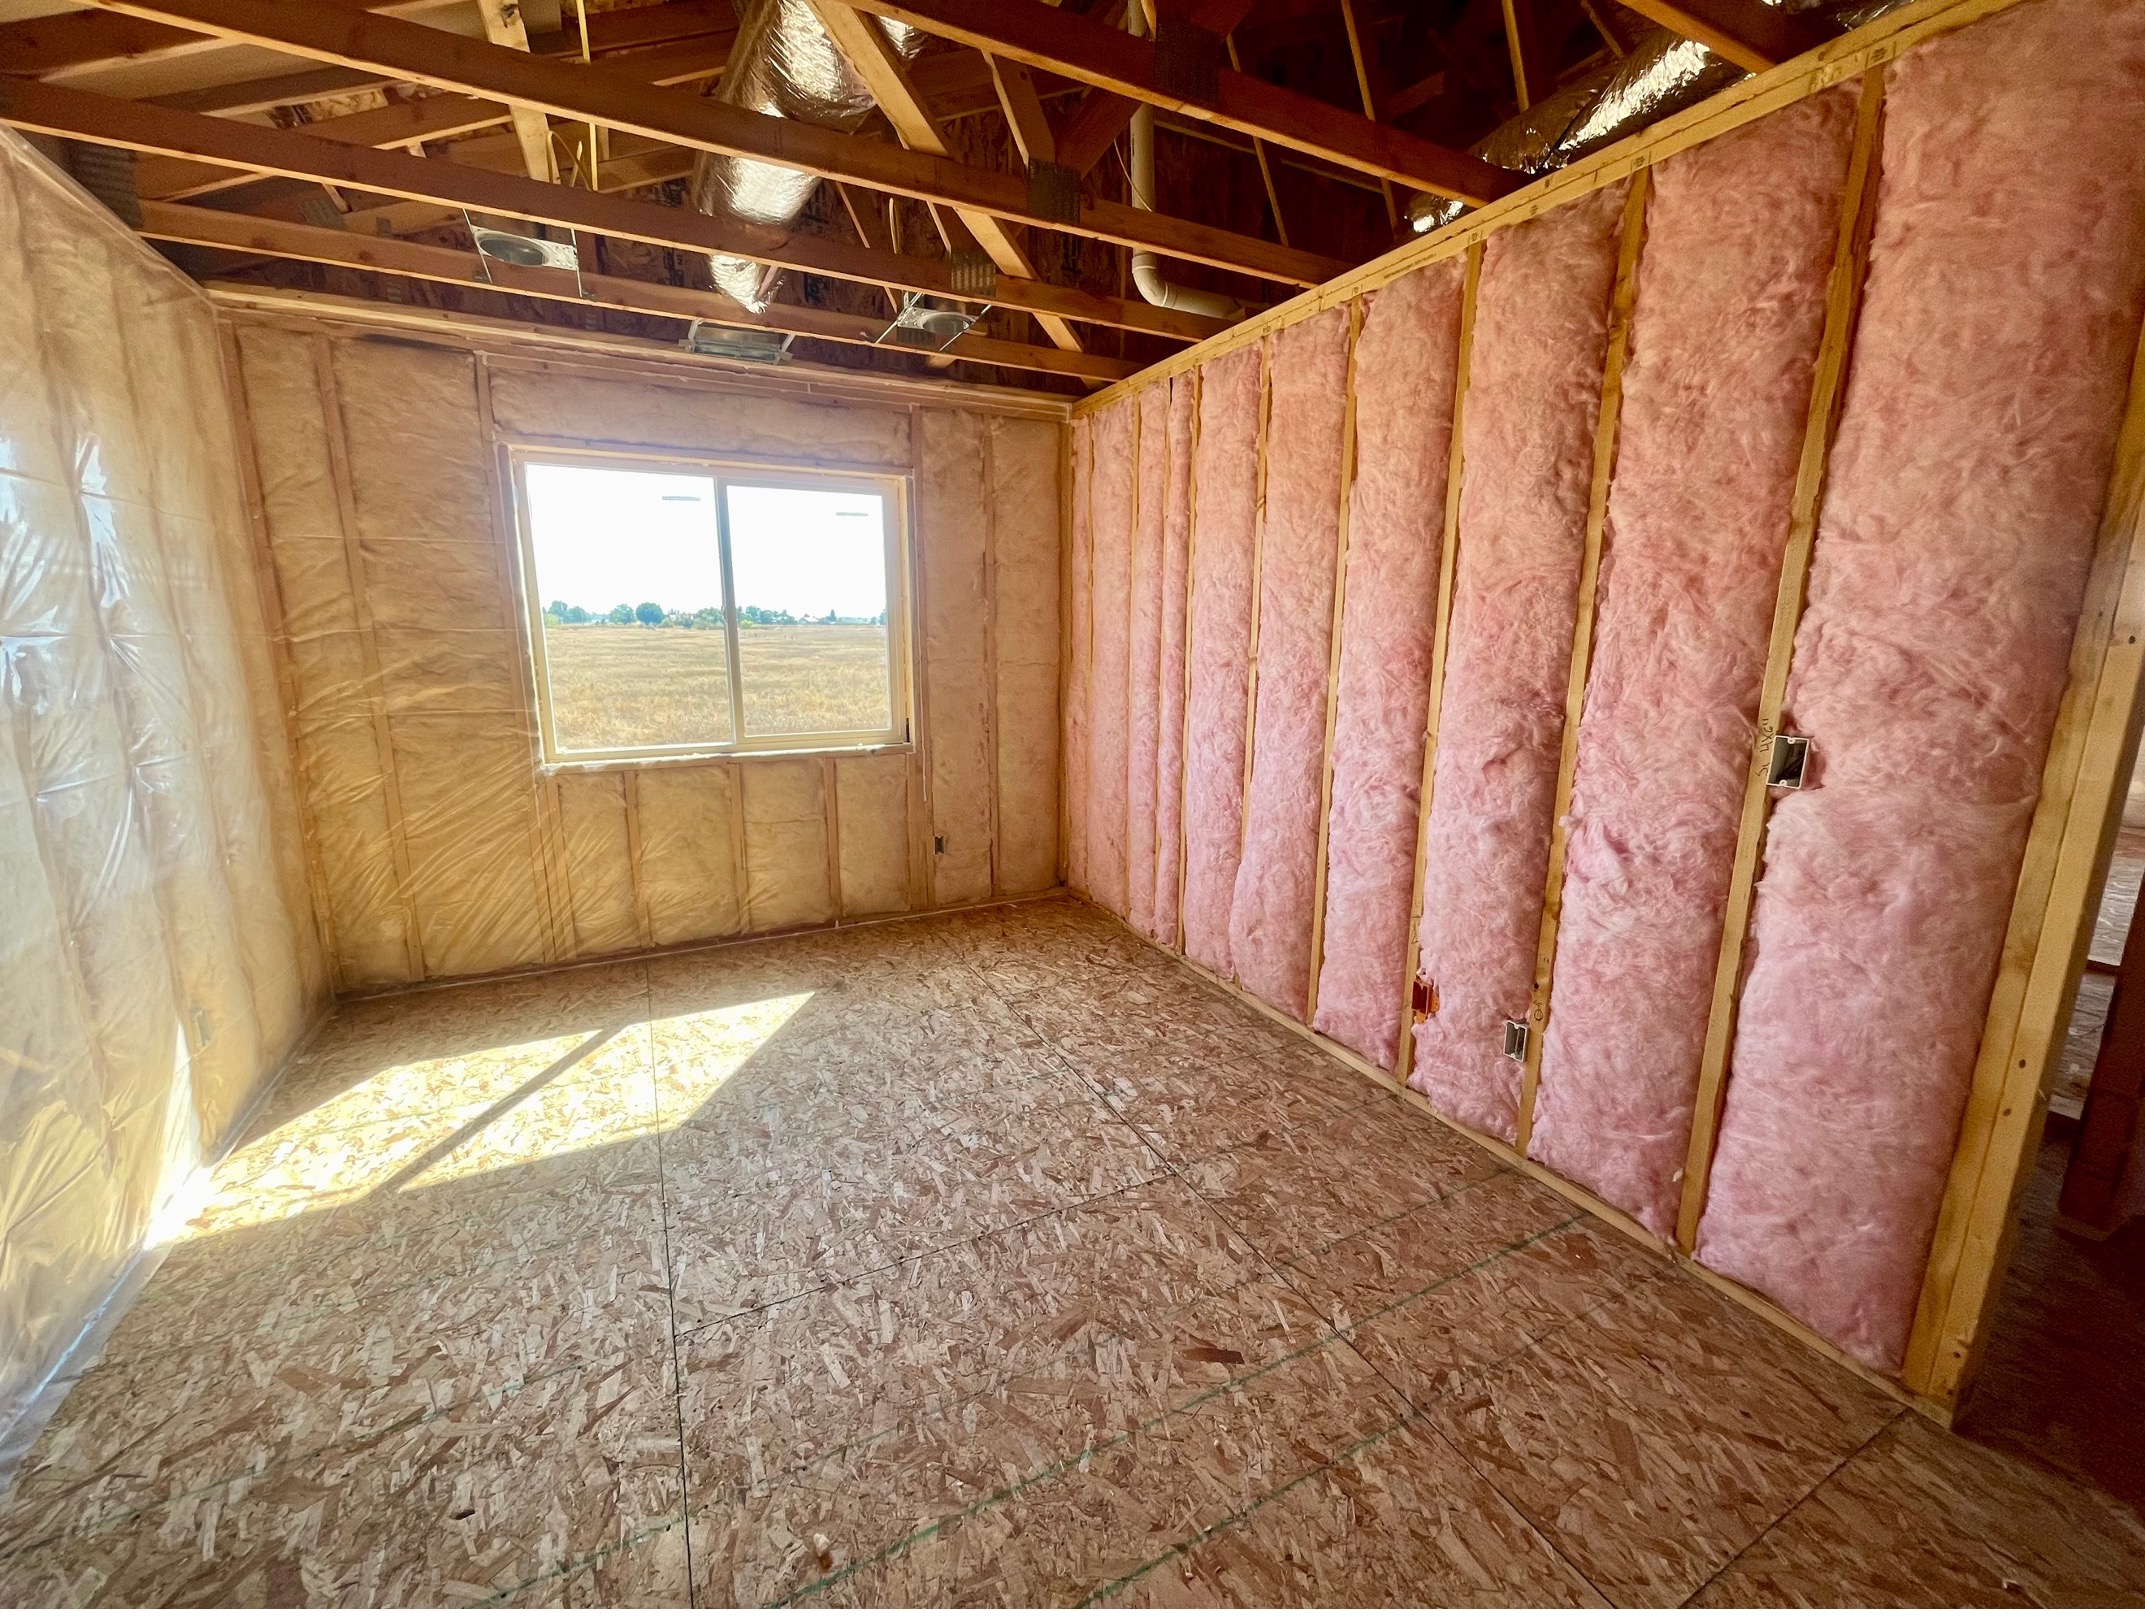
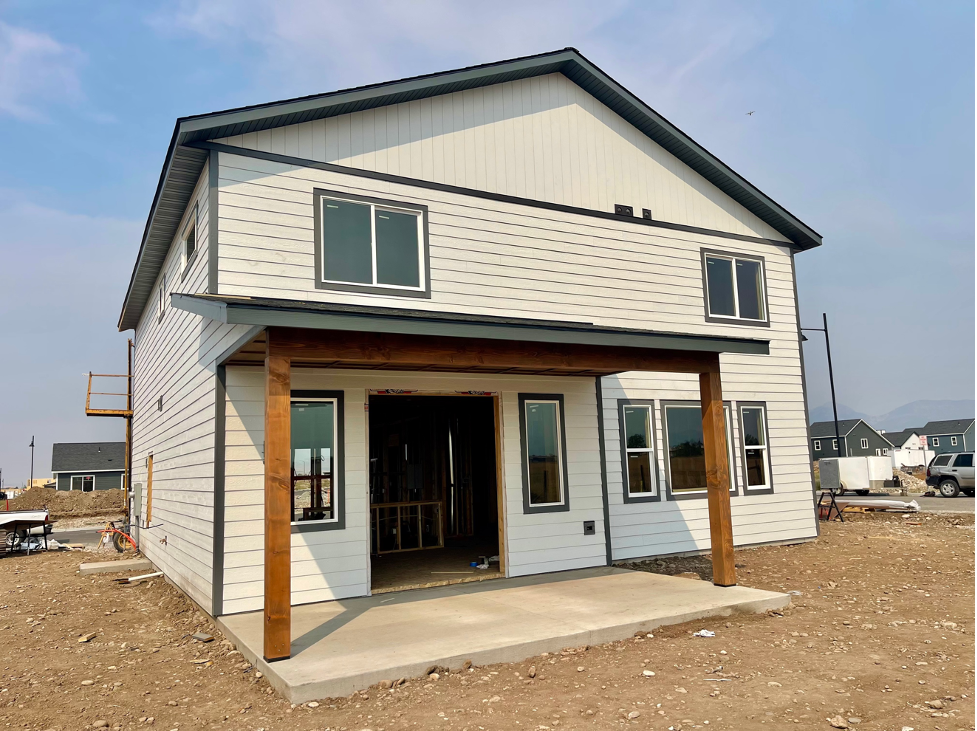
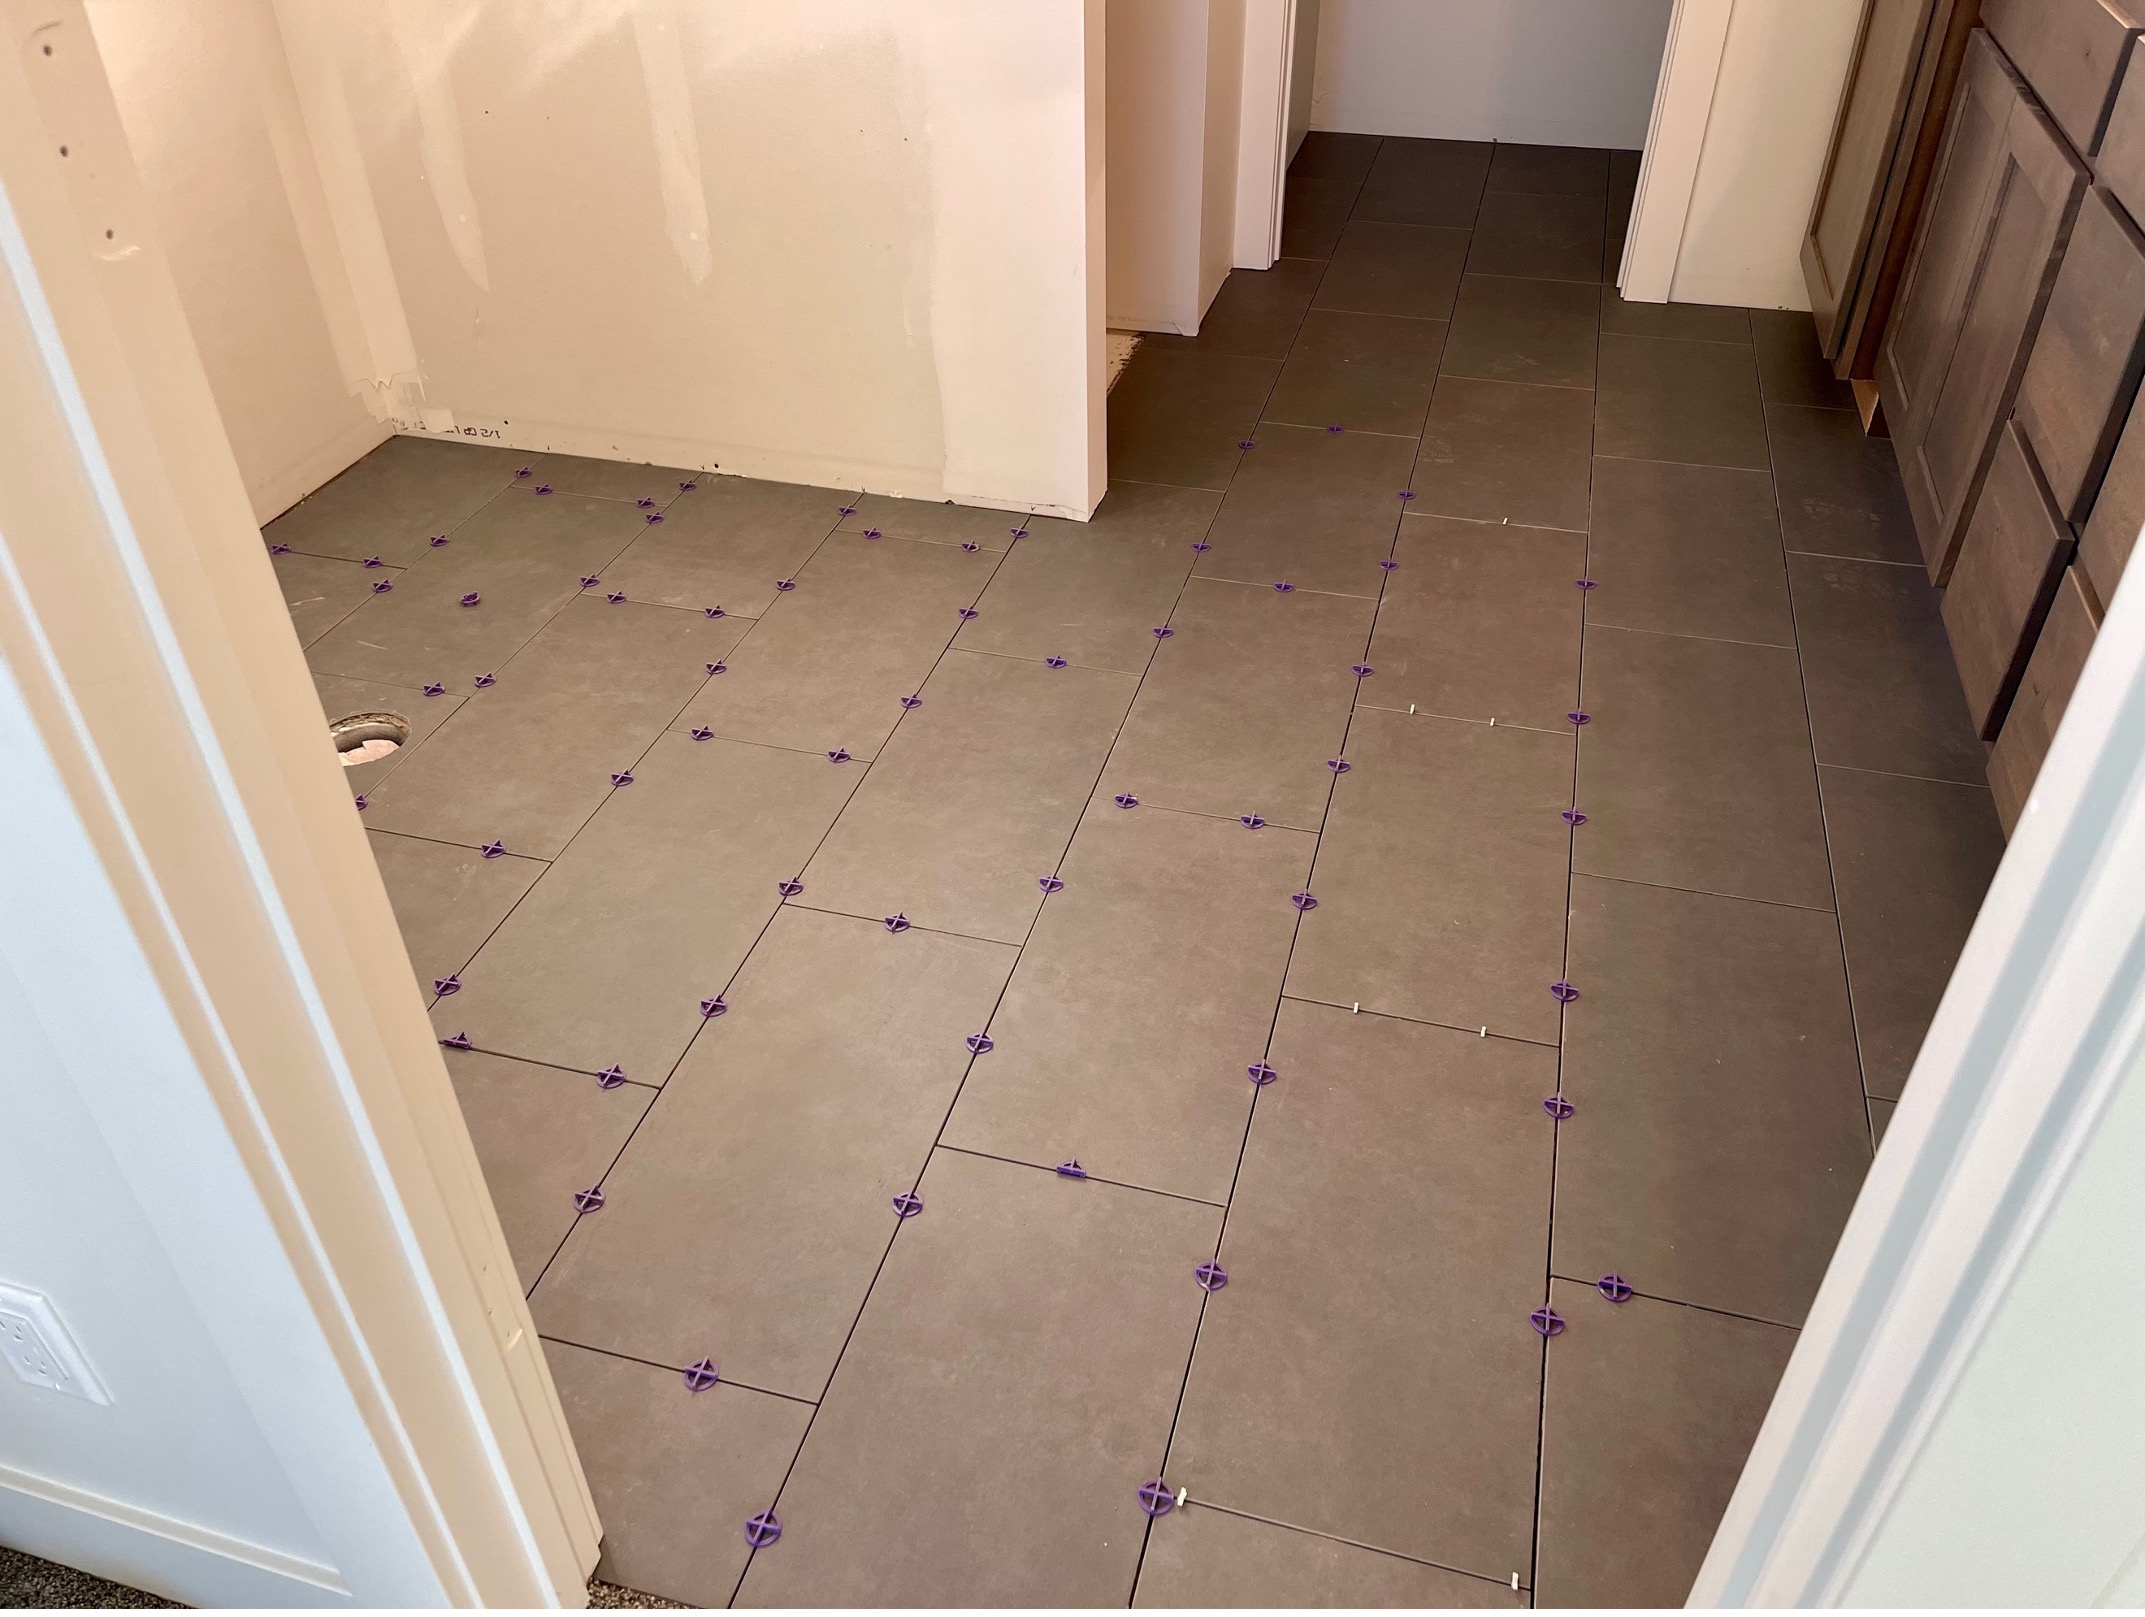
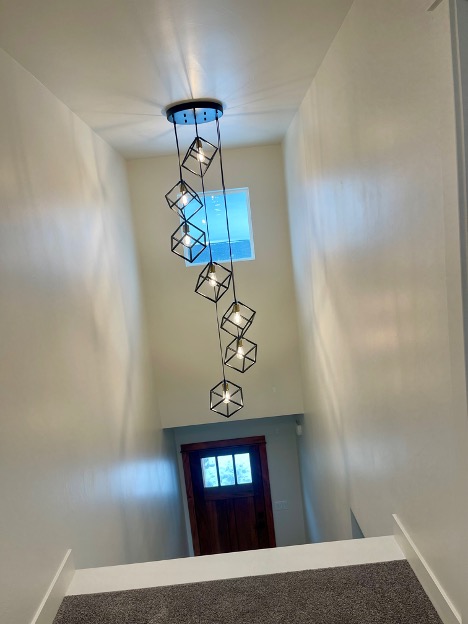
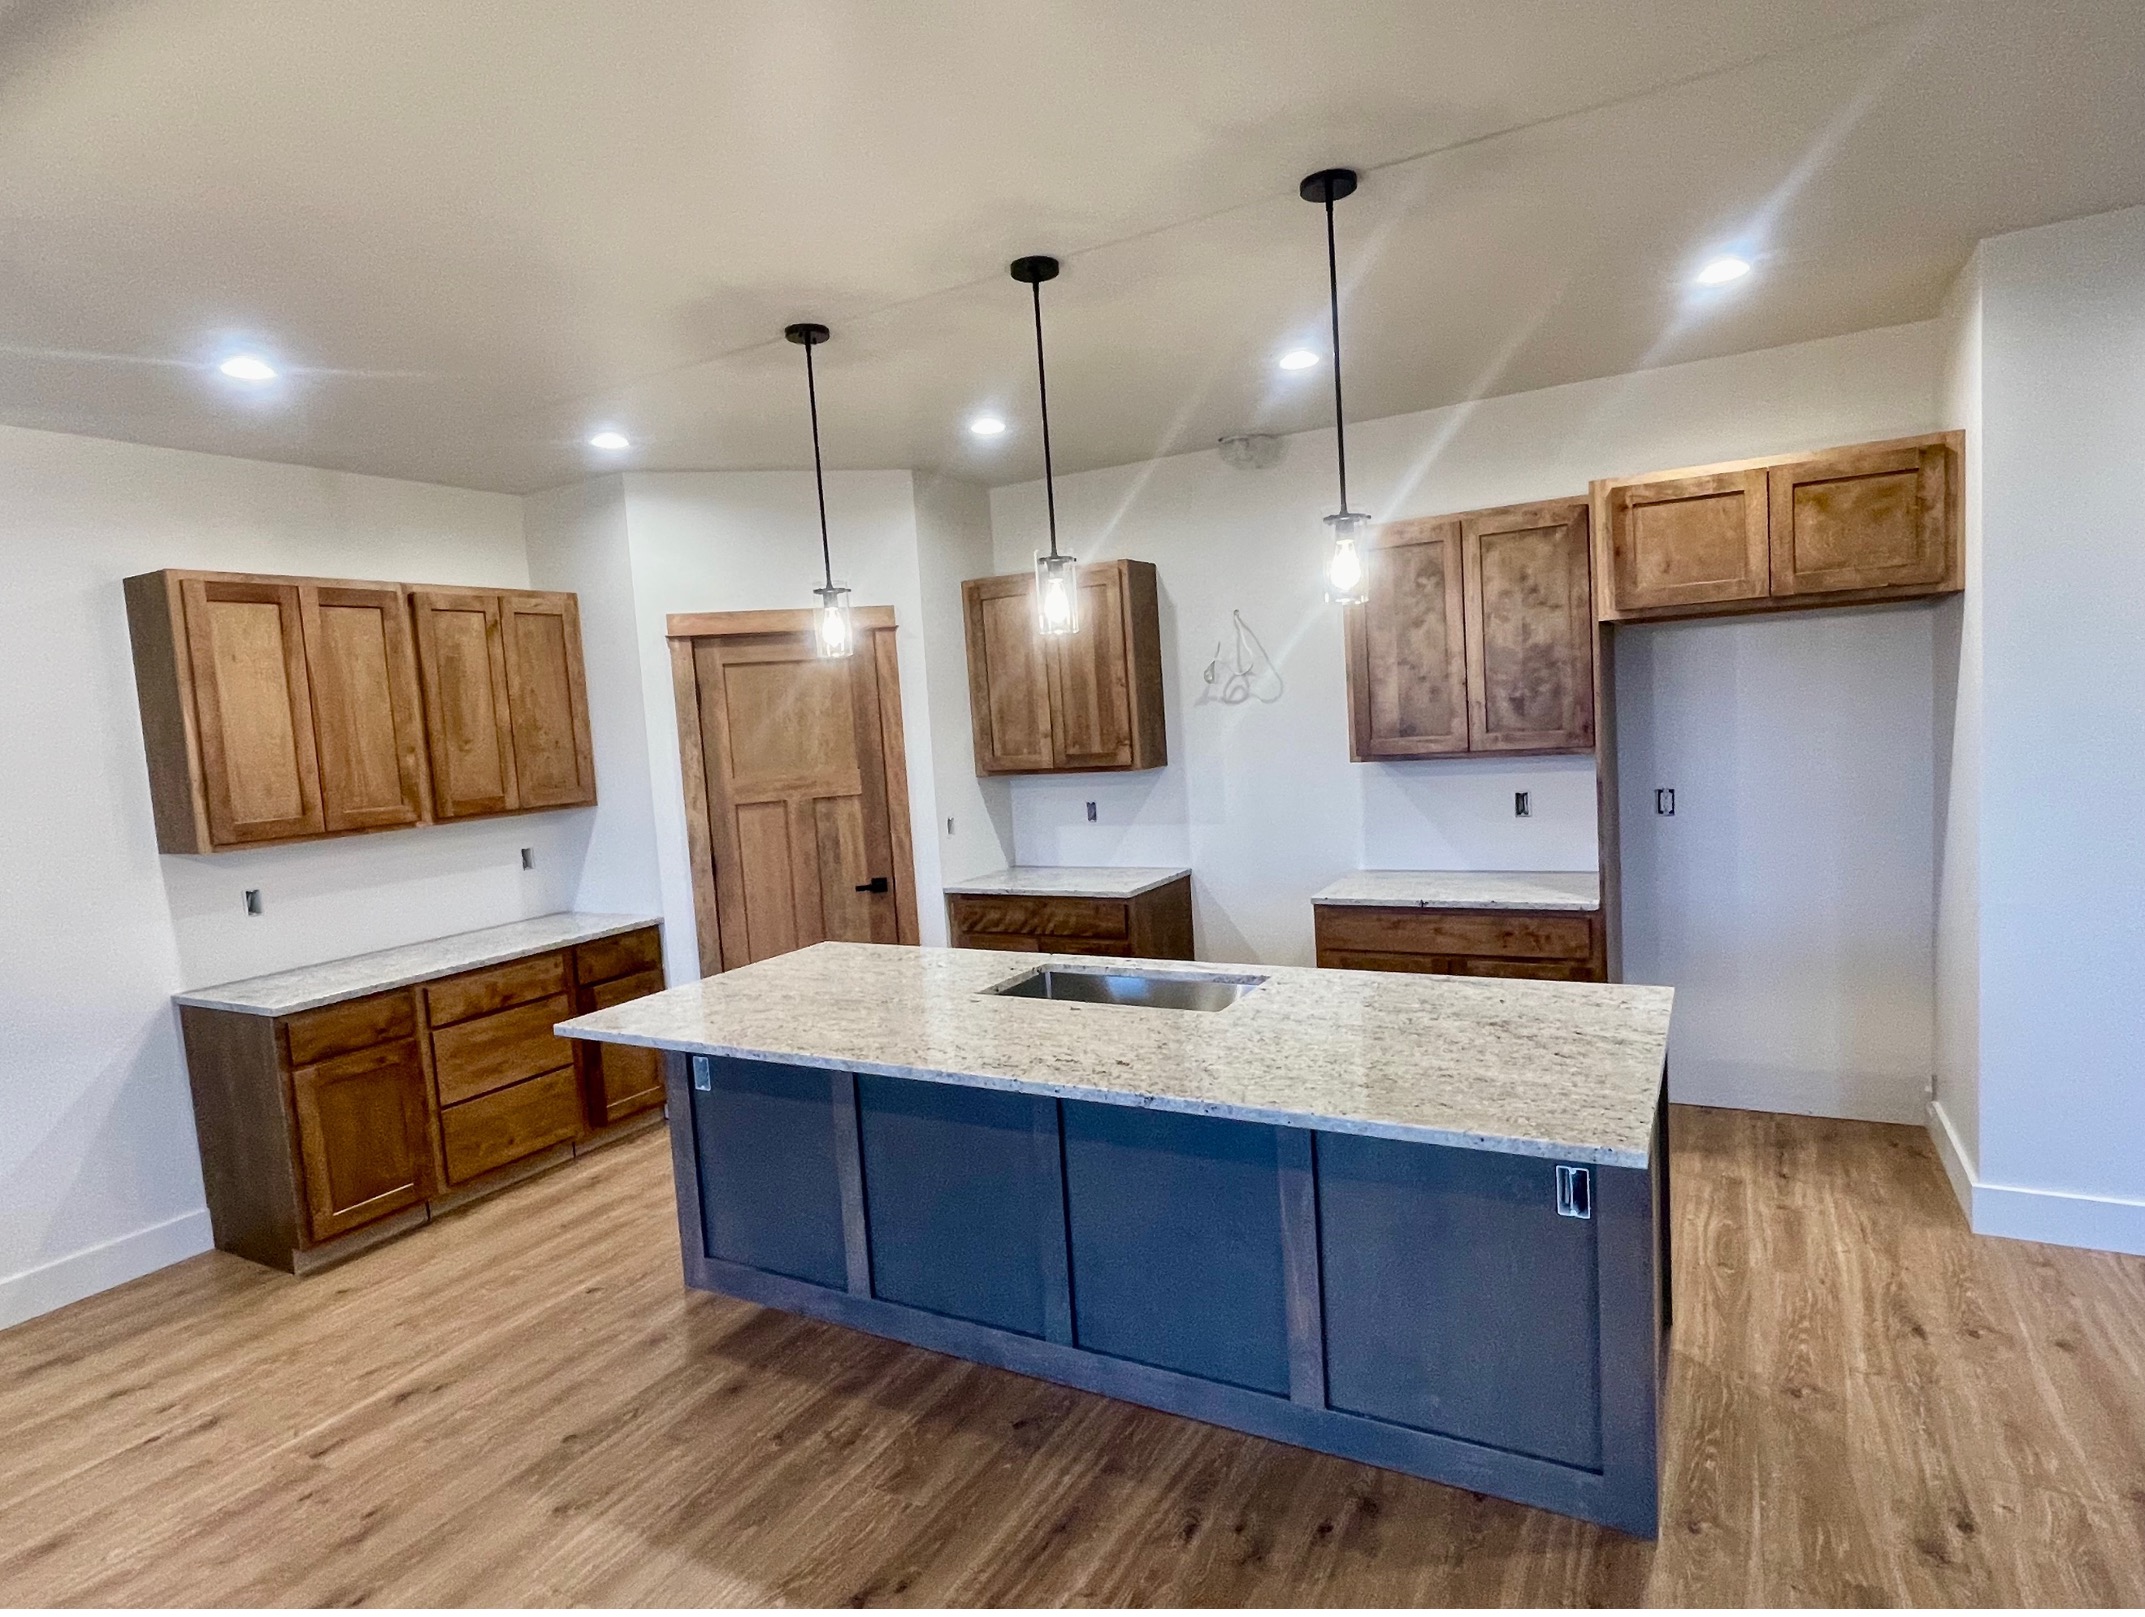
Take a behind-the-scenes look at one of our full custom home builds

from breaking ground to the final walkthrough, 
this 24-step photo series walks you through each major phase of the Project

A Step-By-Step Look At Our Dream Home Building Process

Let's Get Started:

  1. Initial Planning & Design
  • Discuss home design, layout, and features that match your vision and budget
  • Select a pre-designed floor plan or work with an architect/draftsman to create a custom home
  • Ensure the design meets zoning laws, HOA rules (if applicable), and energy-efficiency standards
  1. Site Selection & Land Preparation
  • Evaluate the land for suitability (topography, soil conditions, drainage)
  • Determine access to utilities (water, sewer, power, internet)
  • Clear the lot of trees, brush, and large rocks
  • Rough grade the land to prepare for excavation and foundation work
  1. Bidding & Budgeting
  • Obtain detailed bids from subcontractors (excavation, concrete, framing, plumbing, etc.)
  • Finalize the total construction cost and financing
  • Secure a construction loan (if needed) and finalize contracts
  1. Permits & Approvals
  • Submit applications for:
  • Building permits
  • Septic system permit (if applicable)
  • Well permit (if applicable)
  • Electrical, plumbing, and mechanical permits
  • Conduct soil tests and site surveys if required
  1. Excavation & Site Work
  • Stake out the foundation perimeter based on the blueprints
  • Excavate for footings and foundation
  • If a basement is included, excavate to the required depth
  1. Run Utilities, Septic, and Water
  • Install Septic System if applicable
  • Dig trenches for City Water and Sewer
  • Drill Well if needed
  • Temporary Power from Northwestern Energy
  1. Footings Installation
  • Set footer forms to width and thickness determined by Geotechnical Report if required
  • Install rebar reinforcement to engineered requirements
  • Pour concrete footings to distribute the weight of the home evenly
  1. Foundation Walls Construction
  • Set up Forms for foundation walls
  • Ensure structural integrity with vertical and horizontal rebar and anchor bolts to engineered requirements
  • Install Seismic Anchors and/or Straps to engineered requirements
  • Allow proper curing time before the next phase
  1. Waterproofing & Drainage
  • Apply waterproofing membrane to foundation walls
  • Install drainage pipes and gravel backfill to prevent water buildup (if necessary)
  • Set up sump pump (if necessary)

    * Basement or Slab Preparation
    • If the home has a basement:
    • Pour the basement slab
    • Install basement insulation and vapor barriers
    • If the home is built on a slab:
    • Level and compact the soil
    • Lay insulation and a moisture barrier
    • Pour the slab
  1. Exterior Framing – Floors and Walls
  • Install pony walls, floor joists, and subflooring
  • Frame and stand exterior walls
  • Sheath Walls with Proper Nailing Patterns for City Codes
  • House Wrap Vapor Barrier
  1. Interior Framing – Walls, Supports, and Chases
  • Frame Interior Walls
  • Ensure Chases are present for Utilities
  • Place Beams and Structural Supports to ensure proper load transfer
  1. Roofing System – Setting Trusses
  • Set Roof Trusses
  • Install required Blocking and Cross Braces
  • Install Hurricane Straps
  • Overbuild to Align rooflines and complete Eves
  1. Dry- In Windows, Exterior Doors, and Roofing
  • Install windows and exterior doors to enclose the structure
  • Install underlayment for moisture protection
  • Apply shingles or metal roofing
  1. Utility Rough-Ins (Plumbing, Electrical, HVAC)
  • Install plumbing pipes and drain lines
  • Run electrical wiring and set up breaker panels
  • Install ductwork and HVAC components
  • Conduct rough-in inspections before closing walls
  1. Insulation & Vapor Barriers
  • Install insulation in walls, attic, and floors
  • Apply vapor barriers to prevent moisture buildup
  1. Exterior Finishes
  • Apply siding, stonework, or brickwork
  • Complete Trim, Soffits, Facia, and Gutters
  • Paint exterior walls and trim
  1. Drywall Installation & Finishing
  • Hang drywall throughout the home
  • Tape, mud, and sand seams for a smooth or textured finish
  1. Interior Finishes – Trim, Shelving, and Paint
  • Install interior doors, trim, and baseboards
  • Build permanent shelving if desired
  • Paint walls, ceilings, and doors if necessary
  1. Flooring – Hard Floors, Carpeting and Tile
  • Prepare Subfloor with proper underlayment for different applications
  • Install flooring – Hardwood, LVP, Carpet, and/or Tile
  1. Kitchen & Bathroom Installations
  • Install Kitchen Cabinets and Bathroom Vanities
  • Install Countertops and Backsplashes
  • Tile Shower Walls if necessary
  • Install Cabinet Handles, Soap Trays, and all other Hardware
  1. Final Mechanical, Plumbing Work, & Electrical Work
  • Connect HVAC system and test for efficiency
  • Test plumbing for leaks and proper function
  • Install outlets, light switches, and ceiling fans
  • Mount pendant lights and chandeliers
  • Complete electrical panel connections
  1. Final Touches and Installations
  • Handrailing
  • Towel Bars
  • Fireplace and Mantel
  • Oven Hood
  • Appliances

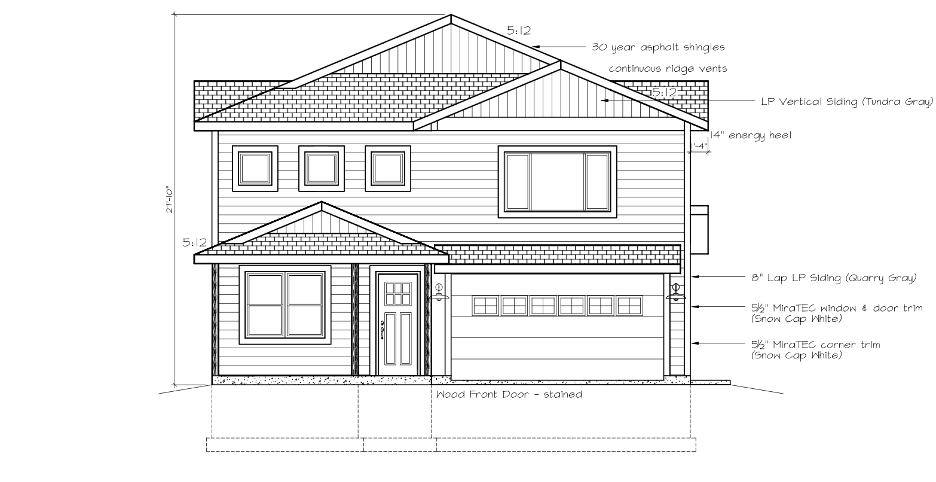
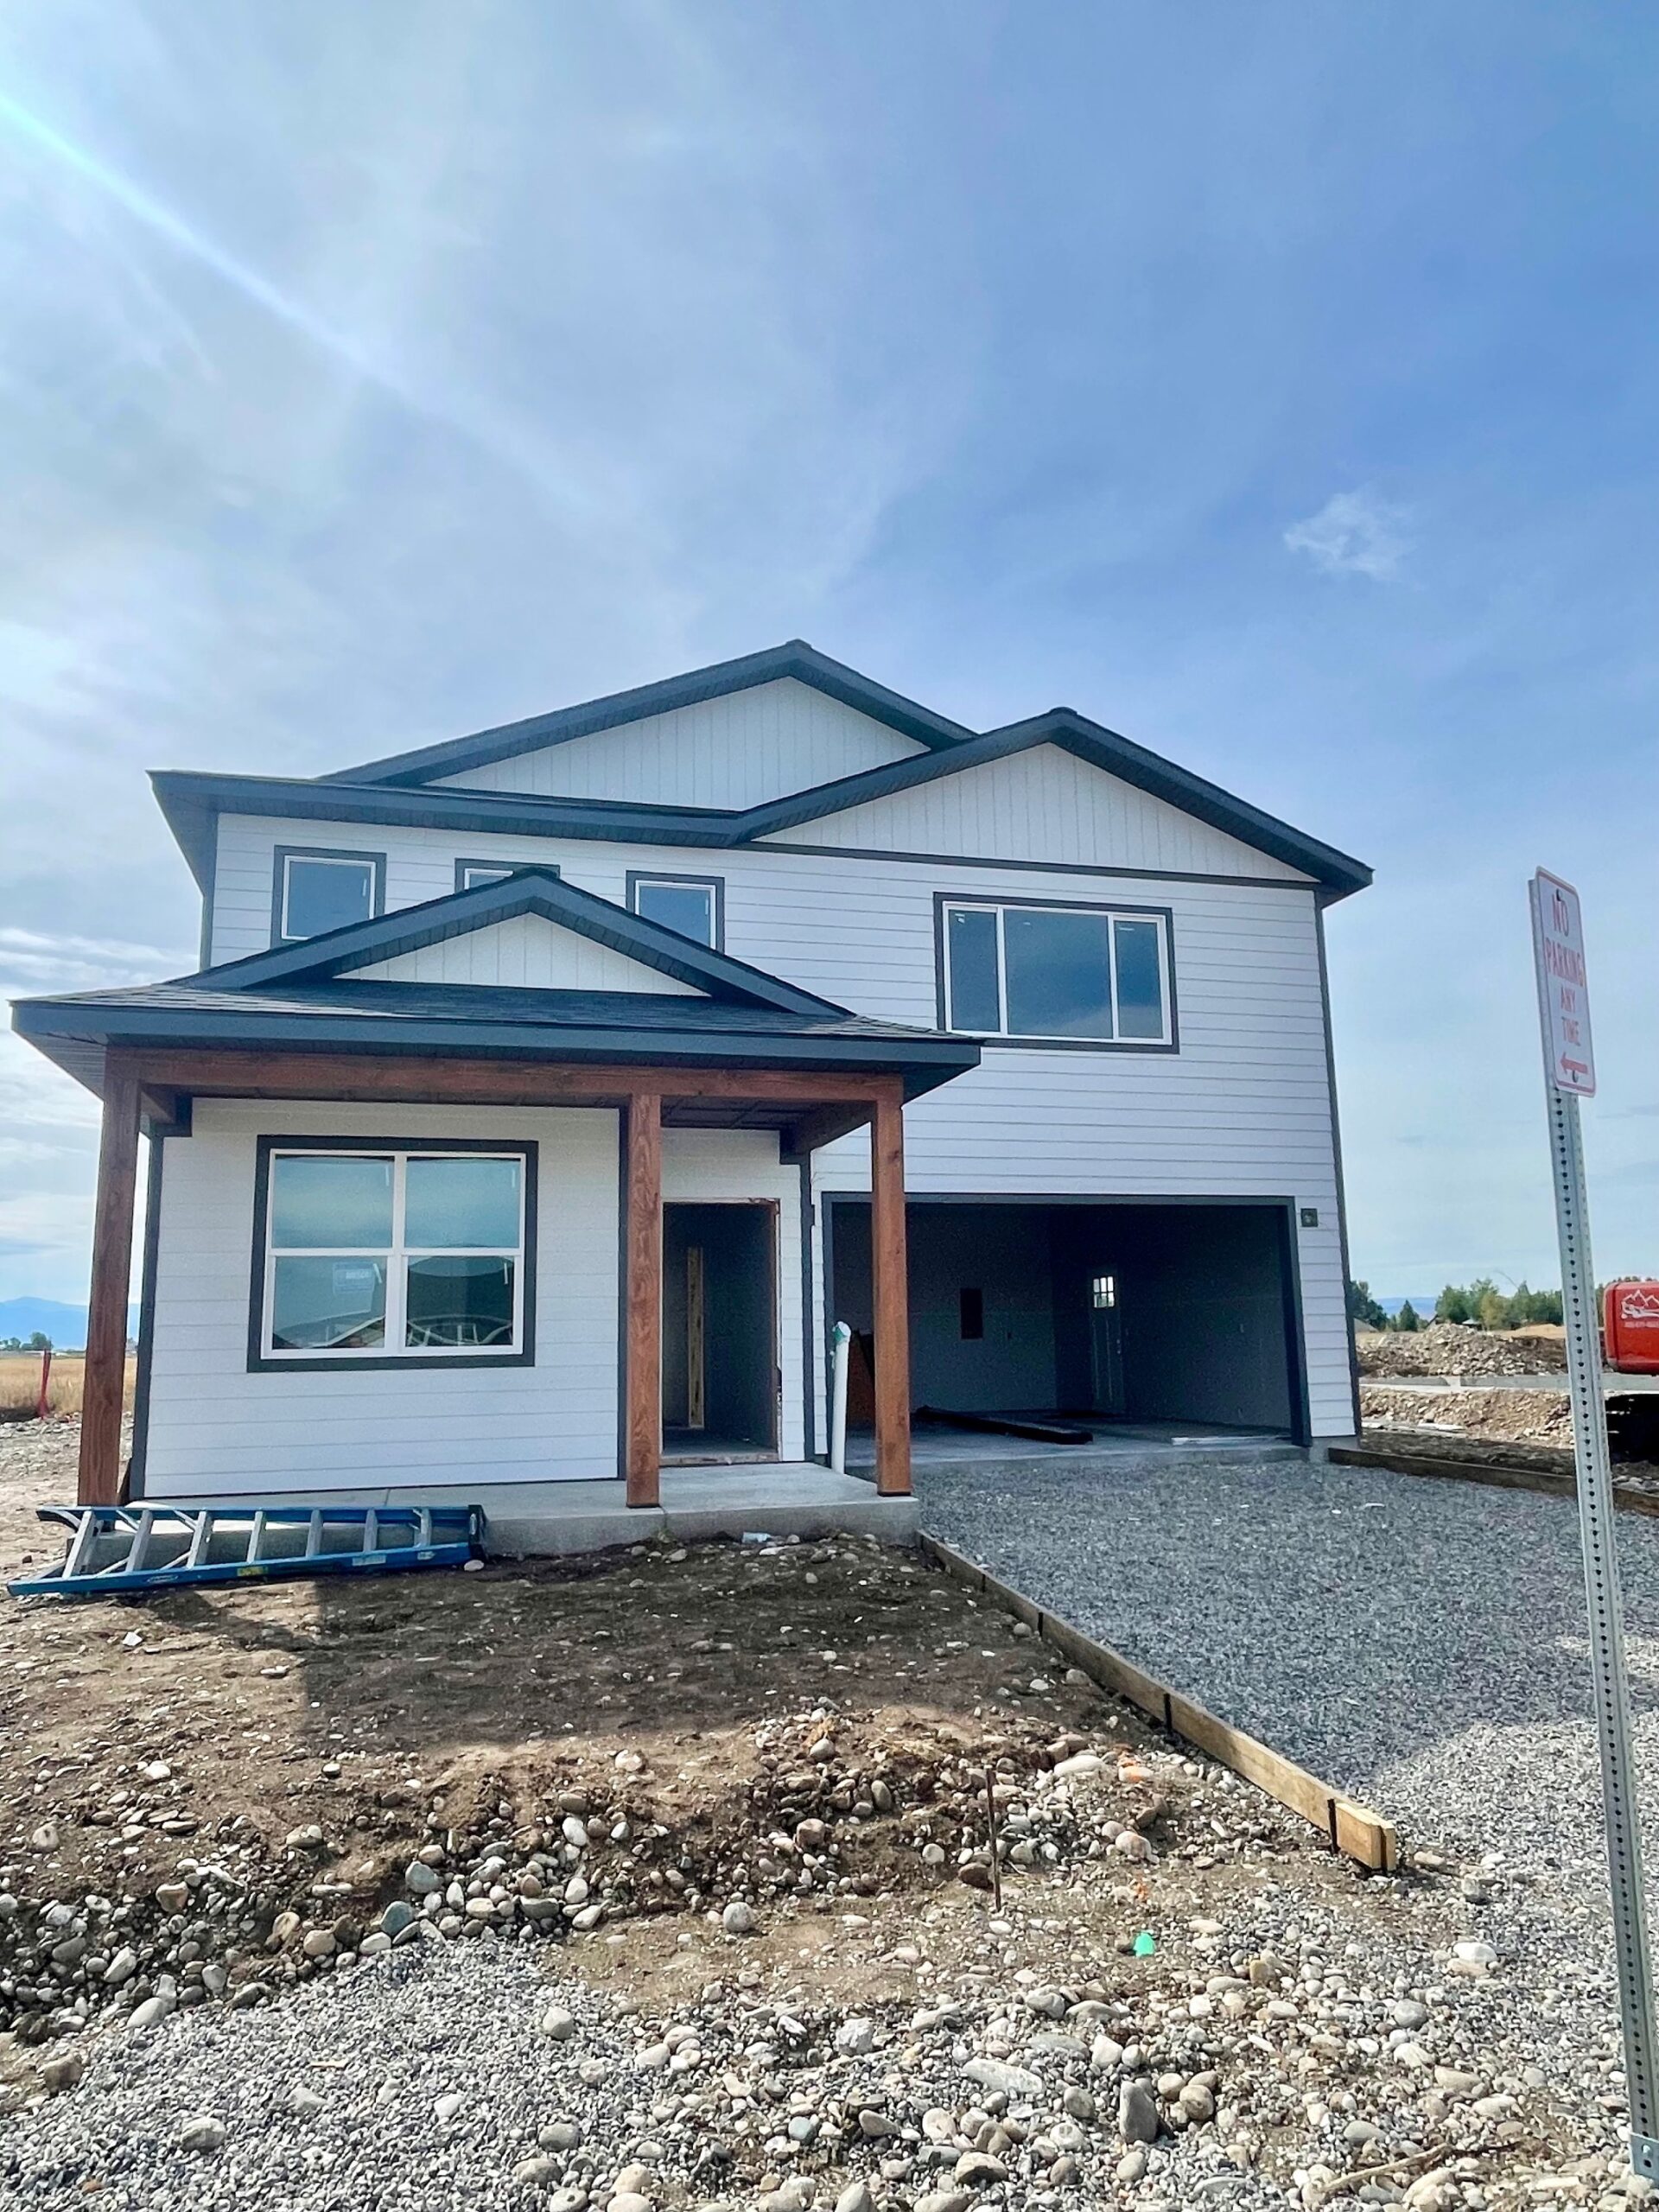
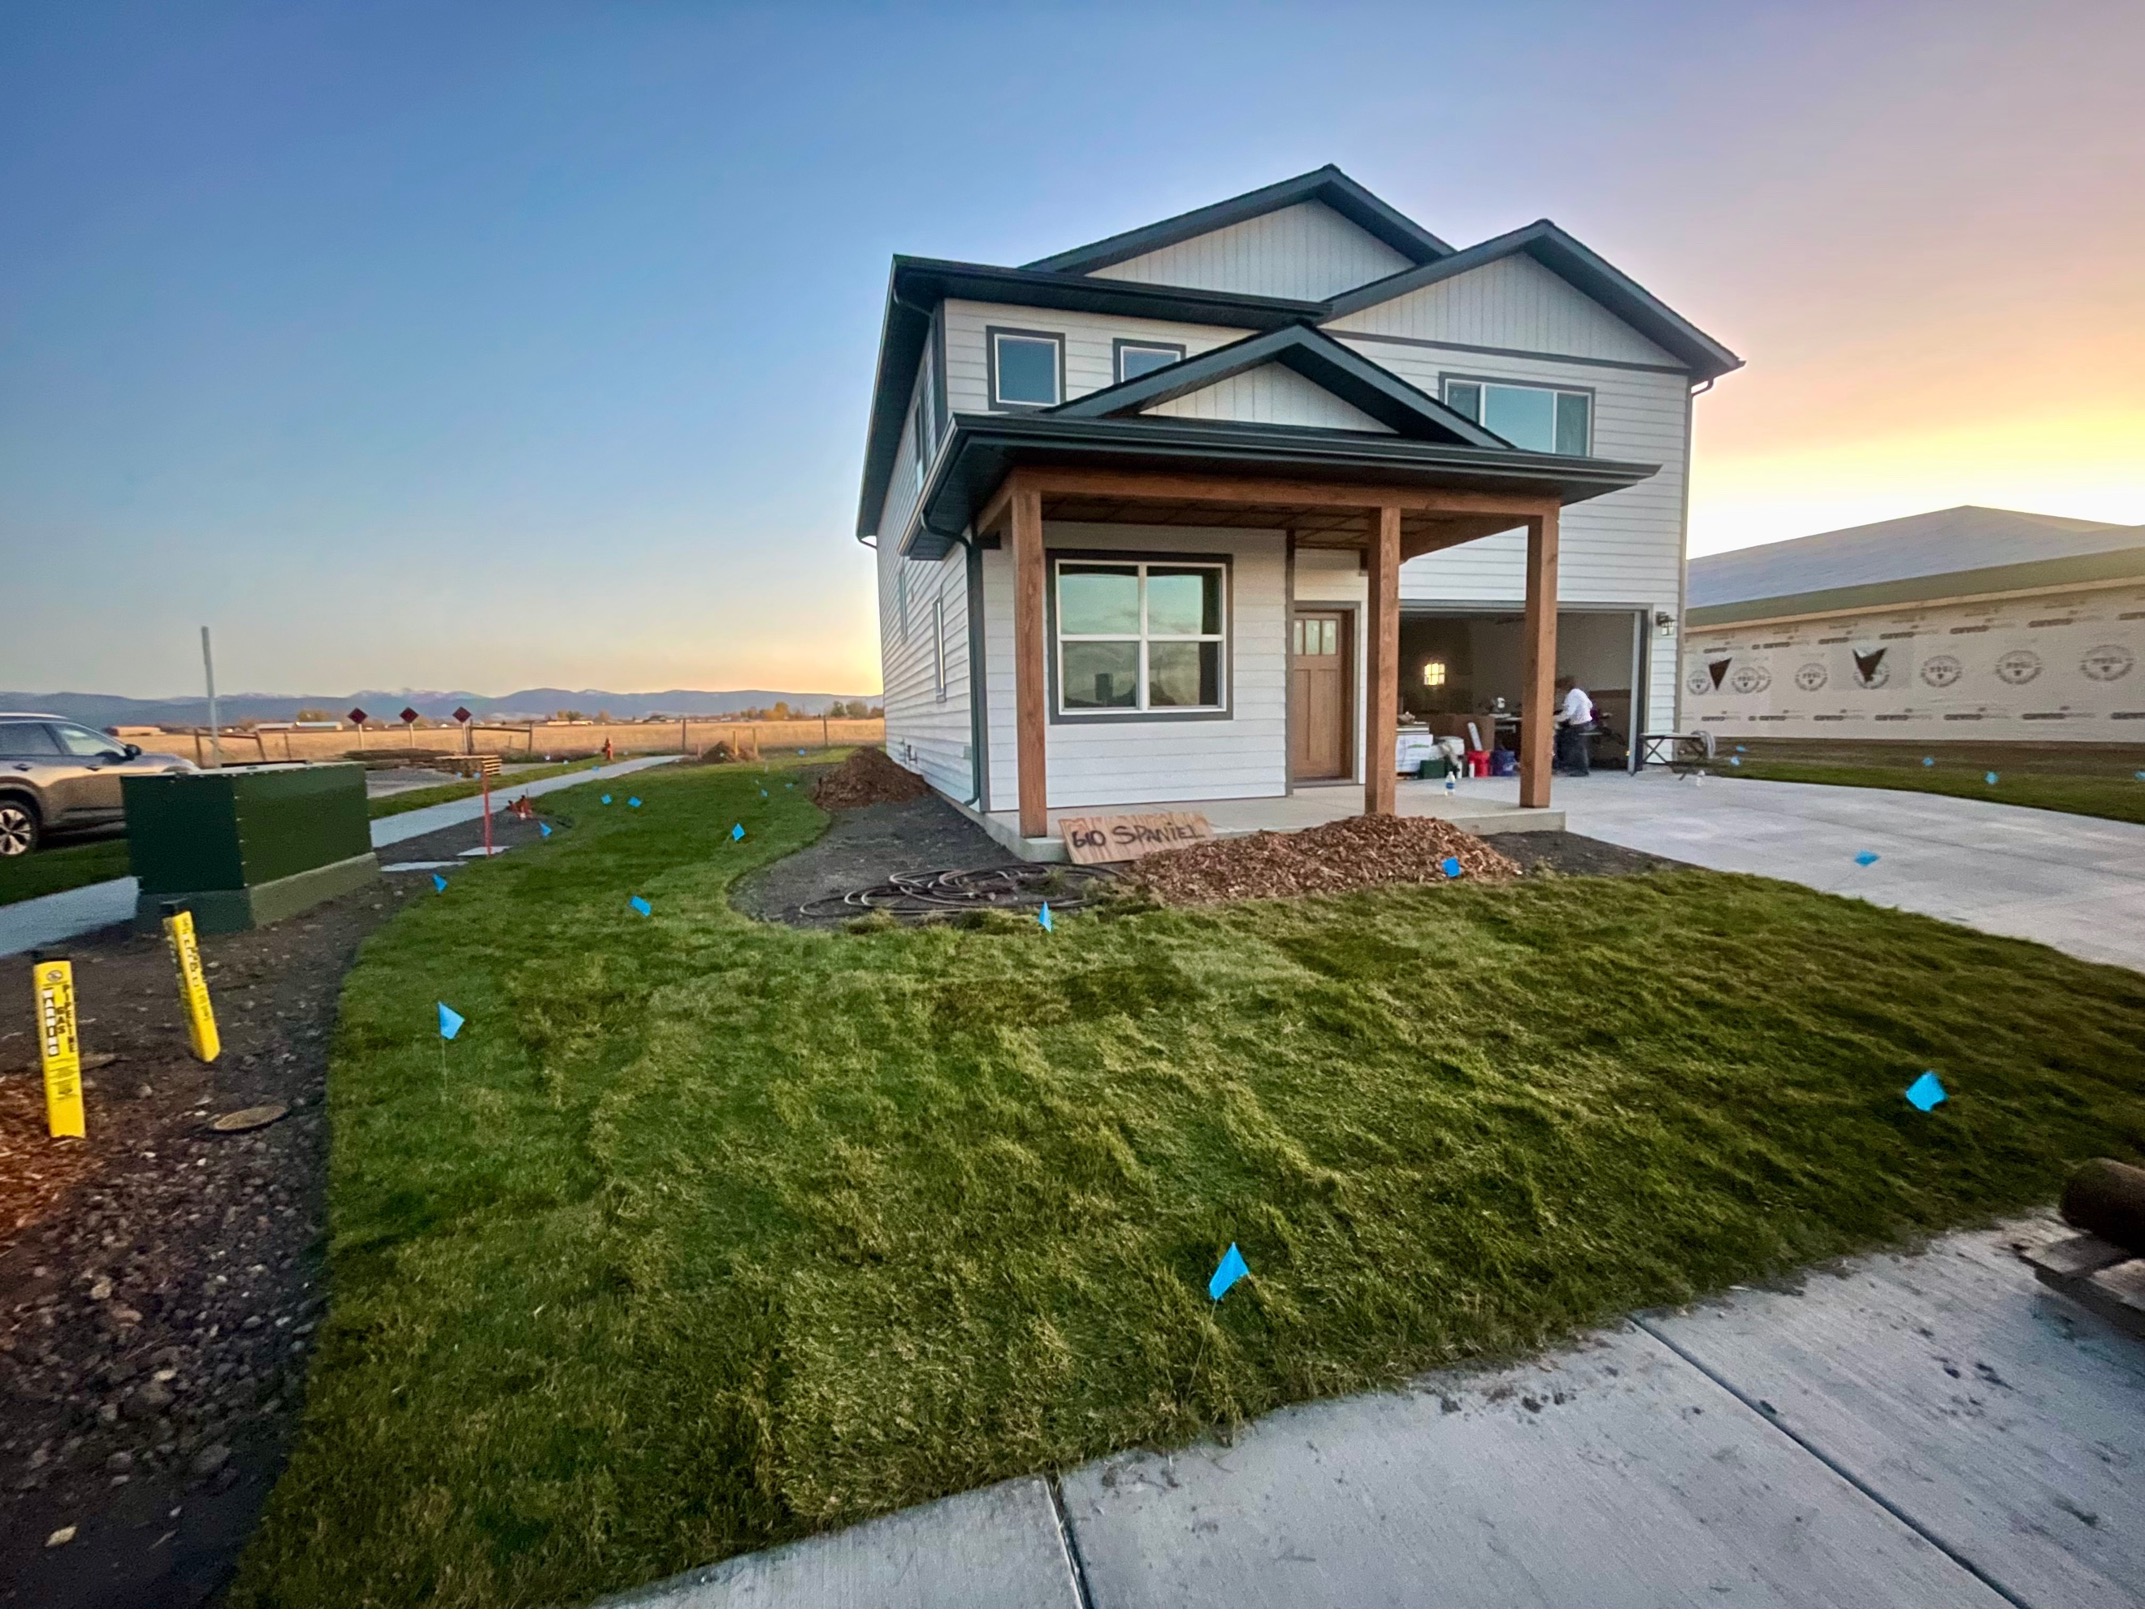
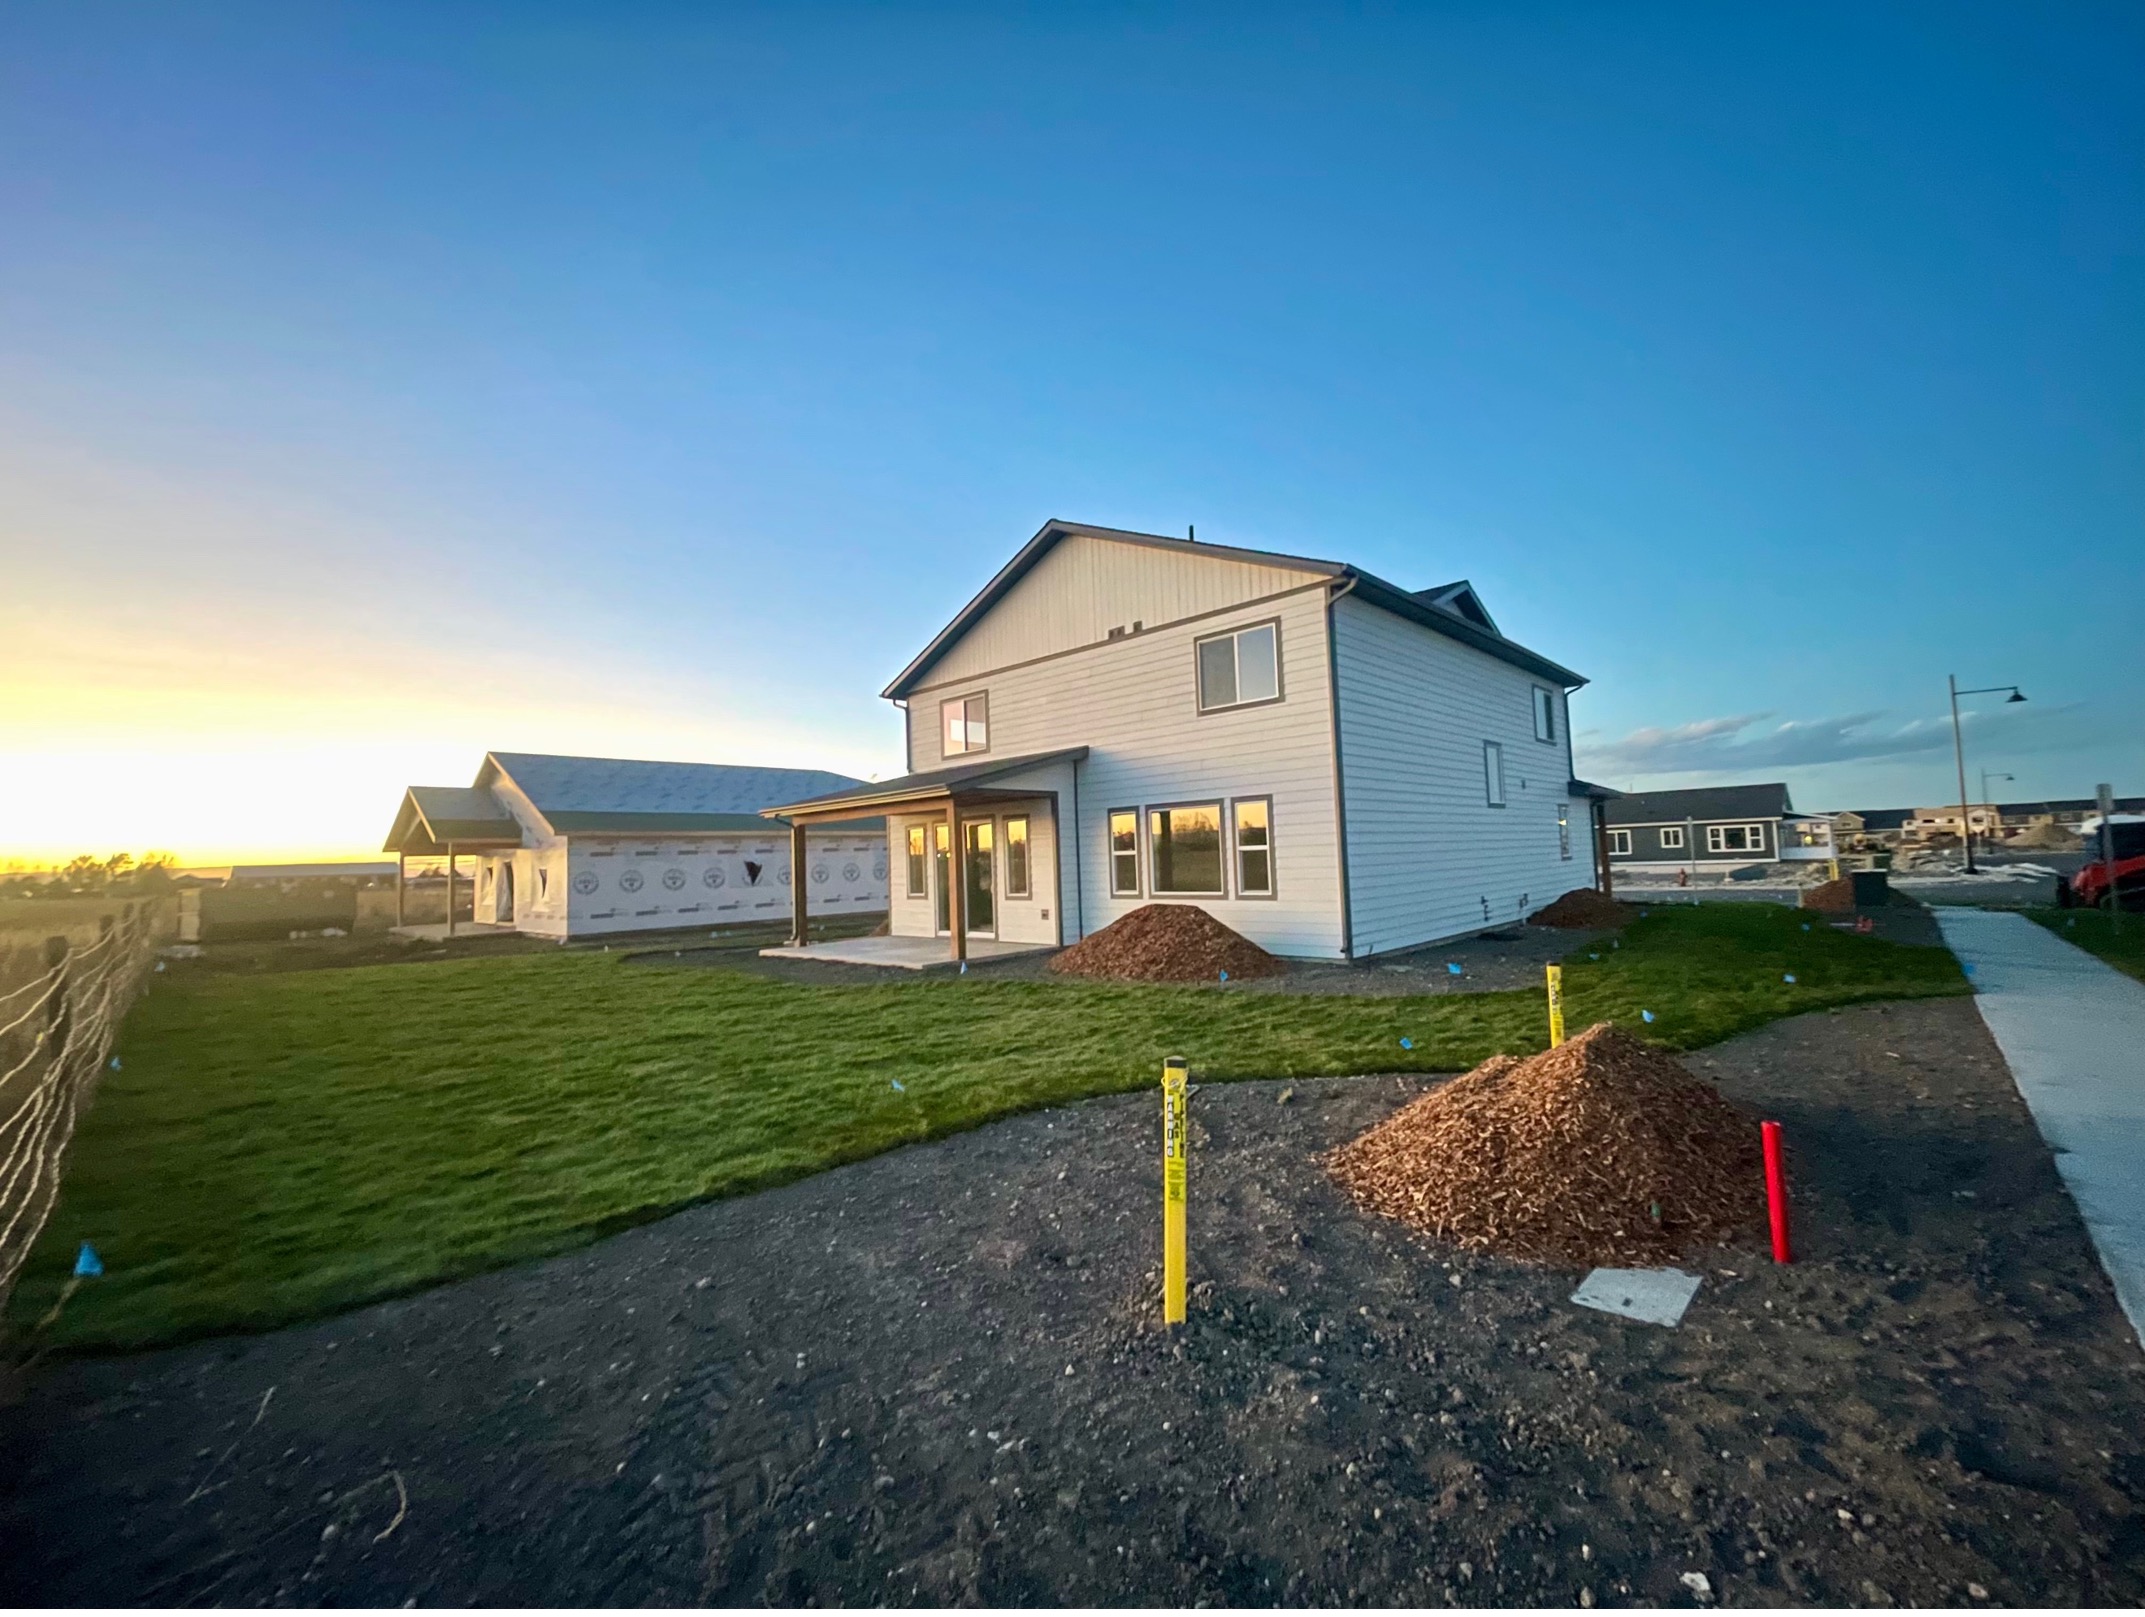
23.   Driveways, Patios, & Landscaping

  • Pour concrete for driveways and walkways
  • Install grass, trees, and garden beds
  1. Final Walkthrough & Inspections
  • Conduct a final building inspection to ensure everything meets code
  • Walk through the home with the client to address any last-minute concerns

Let’s Bring Your Vision To Life